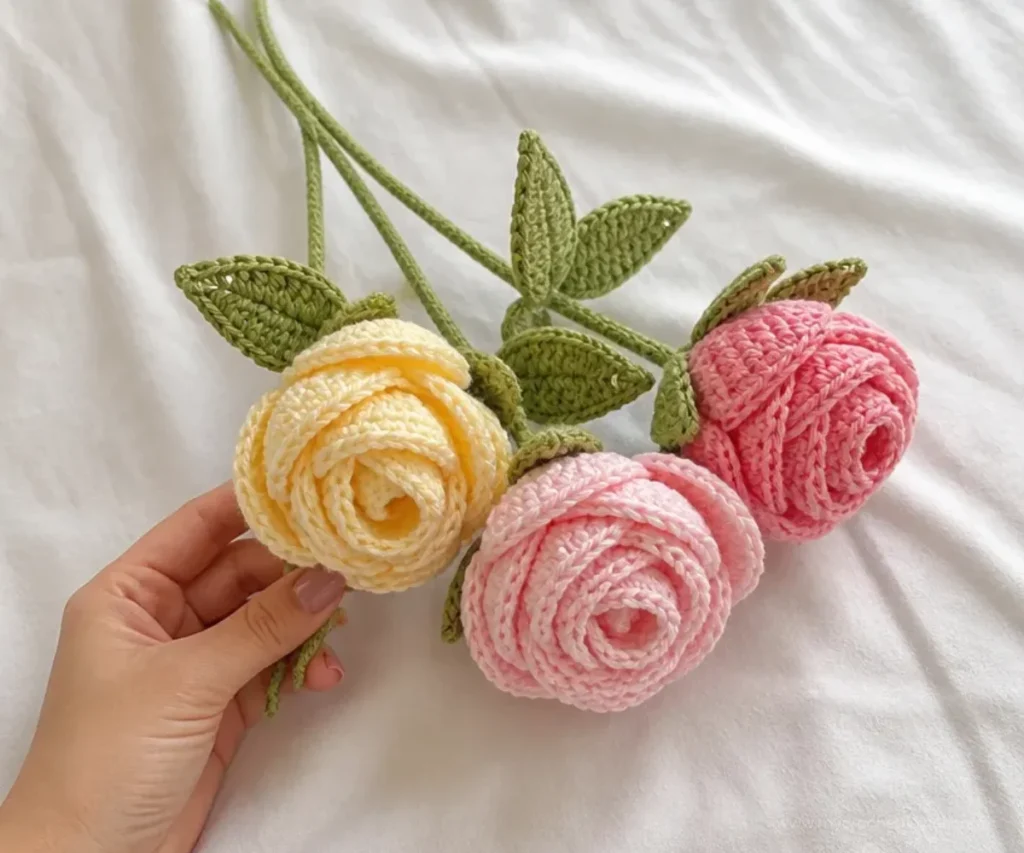
A Crochet Flower-Wineglass Rose turns a simple glass into a charming floral decoration for a table setting, celebration, or handmade gift. The project combines crocheted petals, a rounded flower center, and green leaves, then secures the finished rose to a wine glass. It is a creative choice for beginners who want to practice shaping and assembly without making a large project. For another small rose-inspired gift idea, compare the delicate details in this crochet felted rose pin pattern.
Why You’ll Love This Crochet Project
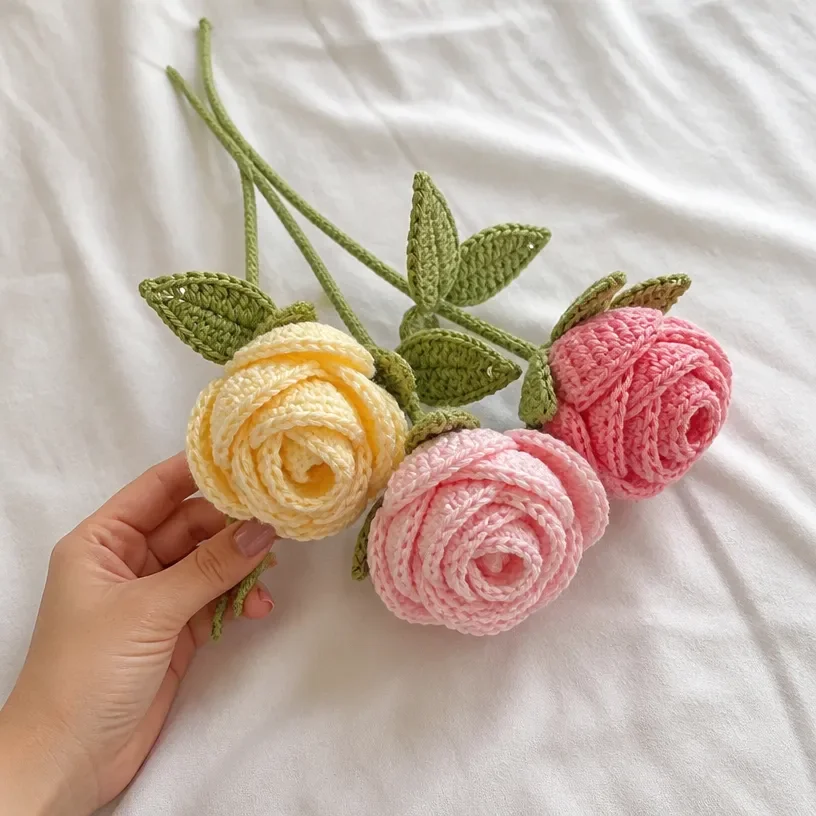
This crochet flower-wineglass rose offers several useful benefits:
- It creates a decorative accent: A finished rose can dress up a place setting, buffet, dessert table, or special event.
- It practices basic shaping: The petals use chain stitches and single crochet stitches to create curved floral forms.
- It introduces simple floral assembly: Sewing overlapping petals around a center helps you understand how separate crocheted pieces become one dimensional flower.
- It uses approachable supplies: The pattern requires yarn, a G or H crochet hook, basic finishing tools, and a wine glass.
- It makes a thoughtful handmade gift: A decorated wine glass can be presented as part of a birthday, anniversary, shower, or holiday gift.
My Crochet Flower Tip: Before sewing the petals permanently, arrange them loosely around the center so you can adjust the overlap and create a balanced rose shape.
How This Crochet Project Comes Together
The project is made from four main components: crocheted petals, a small crocheted flower center, green leaves, and the wine-glass decoration assembly. The construction follows a straightforward order:
- Create the petal base with chain stitches and shape the curves with single crochet stitches.
- Crochet a small circular flower center, increasing to create a fuller appearance.
- Use green yarn to make leaf shapes with double crochet stitches.
- Sew the petals around the center, overlapping them slightly.
- Secure the leaves, weave in loose ends, and shape the rose for a natural look.
The approved pattern does not assign stitch counts, row numbers, round numbers, or finished dimensions, so follow the supplied construction wording carefully rather than adding unlisted counts. The choice between a size G or H hook allows you to work with the hook that gives you comfortable control and an attractive fabric.
Materials You’ll Need
- Yarn: Petal-color yarn and green yarn for the leaves
- Crochet hook: Size G or H
- Scissors: For cutting yarn
- Yarn needle: For sewing the petals, attaching the leaves, and weaving in ends
- Wine glass: The glass that will receive the finished crocheted rose
Choose a wine glass with a bowl and stem that suit the scale of your flower. The rose is decorative, so the crocheted pieces should be positioned securely without interfering with the rim or making the glass difficult to handle.
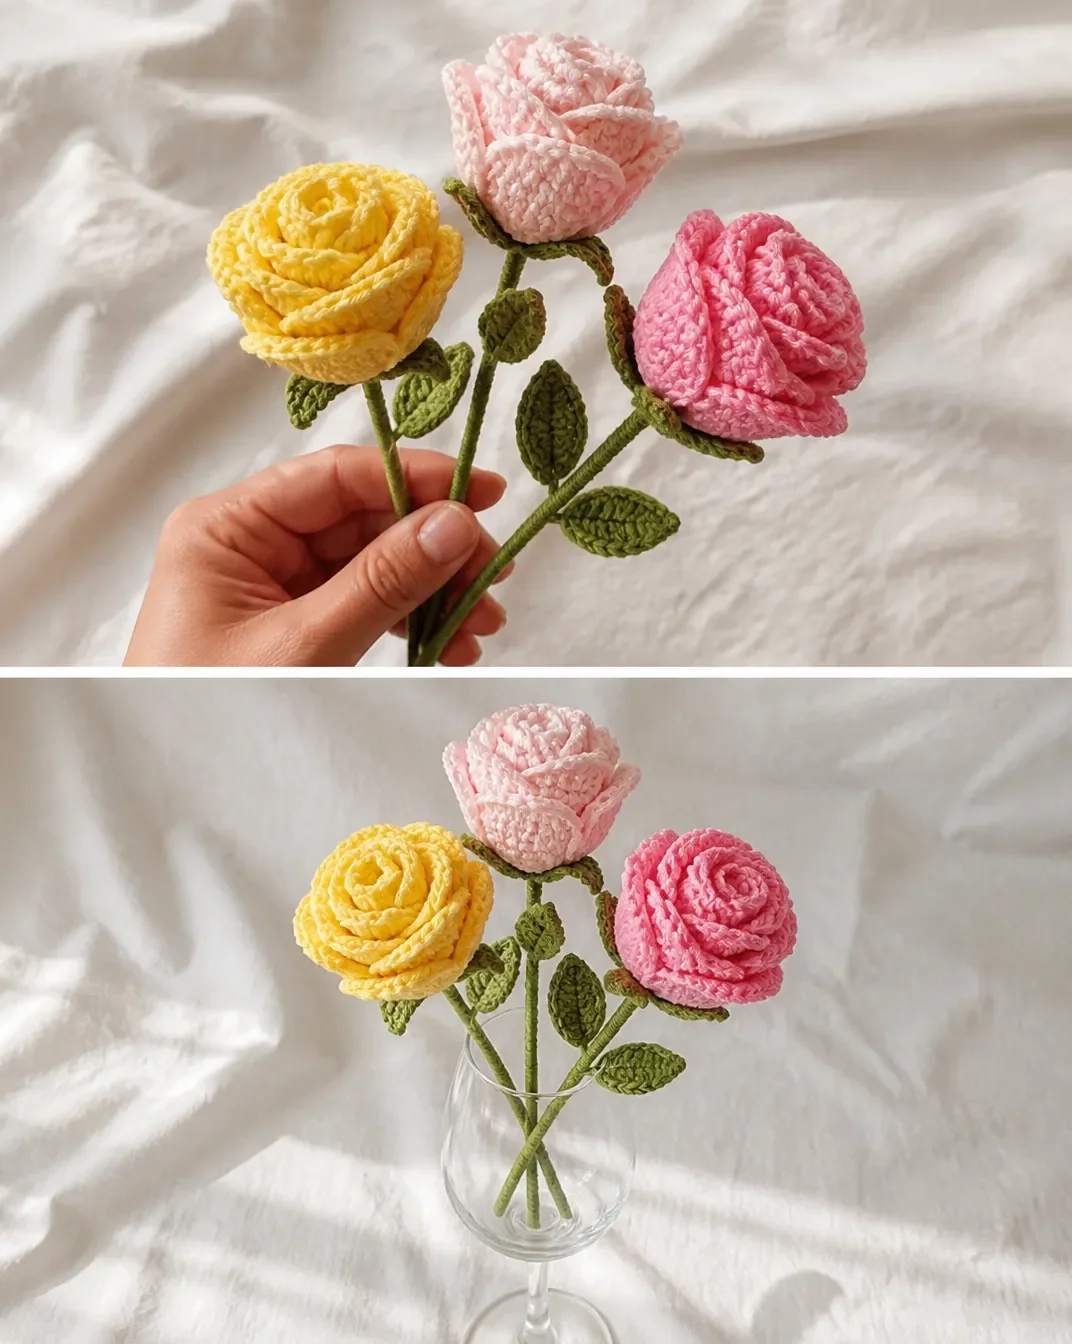
Complete Crochet Tutorial
The following instructions preserve the approved construction sequence for the Crochet Flower-Wineglass Rose.
Making the Petals
Create a series of chain stitches for the petal base, using single crochet stitches for curves.
The chain stitches form the foundation of each petal, while the single crochet stitches shape the curved edges. Keep your tension even, but avoid pulling the stitches too tightly because the petals need enough flexibility to bend and overlap during assembly.
As you make the petals, consider how much overlap you want around the flower center. Consistent petal shapes will create a more orderly rose, while slight differences can give the finished flower a softer, more natural appearance.
Crocheting the Flower Center
Work a small circle of stitches, increasing for a fuller center.
The center should be substantial enough to support the petals without becoming so large that it hides them. As you increase, gently spread the stitches to encourage a rounded shape. Keep the yarn tension steady so the circle lies smoothly rather than cupping sharply.
The center acts as the visual anchor of the flower. Leave enough yarn available for sewing if you plan to use the same strand for assembly, or finish it with the yarn needle after the circle is complete.
Adding the Leaves
Use green yarn to create leaf shapes with double crochets and attach to the flower base.
The double crochet stitches help produce taller, more elongated leaf shapes. Place the leaves where they can be seen beside the rose rather than completely underneath the petals. Their position can be adjusted before the final attachment so the flower has a balanced silhouette.
When attaching the leaves, sew through the flower base securely. Use small, neat stitches and keep the thread close to the crocheted fabric so the attachment is less noticeable from the front.
Assembling the Flower
Sew petals around the center, overlapping slightly, and secure the leaves.
Arrange the petals around the crocheted center before sewing. Overlap them slightly to create the layered appearance of a rose. Work around the flower gradually, checking that the petals remain evenly distributed instead of bunching on one side.
Once the petals are positioned, sew them securely around the center. Then attach the leaves to the flower base. The rose should hold its shape when lifted, but the petals should still have enough flexibility to be adjusted by hand.
Finishing the Project
Weave in loose ends and adjust petals for a natural look.
Use the yarn needle to weave loose ends into the back of the crocheted flower. Trim only after the ends are secure. Finally, gently arrange the petals and leaves until the flower looks full and balanced.
Attach or position the completed rose on the wine glass in the intended decorative location. Keep the finished piece removable unless you have a separate, suitable method for permanently securing it; the approved pattern specifically instructs you to assemble the flower for the wine-glass decoration but does not provide an adhesive or permanent attachment method.
Creative Ways to Use Your Project
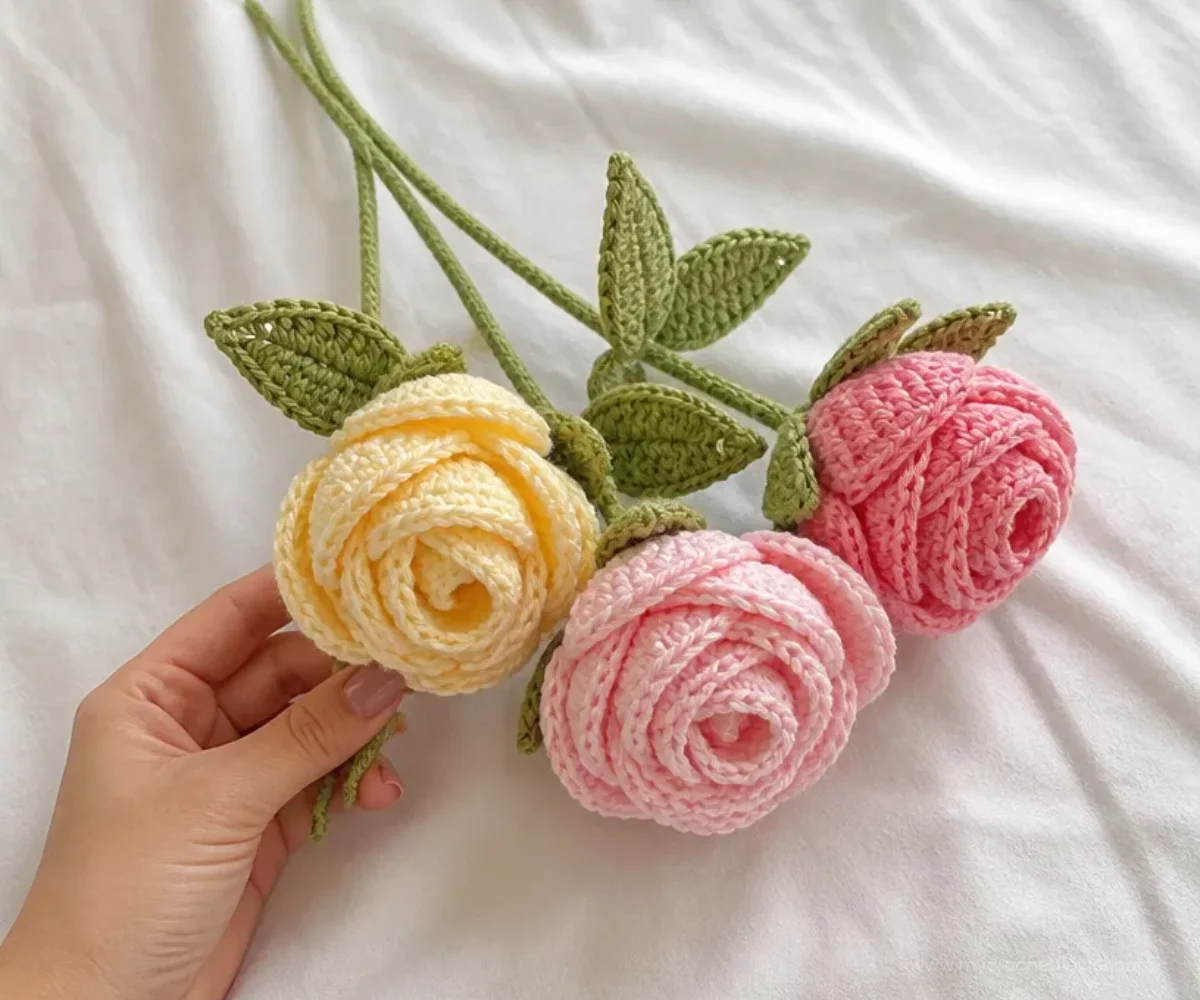
- Dress up a dinner setting: Place a rose-decorated wine glass at each setting for an elegant handmade accent.
- Create a celebration display: Use the glass as part of a birthday, anniversary, shower, or holiday table arrangement.
- Make a small gift set: Pair one decorated wine glass with a favorite beverage, a handwritten note, or another handmade item.
- Build a coordinated floral table: Make roses in complementary petal colors and arrange the glasses across a table.
- Use it as a centerpiece accent: Place the decorated glass among other table decorations, keeping the rose visible above the surrounding items.
- Try a wearable floral direction: For a smaller rose project with a different purpose, the crochet rose earrings pattern offers another way to explore rose-shaped crochet.
Caring for Your Crochet Project
Treat the finished rose as a decorative textile accent rather than as a washable dish accessory. Remove it from the wine glass before washing the glass, and avoid soaking the crocheted flower.
- Dust the petals and leaves gently with a soft, dry cloth or a clean, soft brush.
- If a small spot appears, use careful spot cleaning with minimal moisture and allow the flower to dry completely.
- Reshape the petals by hand while they are dry, making small adjustments around the center.
- Store the rose in a clean, dry place away from excessive heat and direct moisture.
- Avoid compressing the flower under heavy objects, since the petals may lose their curved shape.
- Keep the finished decoration protected when transporting it to prevent the petals or leaves from catching.
If the yarn manufacturer provides care instructions, use those recommendations for the specific yarn you selected.
Tips for Better Results
- Keep petal tension consistent: Even chain and single crochet tension helps the petals look similar when arranged around the center.
- Shape each petal as you work: Gently flatten or curve the fabric so the final petal does not need excessive reshaping.
- Make the center full but controlled: The center should support the petals while leaving their edges visible.
- Check the leaf placement before sewing: Hold the green leaves against the flower base and adjust their angle before attaching them.
- Overlap petals gradually: Slight overlap creates a rose effect, but too much overlap can hide the center and make the flower bulky.
- Use the yarn needle neatly: Small stitches through the flower base will secure the components without distracting from the front.
- Weave in ends before final shaping: Loose ends can interfere with the arrangement, so secure them before making the last petal adjustments.
- Test the scale on the glass: Hold the flower against the wine glass before completing the assembly to confirm that the decoration looks proportionate.
Color and Styling Variations
The approved pattern uses a petal color, green yarn for leaves, and a wine glass. You can personalize the appearance while keeping the construction unchanged.
- Classic rose: Use a traditional rose shade with medium or dark green leaves.
- Soft celebration palette: Try pale pink, cream, or peach petals for a gentle table setting.
- Seasonal colors: Choose warm orange, burgundy, or golden petals for an autumn display.
- Winter-inspired styling: White petals with deep green leaves can complement a holiday table.
- Mixed wine-glass arrangement: Make several flowers in related colors and distribute them across a table.
- Minimalist look: Use one petal color and a clear glass so the crocheted texture remains the focus.
Changing yarn type or hook size is optional, but it may affect the fabric’s thickness, the size of the petals, the fullness of the center, and the overall scale of the decoration. If you make a change, check the flower’s proportions before attaching it to the glass.
A larger arrangement can also use a repeated floral theme; a crochet rose garland pattern may provide inspiration for coordinating roses in a broader display.
Frequently Asked Questions
Is this crochet flower-wineglass rose suitable for beginners?
Yes. The project uses chain stitches, single crochet stitches for petal curves, double crochet stitches for leaves, sewing, and basic finishing. Beginners should work slowly during assembly because the petal arrangement determines the final rose shape.
What yarn colors are needed?
You need yarn in a petal color and green yarn for the leaves. The pattern does not restrict you to a particular petal shade, so you can select colors that match your table or gift theme.
Which crochet hook should I use?
Use a size G or H crochet hook. Choose the one that feels comfortable and produces petals with enough structure to hold their shape while remaining flexible.
How are the petals attached?
Sew the petals around the flower center, overlapping them slightly. Arrange the petals first, then secure them with the yarn needle once the rose has the shape you want.
How are the leaves made?
Use green yarn to create leaf shapes with double crochets, then attach the leaves to the flower base.
Can I change the flower color?
Yes. Changing the petal color is an optional styling choice and does not alter the approved construction sequence. Keep the green yarn for the leaves if you want the flower to retain a traditional botanical appearance.
How do I clean the wine glass?
Remove the crocheted decoration before cleaning the glass. Care for the flower separately with gentle dusting or careful spot cleaning, avoiding soaking.
How can I keep the rose looking natural?
After sewing, adjust the petals by hand so they overlap slightly without hiding the center. Arrange the leaves at visible angles and reshape the flower whenever it becomes compressed during storage.
Conclusion
The Crochet Flower-Wineglass Rose is a charming way to combine simple crochet components into a useful table decoration or handmade gift. Its layered petals, rounded center, and green leaves create a recognizable floral accent that can be customized for many occasions. For another source of rose inspiration, explore this crochet 3D rose free pattern, then enjoy arranging your finished wine-glass flower.