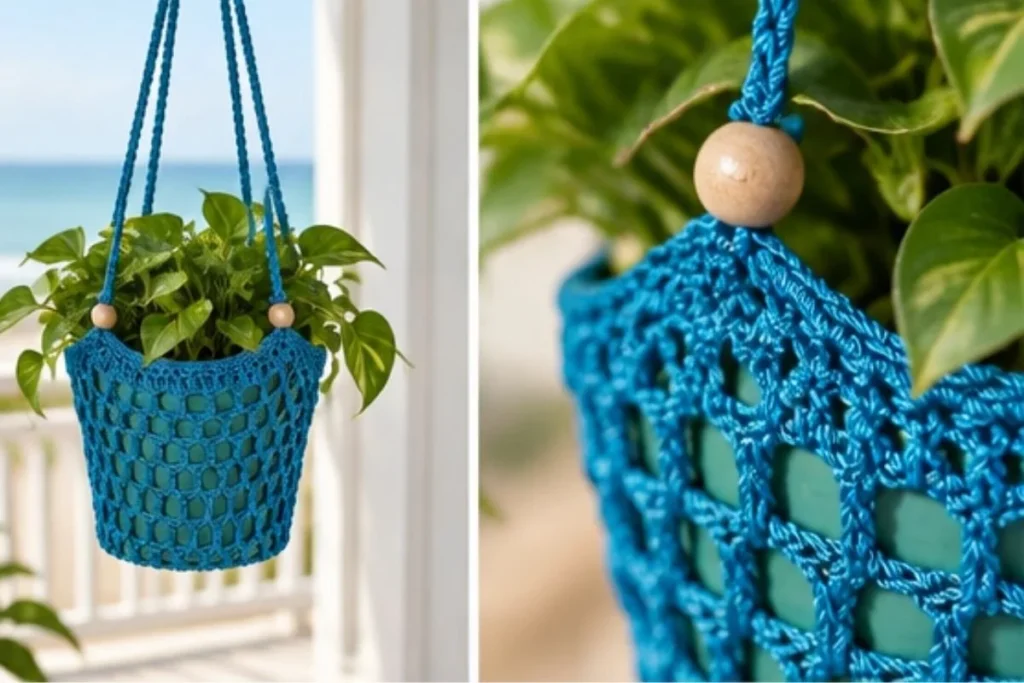
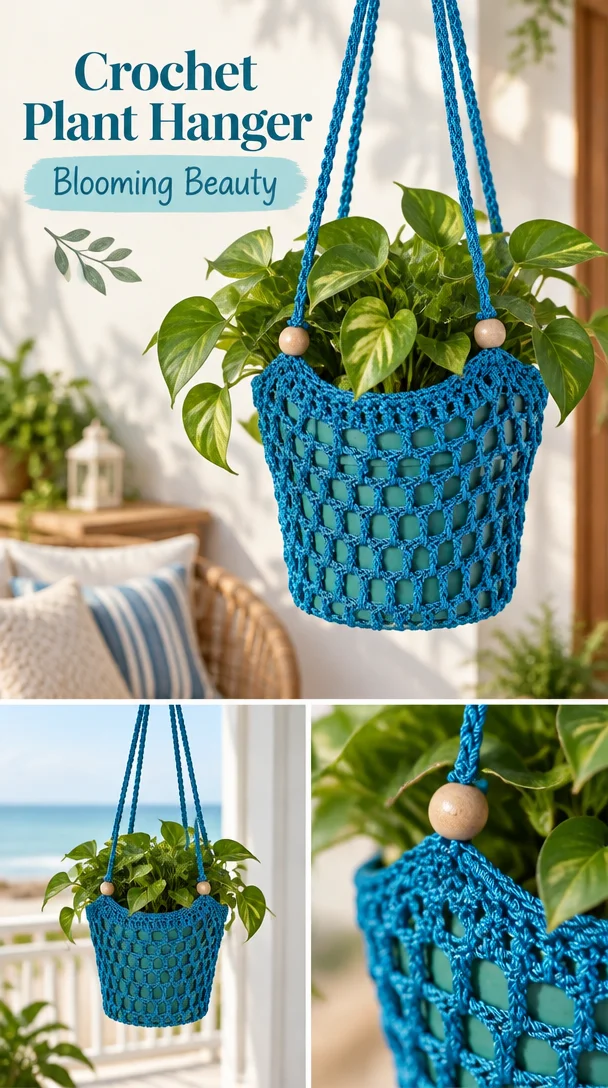
A Crochet Blooming Beauty Plant Hanger is a practical way to display a small potted plant while adding handmade texture to a room. Worked in teal crochet nylon, the open lace-like sack holds a 6-inch planter, and two simple straps make it ready for hanging. The project is an enjoyable choice for crocheters who like useful home décor, and it can also become a thoughtful handmade gift. For another floral-inspired project to pair with it, explore this 3D flower granny square crochet pattern.
Why You’ll Love This Crochet Project
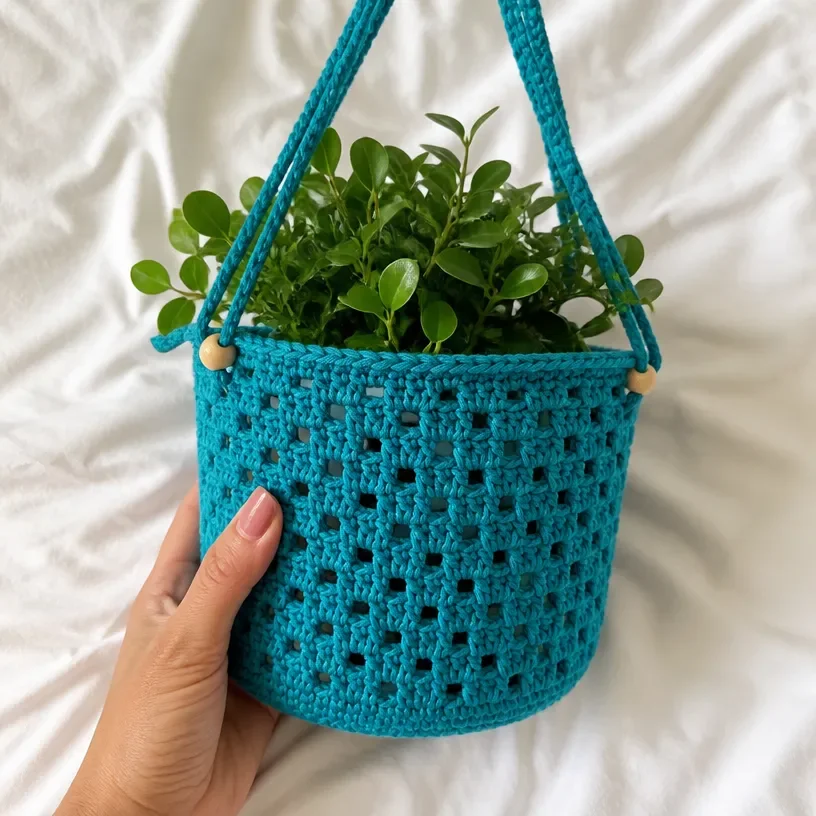
- It creates useful home décor. The finished hanger turns an ordinary small planter into a decorative hanging display.
- The construction is easy to follow. The sack is worked from the bottom up in joined rounds, followed by two matching straps.
- It practices essential crochet skills. You will work double crochet, single crochet, chain spaces, joined rounds, stitch counting, and slip-stitch joins.
- It makes a practical handmade gift. A small plant hanger is suitable for housewarmings, birthdays, office décor, or plant-loving friends.
- The teal color has a clean botanical feel. It coordinates well with green foliage, white pots, terracotta, and neutral interiors.
My Crochet Flower Tip: Place the stitch markers as soon as the sack is finished. They make the strap placement much easier and help keep the front and back aligned during finishing.
Before You Start Crocheting
This pattern includes three crocheted components: one sack and two straps. The sack is worked in joined rounds, bottom up, beginning with a small chain ring. The first three rounds increase the number of double crochet stitches, while Rounds 4–13 build the open sides without further increases. Rounds 14 and 15 close the open spaces with solid stitches around the top edge.
Each strap is made separately. Row 1 is a chain of 100 stitches, and Row 2 is worked in the back bars of that chain with slip stitches. Long yarn tails are deliberately left on every strap end so the straps can be tied securely to the marked stitches on the sack.
The project is sized to fit a 6-inch (15 cm) diameter x 5-inch (12.5 cm) tall plastic planter. Four locking stitch markers identify the attachment points: the 8th, 23rd, 38th, and 53rd stitches.
Abbreviations
- ch: chain
- sc: single crochet
- dc: double crochet
- sl st: slip stitch
Materials You’ll Need
- RED HEART® Crochet Nylon™: 1 tube, 53 Teal
- Susan Bates® Crochet Hook: 4mm [US G-6]
- Yarn needle
- 4 locking stitch markers
- 6-inch (15 cm) diameter x 5-inch (12.5 cm) tall plastic planter
- Clear nail polish or super glue
- Four ½-inch (12mm) wooden beads (optional)
The crochet nylon gives the hanger a firm, structured texture. The locking stitch markers are used to identify the four strap-attachment points. Clear nail polish or super glue helps prevent the trimmed nylon ends from fraying.
Step-by-Step Crochet Instructions
Plant Hanger Sack
Worked in joined rounds; bottom up.
Ch 6; join with slip st in first ch to form a ring.
Round 1
Ch 4 (counts as first dc, ch 1 here and throughout),
(dc, [ch 1, dc] 8 times) in ring, ch 1;
join with slip st in 3rd ch of beginning ch
10 dc and 10 ch-1 spaces
Round 2
(Slip st, ch 4, dc) in first ch-1 space,
[ch 1, dc] twice in each remaining ch-1 space around, ch 1;
join with slip st in 3rd ch of beginning ch
20 dc and 20 ch-1 spaces
Round 3
(Slip st, ch 4, dc) in first ch-1 space,
ch 1, dc in next ch-1 space,
*ch 1, dc in next ch-1 space, [ch 1, dc] twice in next ch-1 space; repeat from * around, ch 1;
join with slip st in 3rd ch of beginning ch
30 dc and 30 ch-1 spaces
Rounds 4–13
Slip st in first ch-1 space,
ch 4, dc in next ch-1 space,
(ch 1, dc) in each remaining ch-1 space around, ch 1;
join with slip st in 3rd ch of beginning ch.
Repeat this same instruction for Rounds 4 through 13.
Round 14
Ch 3 (counts as first dc),
dc in each dc and ch-1 space around;
join with slip st in top of beginning ch
60 dc
Round 15
Ch 1, sc in each dc around;
join with slip st in first sc
60 sc
Fasten off.
Stitch Marker Placement
Place marker on the 8th, 23rd, 38th and 53rd sts.
Straps Make 2
Row 1
Leaving a 15-inch (38 cm) tail, ch 100.
Fasten off, leaving a 15-inch (38 cm) tail.
Row 2
Leaving a 15-inch (38 cm) tail and working in back bars,
join yarn with slip st in first ch, slip st in each ch across.
Fasten off, leaving a 15-inch (38 cm) tail.
Make a second strap using the same instructions.
Finishing
Optional: Thread wooden bead through both tails at each end of straps.
Flatten sack and lay on a flat surface with front side facing, matching front and back markers at each end.
Beginning at front on right side, tie and securely knot tails at end of strap through marked st.
Trim ends and apply nail polish or super glue to cut end to prevent fraying.
Repeat to tie other end of strap to matching st at back of piece.
Repeat to tie 2nd strap to left side.
Weave in ends and apply nail polish or super glue.
When tying the straps, make sure each knot is secure and positioned directly through the marked stitch. The markers divide the top edge into four attachment locations so the weight of the planter can be distributed between the two straps.
Ways to Display Your Finished Crochet
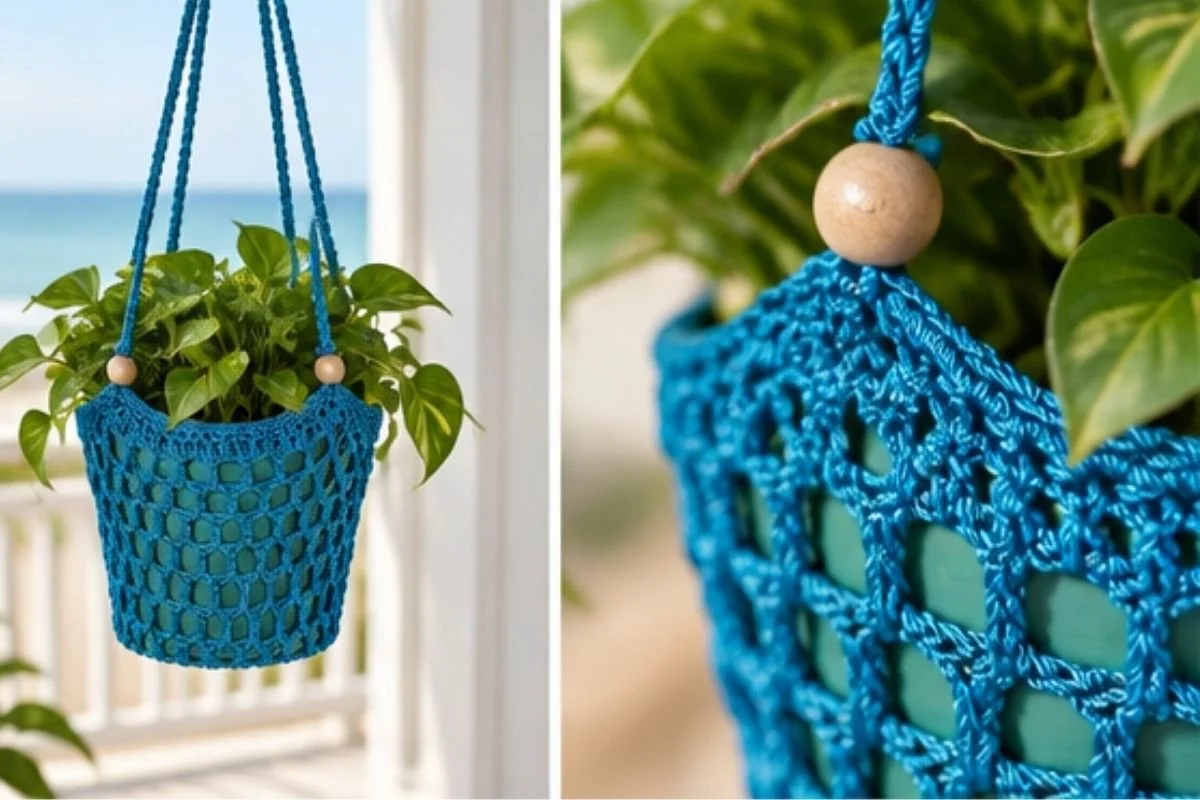
- Hang it near a bright window. Display the plant hanger where the foliage can be appreciated without placing the pot directly on a windowsill.
- Create a coordinated plant corner. Use two or three hangers at different heights, making sure each hanging location is secure and appropriate for the planter’s weight.
- Give it as a housewarming gift. Add a small plant and a compatible plastic planter for a ready-to-display present.
- Use it for seasonal décor. Teal works especially well with spring greenery, white containers, and warm wood accents.
- Pair it with other handmade floral pieces. A floral wreath, such as this crochet April flowers wreath pattern, can help create a coordinated botanical display.
- Add optional wooden beads. Thread the beads through the paired strap tails for a simple decorative detail at each strap end.
Caring for Your Crochet Project
Keep the plant hanger dry and protect it from unnecessary moisture. Since the project includes nylon, tied strap attachments, wooden beads, and nail polish or glue on the cut ends, gentle handling is preferable to soaking or machine washing.
Dust the hanger with a soft, dry cloth or a clean, soft brush. If a small area needs cleaning, use a barely damp cloth and avoid saturating the crochet. Allow it to air-dry completely before placing the planter back inside.
Check the knots and strap attachments occasionally, especially when the hanger is holding a plant. Keep the finished piece away from excessive heat, sharp surfaces, and prolonged direct sunlight that could affect the nylon or wooden beads. Store it flat or loosely folded in a dry place when it is not in use.
Helpful Crochet Tips
- Count the spaces as well as the stitches. The first three rounds depend on the correct number of ch-1 spaces. Round 1 has 10 dc and 10 ch-1 spaces, Round 2 has 20 of each, and Round 3 has 30 of each.
- Join each round carefully. The pattern specifies joining with a slip stitch in the 3rd chain of the beginning chain for Rounds 1–13. Round 14 joins in the top of the beginning chain, while Round 15 joins in the first sc.
- Watch the beginning chain counts. In Rounds 1–13, ch 4 counts as the first dc plus a ch-1 space. In Round 14, ch 3 counts as the first dc.
- Keep your tension even. Very loose tension can make the sack too open, while tight tension can make it difficult to work into the chain spaces and may reduce flexibility.
- Work Row 2 of each strap in the back bars. This creates the specified strap texture and gives the long chain a more finished appearance.
- Leave the full 15-inch tails. The tails are needed to tie the straps to the marked stitches, so do not trim them before assembly.
- Flatten the sack before attaching the straps. Matching the front and back markers while the sack is flat helps keep the two straps evenly positioned.
- Secure nylon ends immediately. After trimming, apply clear nail polish or super glue to the cut ends to help prevent fraying, then allow the adhesive to dry fully.
Creative Ways to Customize Your Project
The approved pattern uses one tube of RED HEART® Crochet Nylon™ in 53 Teal, but the following ideas are optional styling variations and do not change the original instructions.
- Try a different color palette. A neutral shade can create a minimalist hanger, while a bright color can make the planter a stronger accent.
- Coordinate the planter and yarn. Match the yarn to the pot for a streamlined look, or choose contrasting colors for more visual definition.
- Use the optional wooden beads. The four ½-inch beads add a small natural detail where the strap tails are tied.
- Group several plant hangers. Use the same color for a uniform display or select complementary shades for a more playful arrangement.
- Coordinate with handmade accessories. Small crochet embellishments, such as crochet flower appliques, can inspire a broader floral-themed gift or décor collection.
- Consider yarn changes carefully. Substituting another yarn or changing the hook size may alter the tension, texture, dimensions, strap flexibility, and amount of yarn required. If you make a substitution, compare the finished sack with the specified planter before assembly.
Frequently Asked Questions
Is this plant hanger suitable for a beginner?
It can be a manageable project for a beginner who is comfortable with chains, double crochet, single crochet, slip stitches, joined rounds, and basic finishing. Careful stitch counting is especially important in the first three rounds.
What yarn and hook does the pattern use?
The pattern uses RED HEART® Crochet Nylon™: 1 tube, 53 Teal, with a Susan Bates® Crochet Hook, 4mm [US G-6].
How many straps are required?
Make 2 straps. Each strap begins with ch 100 and has a second row of slip stitches worked in the back bars.
What planter size does it fit?
The specified planter measures 6 inches (15 cm) in diameter x 5 inches (12.5 cm) tall. Compare your planter with the finished sack before using a different size.
Where should the straps be attached?
Place markers on the 8th, 23rd, 38th and 53rd stitches of the sack. The finishing instructions use these marked stitches to align the front and back strap attachments.
Are the wooden beads required?
No. Four ½-inch (12mm) wooden beads are optional. If used, thread one through both tails at each end of the straps before tying them to the marked stitches.
How can I prevent the nylon from fraying?
After trimming the strap ends, apply clear nail polish or super glue to the cut ends as directed. Handle the ends carefully while the adhesive dries.
Can I use a different yarn?
A different yarn may change the structure, openness, dimensions, strap flexibility, and yarn requirements. The specified nylon and 4mm hook provide the materials called for in the approved pattern, so substitutions should be evaluated against the planter size before finishing.
Conclusion
This Crochet Blooming Beauty Plant Hanger combines an openwork crochet sack with simple, sturdy straps to create attractive plant décor. Follow the stitch counts and marker placement carefully, secure every attachment point, and finish the nylon ends neatly. For the original pattern source, see the Red Heart Blooming Beauty plant hanger pattern.