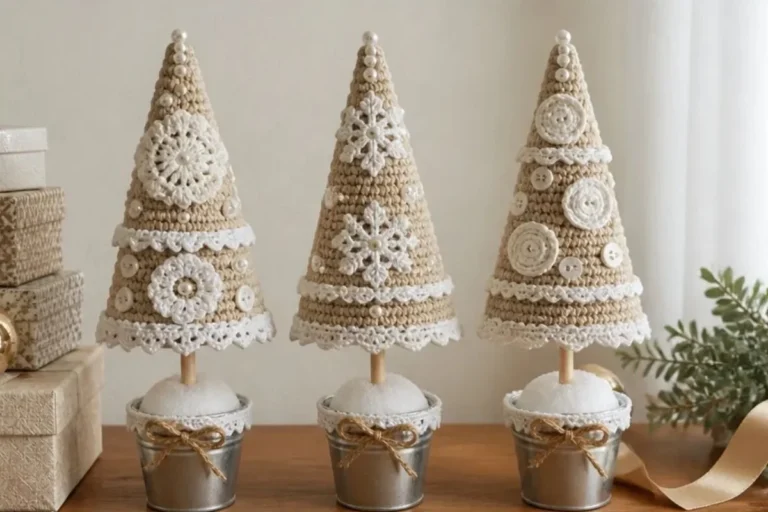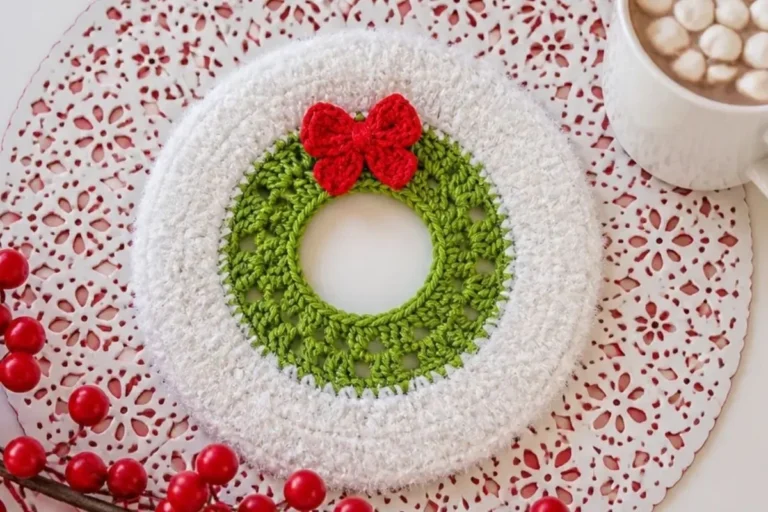
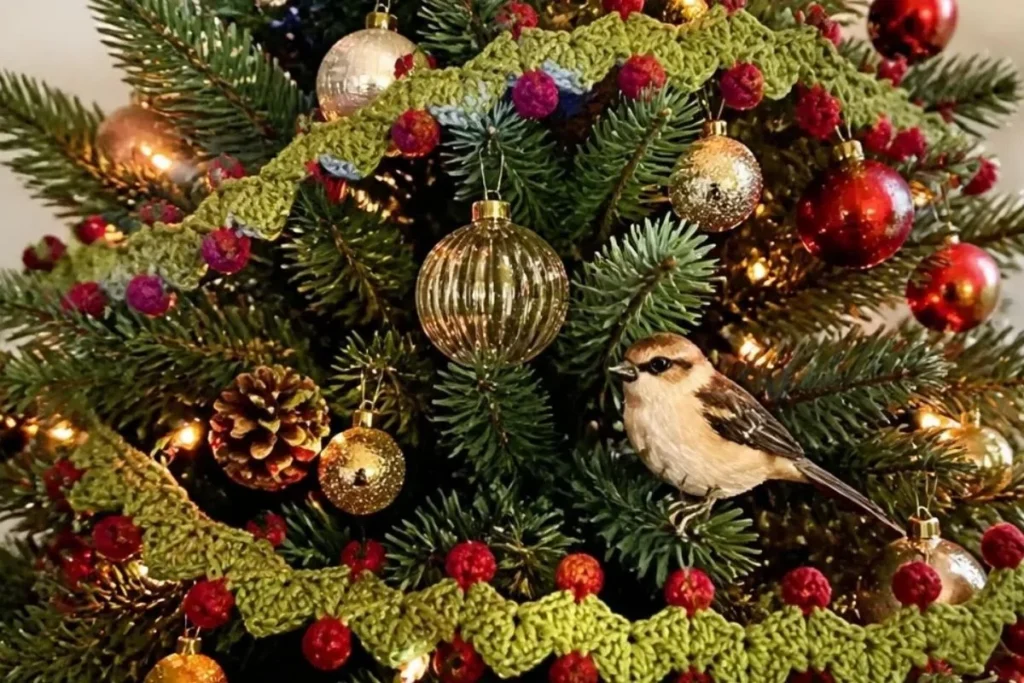
A Christmas Tree Garland Pattern brings festive color and delicate texture to mantels, shelves, stair rails, and holiday tables. This design uses green and berry-red yarn to create two long garlands with shell motifs, picots, and popcorn stitches that suggest stylized Christmas trees. The project is a rewarding choice for crocheters who enjoy color changes and decorative stitch work, and it can also become a thoughtful handmade gift. For another seasonal decorating idea, compare its flowing shape with this crochet rose garland pattern.
Why You’ll Love This Crochet Project
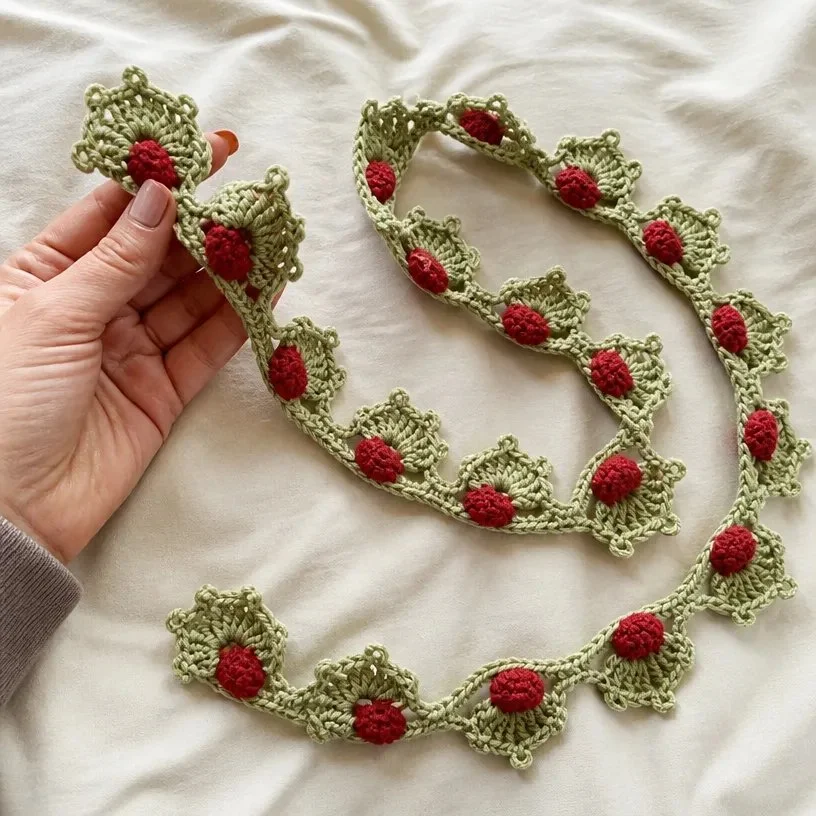
- It creates a coordinated pair. The pattern instructs you to make two garlands, giving you matching decorations for a mantel, window, shelf, or table.
- The colorwork is festive but manageable. Lettuce green and Berry Red create a classic Christmas palette without requiring a complicated chart.
- It practices decorative stitches. You will work shells, picots, and popcorns while learning how to carry yarn across the tops of stitches.
- It offers flexible display options. The garlands can be hung independently, layered together, or used as part of a larger holiday arrangement.
- It makes a useful handmade gift. A finished garland is lightweight, decorative, and easy to package with other crocheted holiday items.
My Crochet Flower Tip: Keep the two garlands together as you work or finish the first one before beginning the second so your stitch tension and color changes remain consistent.
Before You Start Crocheting
This project includes two identical garlands. Each garland begins with a foundation chain of 122 stitches and is worked across one side of the chain in Row 1, then across the opposite side in Row 2. Row 3 adds a final green shell over each popcorn stitch.
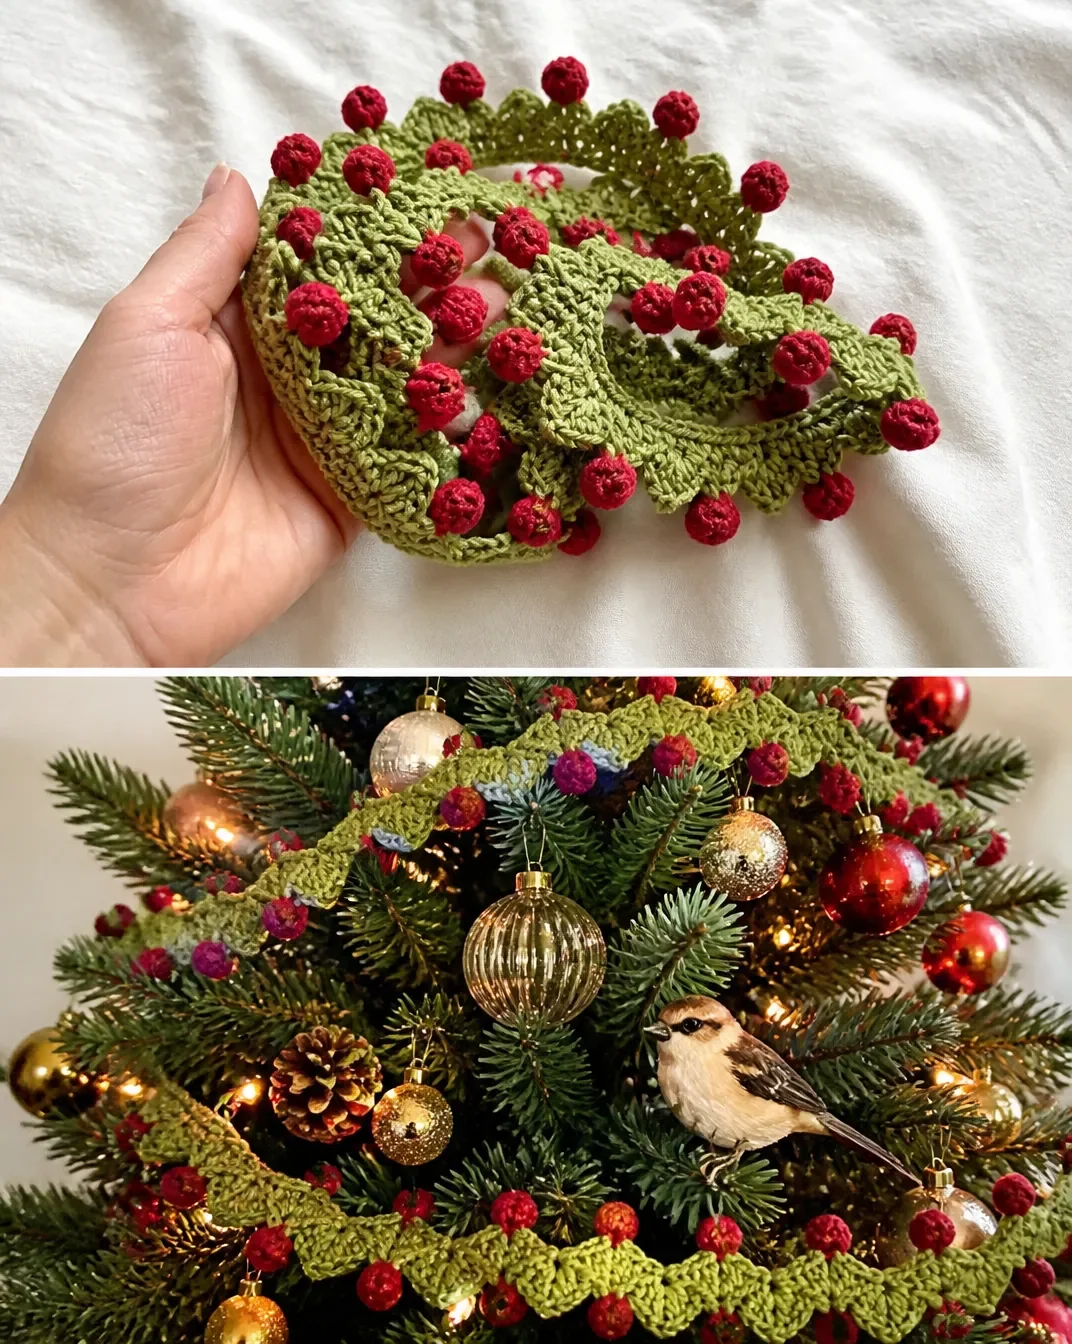
The design relies on two main decorative motifs. The shell is made with six double crochets and a picot in the center, while the popcorn is made with four single crochets closed into a raised stitch. Row 2 also introduces the color changes: Berry Red forms the popcorns, and Lettuce is carried across the tops of stitches between color changes.
A few standard abbreviations appear in the instructions:
- ch: chain
- sc: single crochet
- dc: double crochet
- sl st: slip stitch
Work carefully around the long foundation chain, since skipping the wrong chain can shift the placement of the 20 shells or 20 popcorns.
Materials You’ll Need
- RED HEART® With Love®, 1 skein each of:
- 1601 Lettuce A
- 1914 Berry Red B
- Susan Bates® crochet hook: 6mm [US J-10]
- Yarn needle
Lettuce is Color A and Berry Red is Color B throughout the pattern. Keeping the skeins organized on opposite sides of your work can make the color changes easier to follow.
Complete Crochet Instructions
Special Abbreviations
popcorn: 4 sc in next st, drop loop from hook, insert hook from front to back in first sc, pick up dropped loop, draw through loop on hook.
picot: Ch 3, sl st in top of last dc made.
Garland (make 2)
Make two garlands by completing the following instructions twice.
Foundation Chain
With A, ch 122.
Row 1 (right side)
Sc in 2nd ch from hook,
*skip next 2 ch, (3 dc, picot, 3 dc) in next ch,
skip next 2 ch, sc in next ch; repeat from * across,
ending with 2 sc in last ch, do not turn
– 20 shells.
The work remains facing the same direction after Row 1. The shell groups create the main scalloped decorative edge, and each picot adds a small pointed accent.
Row 2
Working across opposite side of foundation ch,
sc in each of next 2 ch,
complete last sc with B, drop A and carry across tops of sts and work over strand with B,
with B, work popcorn in next ch, yarn over with A and draw through (to complete a ch and change color), drop B and carry along tops of sts and work over strand with A*,
sc in each of next 4 ch,
complete last sc with B, drop A and carry across tops of sts and work over strand with B, skip next ch; repeat from * across,
ending last repeat at ,
sc in each of last 3 ch
– 20 popcorns.
Fasten off.
When carrying a color, keep the unused strand relaxed across the top of the stitches. Avoid pulling it tightly, since a tight carried strand can draw in the edge and make the garland less flexible.
Row 3
With right side facing, join A with a sl st in first sc of Row 2,
ch 1,
sc in first sc,
skip next 2 sc, (3 dc, picot, 3 dc) in top of next popcorn*,
skip next sc, sc in next sc;
repeat from * across,
ending last repeat at **,
skip next 2 sc, sc in last sc.
Fasten off.
Weave in ends.
The shell groups in this row are worked into the tops of the popcorns from Row 2. Take care to identify each raised popcorn before inserting your hook.
Finishing
Fasten off.
Weave in ends.
Use the yarn needle to secure each tail neatly through the wrong side of the work. Since the garland may be hung or moved, weave the ends through several stitches rather than trimming them immediately after one pass.
Ways to Display Your Finished Crochet
- Mantel decoration: Drape one or both garlands across a mantel, securing the ends discreetly so the shell motifs remain evenly visible.
- Table centerpiece: Lay the garland along the center of a holiday table around candles, a bowl, or a small seasonal arrangement. Keep the yarn away from open flames.
- Shelf styling: Place the garland along a bookcase or floating shelf with the popcorn row facing outward for extra texture.
- Window or doorway accent: Hang it across the top of a window or doorway as a soft alternative to plastic tinsel.
- Coordinated gift set: Give the pair as a handmade holiday decoration, or divide them between two gifts for matching seasonal accents.
- Layered holiday display: Combine the garland with ornaments, ribbons, or other crocheted decorations while keeping the green-and-red color scheme consistent.
For a more floral approach to seasonal handmade décor, the 3D flower granny square crochet pattern can provide inspiration for complementary textured pieces.
Caring for Your Crochet Project
Handle the finished garland gently when hanging or removing it. The picots and popcorns add raised details that can catch on rough surfaces, hooks, or other decorations.
Dust the garland with a soft, dry cloth or a clean, soft brush. For a small mark, use careful spot cleaning rather than soaking the entire piece. Avoid excessive heat, which can affect the shape and texture of the yarn.
Store the garland completely dry in a cool, dry place. Fold it loosely or coil it without tight bends, and place it in a breathable container or clean storage bag. Keeping it separate from items with sharp hooks or rough embellishments will help protect the decorative edges.
Tips for Better Results
- Count the foundation chain carefully. Begin with exactly 122 chains. A missing or extra chain can change the placement of the shell and popcorn motifs.
- Mark the right side if helpful. Row 1 is identified as the right side, and Row 3 must be worked with the right side facing.
- Watch the opposite side of the chain. Row 2 is worked across the opposite side of the foundation chain, not into the completed shell row.
- Make the picots consistently. Each picot is formed with Ch 3 followed by a slip stitch in the top of the last double crochet made.
- Keep carried yarn relaxed. During Row 2, carry the unused color across the tops of stitches and work over the strand as directed, but do not pull it tight.
- Locate each popcorn before Row 3. The shell in Row 3 is worked in the top of the next popcorn, so the raised stitches should be easy to identify.
- Check the motif count. Row 1 finishes with 20 shells, and Row 2 finishes with 20 popcorns. These counts are useful checkpoints before moving on.
- Weave in ends securely. The garland will be handled during display and storage, so pass each tail through multiple stitches on the wrong side.
Additional seasonal color and arrangement ideas can be found in the Celebrate Spring crochet pattern, especially when planning decorations around a broader botanical theme.
Color and Styling Variations
The approved pattern uses 1601 Lettuce for Color A and 1914 Berry Red for Color B, creating a traditional Christmas combination. Optional styling changes can include:
- Reverse the emphasis: Use a red foundation and green popcorn row for a stronger berry-colored base.
- Try a winter palette: Substitute a suitable white, cream, or icy blue yarn for one color, keeping in mind that a different yarn may change the texture, dimensions, and yarn requirements.
- Add metallic accents separately: Rather than changing the approved stitch instructions, pair the finished garland with metallic ribbon or ornaments in the display area.
- Create a coordinated arrangement: Use the two garlands together on a mantel and add neutral containers, wood tones, or gold-colored décor.
- Adjust the length only through repetition: Any change to the foundation chain or motif count would create a modified version and may affect the alignment of the shells and popcorns.
- Experiment with hook size cautiously: A different hook can change the fabric’s tension, drape, and final dimensions, so make a test section before committing to a full garland.
These are optional design ideas; the complete approved pattern remains worked with the listed yarn colors, 6mm hook, and specified stitch sequence.
Frequently Asked Questions
Is this Christmas tree garland pattern suitable for beginners?
It is a good project for crocheters who are comfortable with chains, single crochet, double crochet, slip stitches, and working into a foundation chain. The popcorn and color-carrying instructions require extra attention, so beginners may want to practice those techniques separately first.
How many garlands does the pattern make?
The instruction says “GARLAND (make 2)”, so complete the full pattern twice to make two matching garlands.
What yarn and hook are recommended?
The pattern specifies RED HEART® With Love®, with one skein each of 1601 Lettuce A and 1914 Berry Red B. Use a Susan Bates® 6mm [US J-10] crochet hook.
Can I change the colors?
Yes, color changes are an optional design choice. Keep the original color roles in mind: Color A is used for the shells and Color B forms the popcorns in Row 2. A different yarn or color may affect the finished texture, tension, and appearance.
Why is Row 2 worked across the opposite side of the foundation chain?
Row 2 builds the second side of the garland from the original foundation chain. This construction creates a long, connected decorative strip and positions the popcorns beneath the shells added in Row 3.
How do I know whether my stitch placement is correct?
Row 1 should finish with 20 shells, Row 2 should finish with 20 popcorns, and Row 3 should place a shell over each popcorn. Use these counts to check your work before fastening off.
How should I display the finished garland?
Drape it over a mantel, shelf, table, window, or doorway. Keep it away from open flames and avoid placing it where the picots or popcorns can snag on rough surfaces.
Can I wash the garland?
Use gentle dusting or careful spot cleaning as the first care options. Avoid soaking unless the yarn manufacturer’s care instructions specifically support it, and always allow the garland to dry completely before storing it.
Conclusion
This Christmas Tree Garland Pattern combines classic holiday colors with shells, picots, and raised popcorns for a decorative handmade accent. Make both garlands for a coordinated display, or customize the colors to suit your seasonal décor. For even more holiday inspiration, browse these Christmas garland pattern ideas after finishing your project.