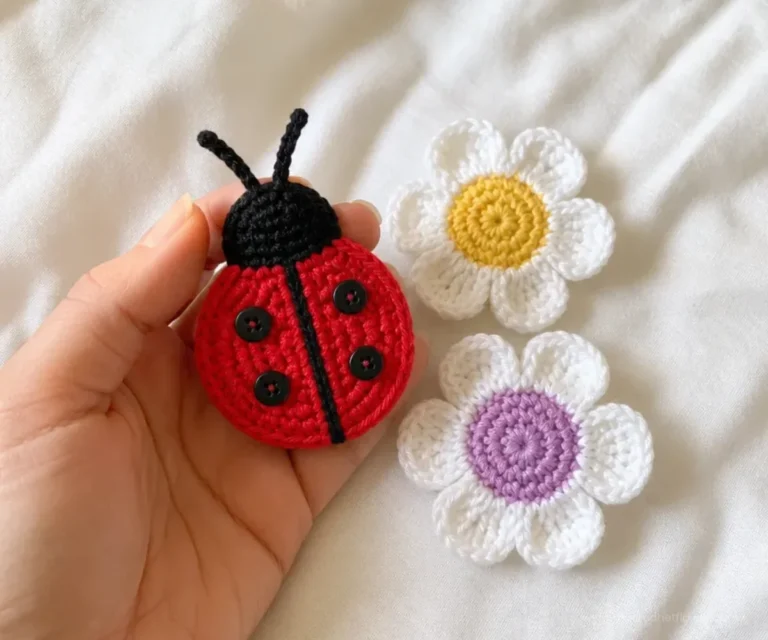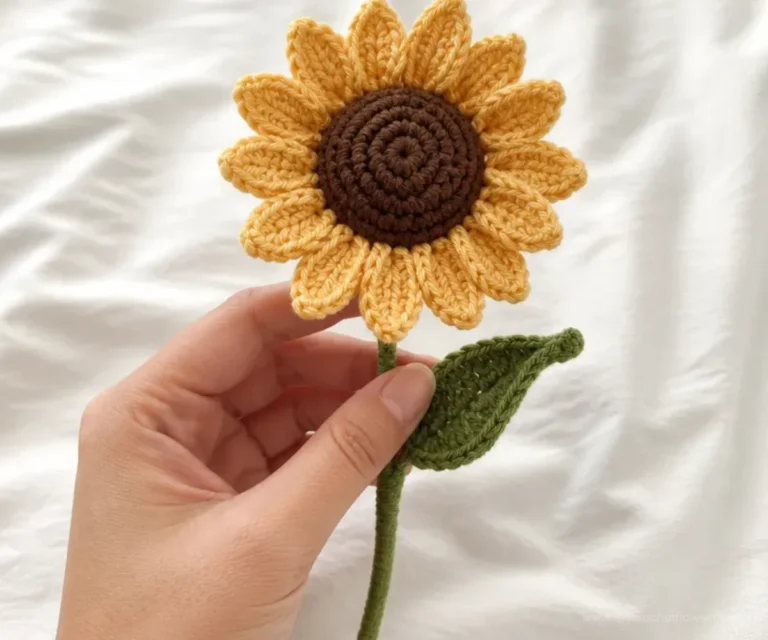
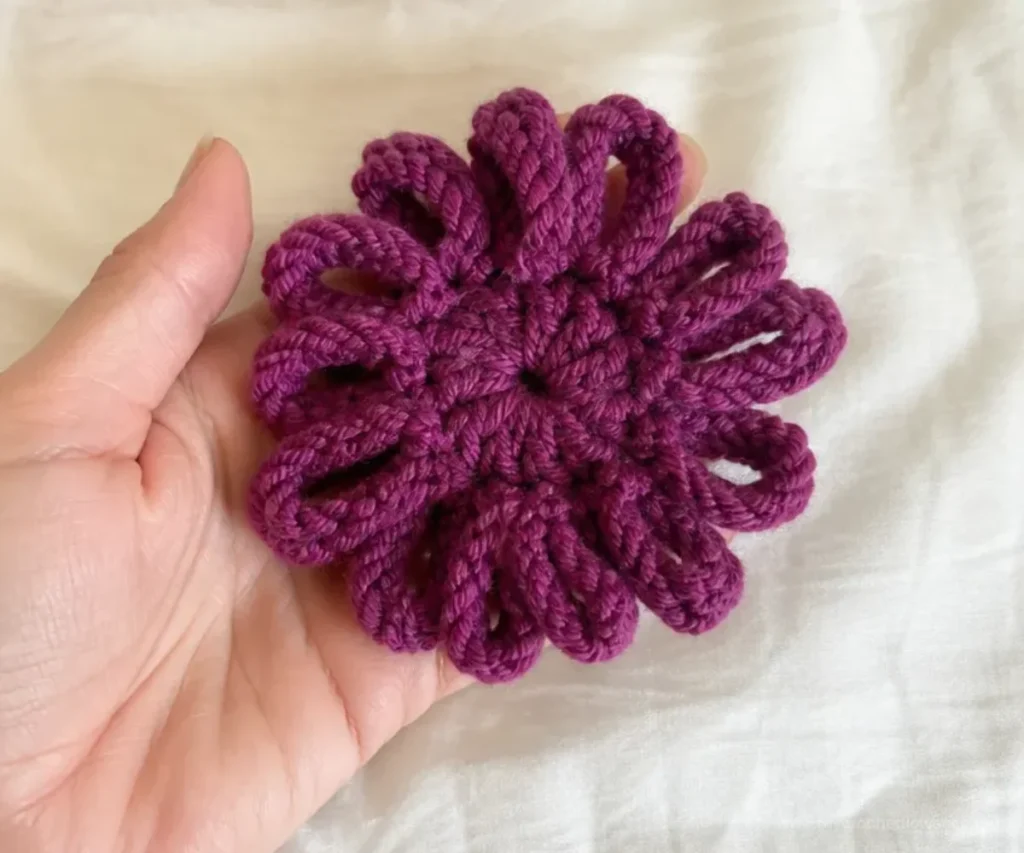
A loopy crochet flower is a quick, eye-catching project made with the textured sections of RED HEART® Boutique™ “Cosmic™” yarn. The thick sections naturally fold into soft loops while the thin sections create the crochet base, giving the finished flower a full, dimensional appearance. This Loopy Crochet Flowers Pattern is useful for beginners who want to practice working with novelty yarn, and the completed flower can become a pin, gift embellishment, or decorative accent.
Why You’ll Love This Crochet Project
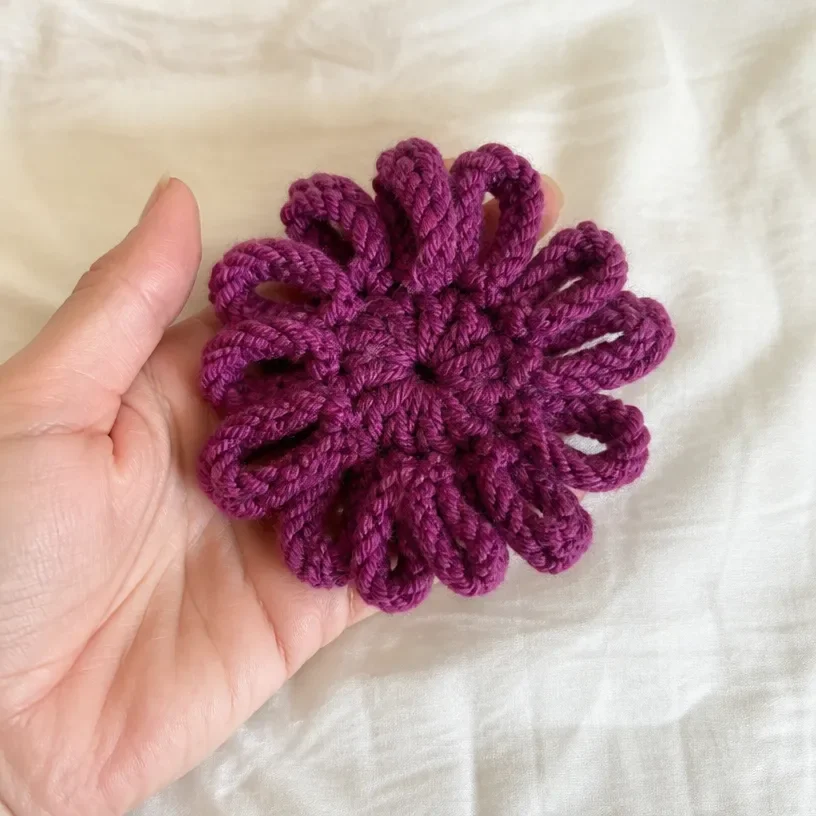
- The loops create the petals: The yarn’s thick sections form the flower loops without requiring complicated petal shaping.
- It uses a small number of supplies: One ball of yarn, a crochet hook, and a few finishing materials are all you need.
- It is a focused practice project: The pattern reinforces slip knots, chain stitches, single crochet, increases, joining, and fastening off.
- It offers flexible finishing options: Leave the flower as a decorative piece or add a pin back or clasp.
- It works well for handmade gifts: A finished flower can decorate wrapping, cards, accessories, or a seasonal display.
My Crochet Flower Tip: Before crocheting, identify the thin and thick sections of the yarn. Keeping those sections in the correct roles makes the loop formation much easier to follow.
Before You Start Crocheting
This project makes one loopy crochet flower. The setup creates 6 initial loops, and the two crochet rounds build the flower to 24 loops. The thick sections of the yarn fold to form the visible loops, while the thin sections are used for the chain stitches and single crochet.
The flower is crocheted in the round. The pattern specifically instructs you not to chain at the beginning of either round. After the flower is complete, you will fasten off and weave in the ends. An optional finishing step allows you to attach a pin back or clasp.
Abbreviations Used
- ch: chain
- sc: single crochet
- sl st: slip stitch
Materials You’ll Need
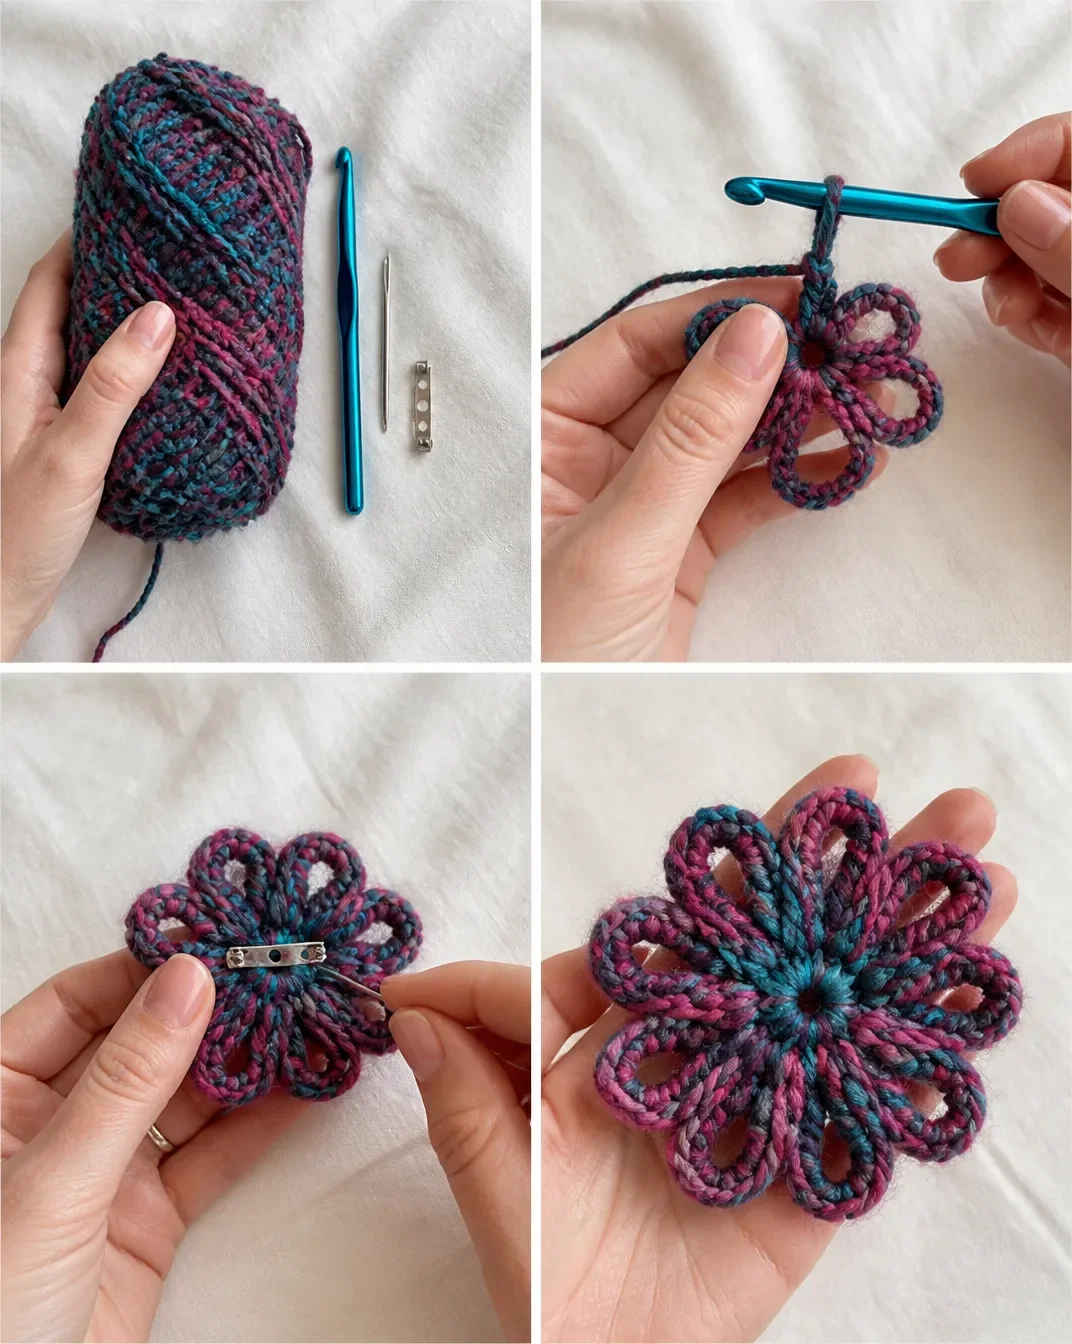
- RED HEART® Boutique™ “Cosmic™”: 1 ball, color desired
- Crochet hook: 5.5 mm [US I-9]
- Yarn hook: optional
- Pin back: optional, purchased
- Sewing needle and thread
The specialty yarn is central to the design. Its thin sections are used for the crochet stitches, while its thick sections fold into the flower’s loops. The yarn hook can help with weaving in ends, and the sewing needle and thread are used if you choose to attach a pin back or clasp.
Step-by-Step Crochet Instructions
Work through the setup first, then complete the two rounds without chaining at the beginning. Pay close attention to which yarn section is being used at each stage.
Flower
Setup / Initial Loops
- Using only the thin sections of the yarn, make a slip knot.
- Ch 1 in the same thin section.
- *Let the thick section fold on itself, forming a loop.
- Ch 2 with the next thin section.
- Repeat from * until you have 6 loops.
- Join with a sl st in the first ch.
At this point, the flower foundation consists of 6 loops joined into a circle. The thick sections should remain visible as loops around the center.
Round 1
Do not ch at the beginning of the round.
Using only the thin sections of the yarn and working 1 sc per thin section, letting the thick sections form loops as before, work:
2 sc in each loop around – 12 loops.
Continue around the entire foundation, allowing each thick section to fold into a loop as you work the corresponding thin section. The round increases the original 6 loops to 12 loops.
Round 2
Do not ch at the beginning of the round.
Using only the thin sections of the yarn and working 1 sc per thin section, work:
2 sc in each sc around – 24 loops.
As in Round 1, let the thick sections form loops while you crochet with the thin sections. Work around all the single crochet stitches from the previous round. The completed round produces 24 loops.
Fasten off.
Weave in ends.
Finishing Optional
With a sewing needle and thread, attach a pin back or clasp to the back of the flower.
Position the pin back or clasp securely on the center back of the flower before stitching. Keep the stitches close to the base so the front of the flower remains neat and the loops stay visible.
Creative Ways to Use Your Finished Crochet
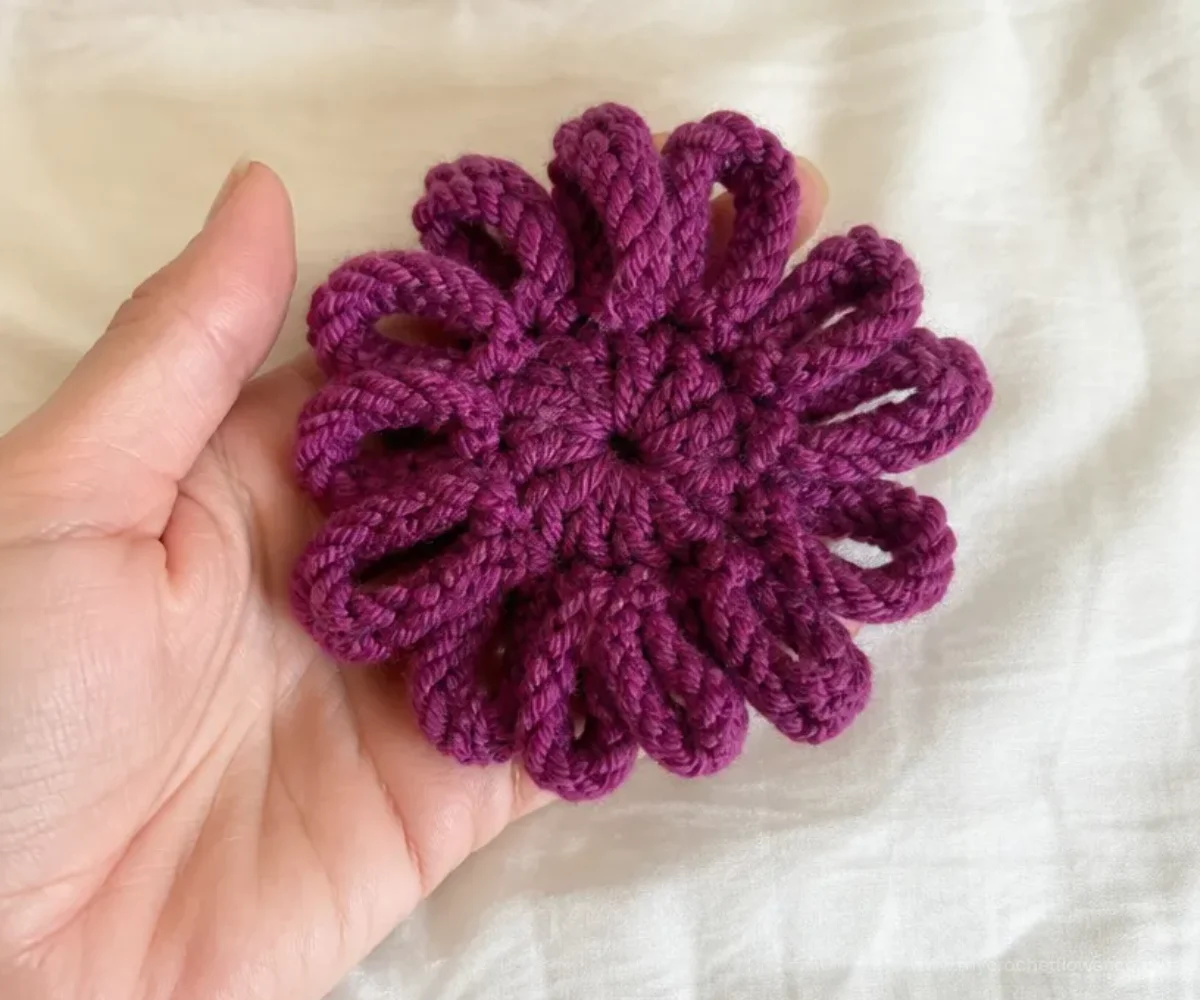
- Wear it as a pin: Add the optional pin back or clasp to a jacket, tote bag, scarf, or hat.
- Decorate gift wrapping: Stitch or attach the flower to a wrapped present for a reusable embellishment.
- Create a small floral display: Arrange several completed flowers in a shallow dish or decorative bowl.
- Make a seasonal accent: Choose colors that coordinate with spring, holidays, parties, or a particular room.
- Add texture to handmade cards: Secure the flower to a sturdy card front for a dimensional greeting.
- Combine contrasting colors: Make individual flowers in different shades and arrange them together as a cheerful decorative cluster.
Because this pattern creates a compact flower without stems or leaves, it is especially suited to flat displays, wearable accessories, and embellishments.
Caring for Your Crochet Project
Treat the finished flower gently, especially because the novelty yarn contains looped sections that can catch or pull.
- Dust the flower lightly with a soft, dry cloth or a clean, soft brush.
- For a small spot, use minimal moisture and dab carefully rather than rubbing.
- Do not pull on individual loops; reshape them gently with your fingers if they become displaced.
- Store the flower flat or in a container where it will not be compressed under heavier items.
- Keep it away from excessive heat, which may affect the yarn’s texture.
- If a pin back or clasp is attached, store the piece so the hardware does not snag the loops.
- Follow the yarn manufacturer’s care instructions for the specific yarn when cleaning is necessary.
Avoid soaking or machine washing the finished flower, particularly when it includes an attached pin back or clasp.
Tips for Better Results
- Separate the yarn sections before beginning. The thin sections are for crocheting, and the thick sections form the loops. Identifying them first reduces confusion.
- Keep the thick section folded on itself. Let it form a loop naturally instead of stretching it tight.
- Watch the loop count. The setup has 6 loops, Round 1 has 12 loops, and Round 2 has 24 loops.
- Do not add beginning chains. The instructions specifically say not to chain at the beginning of Round 1 or Round 2.
- Use the thin sections for the stitches. Working into the wrong yarn section can distort the center and make the loops uneven.
- Avoid pulling too firmly. Tight tension may flatten the thick sections and reduce the flower’s fullness.
- Join carefully during setup. The slip stitch in the first chain closes the foundation into a circle.
- Weave in the ends securely but gently. Novelty yarn can be bulky in places, so avoid tugging hard enough to disturb the loops.
Color and Styling Variations
The approved instructions should remain unchanged, but you can customize the finished flower through color and presentation choices.
- Try a single bold color: A saturated shade can make the loops stand out as a statement accessory.
- Use soft neutrals: Cream, gray, beige, or muted tones can suit understated home décor.
- Coordinate a group of flowers: Make several flowers in complementary colors for a bowl arrangement or gift set.
- Create a seasonal palette: Choose colors associated with spring, autumn, winter celebrations, or a special event.
- Style flowers as embellishments: Use individual flowers on packages, cards, bags, or fabric accessories.
- Experiment with display containers: A shallow dish, small basket, or decorative tray can showcase the flowers without requiring stems.
Using a different yarn or hook is optional and may change the size, texture, fullness, and amount of yarn required. The characteristic looped appearance depends on the thick and thin sections of the recommended novelty yarn, so substitutions may not produce the same result.
Frequently Asked Questions
Is this loopy crochet flower pattern beginner-friendly?
Yes. The pattern uses a slip knot, chain stitches, single crochet, increases, a slip-stitch join, fastening off, and weaving in ends. The main technique to observe is using the thin and thick yarn sections for their specified purposes.
How many flowers does the pattern make?
The instructions make one flower. To create a larger arrangement, repeat the pattern for each additional flower.
What yarn is recommended?
The pattern calls for RED HEART® Boutique™ “Cosmic™,” 1 ball in the color desired. The yarn’s thin sections are crocheted, while its thick sections form the loops.
What crochet hook size should I use?
Use a 5.5 mm [US I-9] crochet hook, as specified in the materials list.
Do I chain at the beginning of the rounds?
No. The instructions say, “Do not ch at beginning of round” for both Round 1 and Round 2.
How many loops should I have?
The setup creates 6 loops. Round 1 increases the flower to 12 loops, and Round 2 increases it to 24 loops.
Can I change the flower color?
Yes. The pattern allows the color desired, so you can select a shade that suits your project. Changing to another yarn may affect the flower’s texture and appearance.
Can I wear the finished flower?
Yes. The optional finishing instructions explain how to attach a purchased pin back or clasp to the back of the flower using a sewing needle and thread.
How do I keep the loops looking full?
Avoid pulling the yarn tightly while working. Let the thick sections fold naturally on themselves, and gently arrange any displaced loops after fastening off.
Can I use the flower in a bouquet?
You can arrange several finished flowers together as a decorative floral grouping. The approved pattern does not include stems, leaves, or wire, so the flowers are best suited to flat or container displays unless you add a separate support system as an optional craft modification.
Conclusion
This Loopy Crochet Flowers Pattern creates a textured flower with very little shaping and a distinctive dimensional finish. The setup and two rounds are easy to track by counting the loops, making the project useful for practicing novelty yarn techniques. Wear the finished flower as a pin, use it as a gift embellishment, or make several for a colorful display. For another loopy flower idea, compare it with this crochet loopy flower pattern.