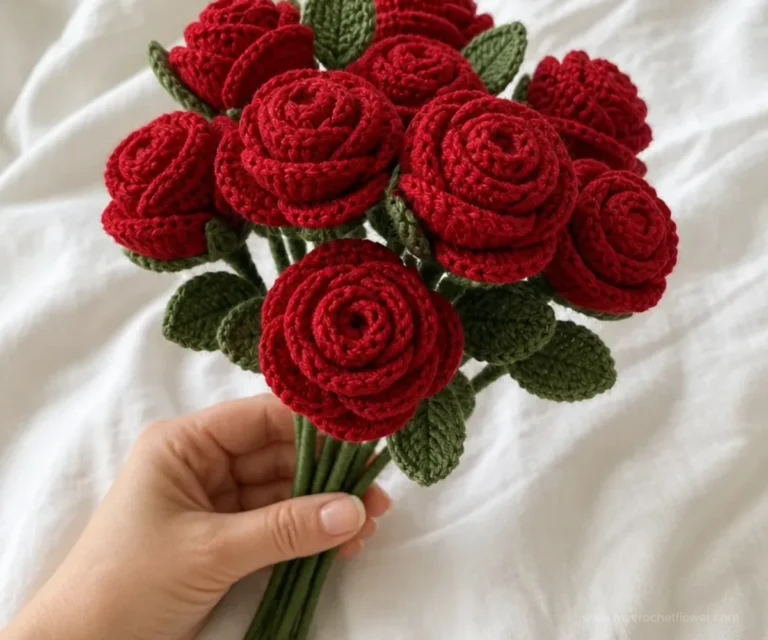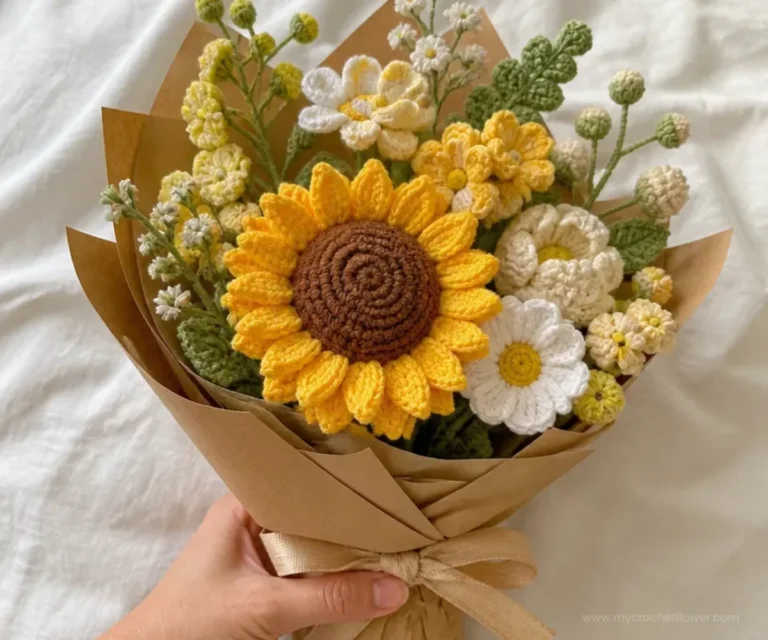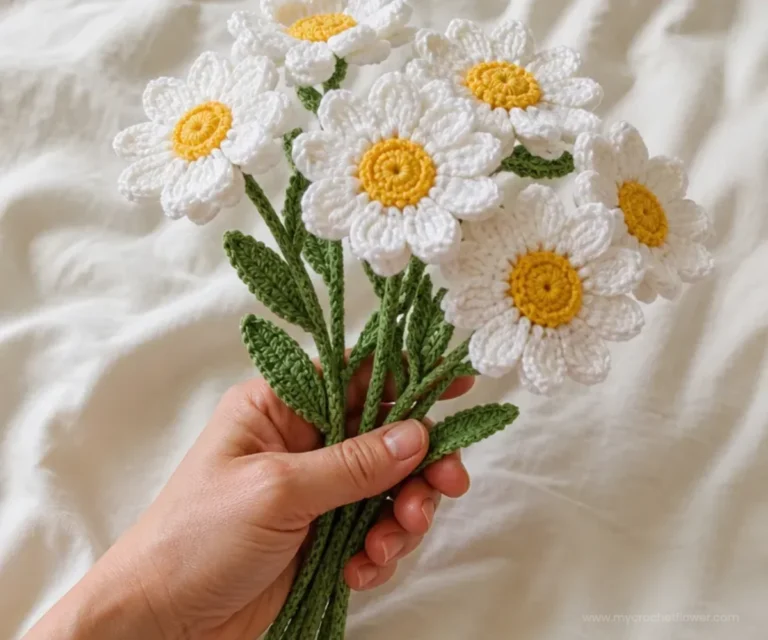

The Pansy Bouquet Pattern creates a cheerful crochet flower cluster with softly scalloped petals, small picot details, and contrasting pansy colors. The finished piece fits over a 3½-inch plastic pot, making it a charming tabletop decoration, handmade gift, or year-round floral accent. Because the design uses individual pansies sewn onto a crocheted green base, it is also a useful project for practicing color changes, shaping, joining rounds, and floral assembly.
Why You’ll Love This Crochet Project
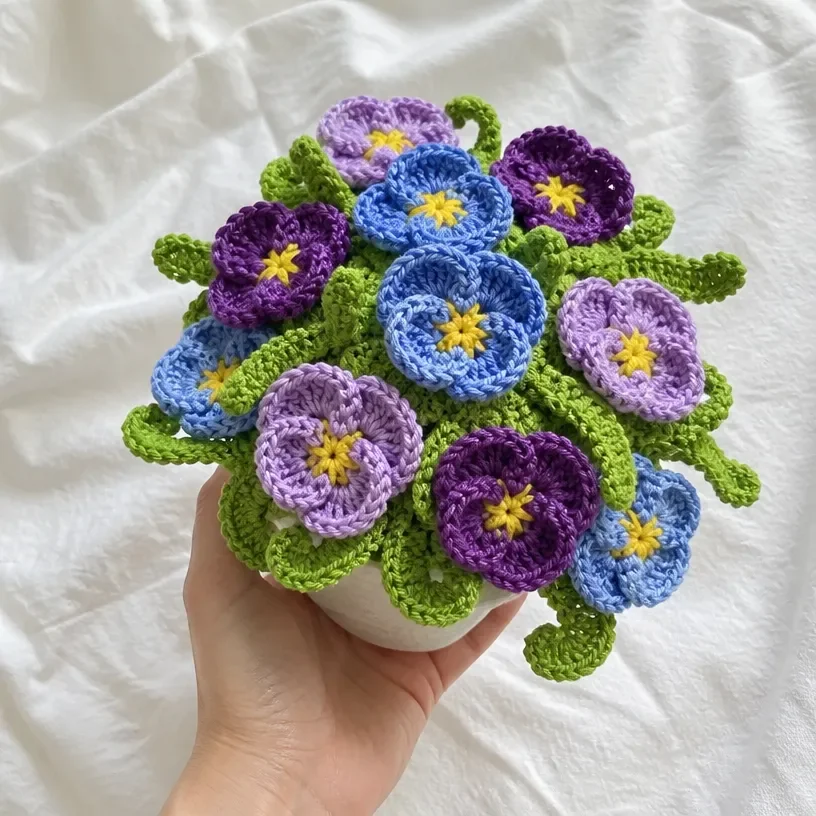
- It creates a complete floral display. The pansies are arranged around and inside a green base to form a full cluster rather than a single flat flower.
- It offers cheerful color contrast. Soft violet, hot purple, cornflower blue, sunshine yellow, and hot green create a lively botanical palette.
- It builds useful crochet skills. You will practice chains, single crochet, half double crochet, double crochet, picots, increases, and joining rounds.
- It makes a thoughtful handmade gift. Since the finished cluster is designed to cover a small plastic pot, it can be displayed without watering or sunlight.
- It is easy to customize visually. The approved construction can remain the same while you experiment with how the colors are arranged.
My Crochet Flower Tip: Keep the pansies grouped by color as you finish them. This makes it easier to alternate the colors evenly when sewing them around the base.
Before You Start Crocheting
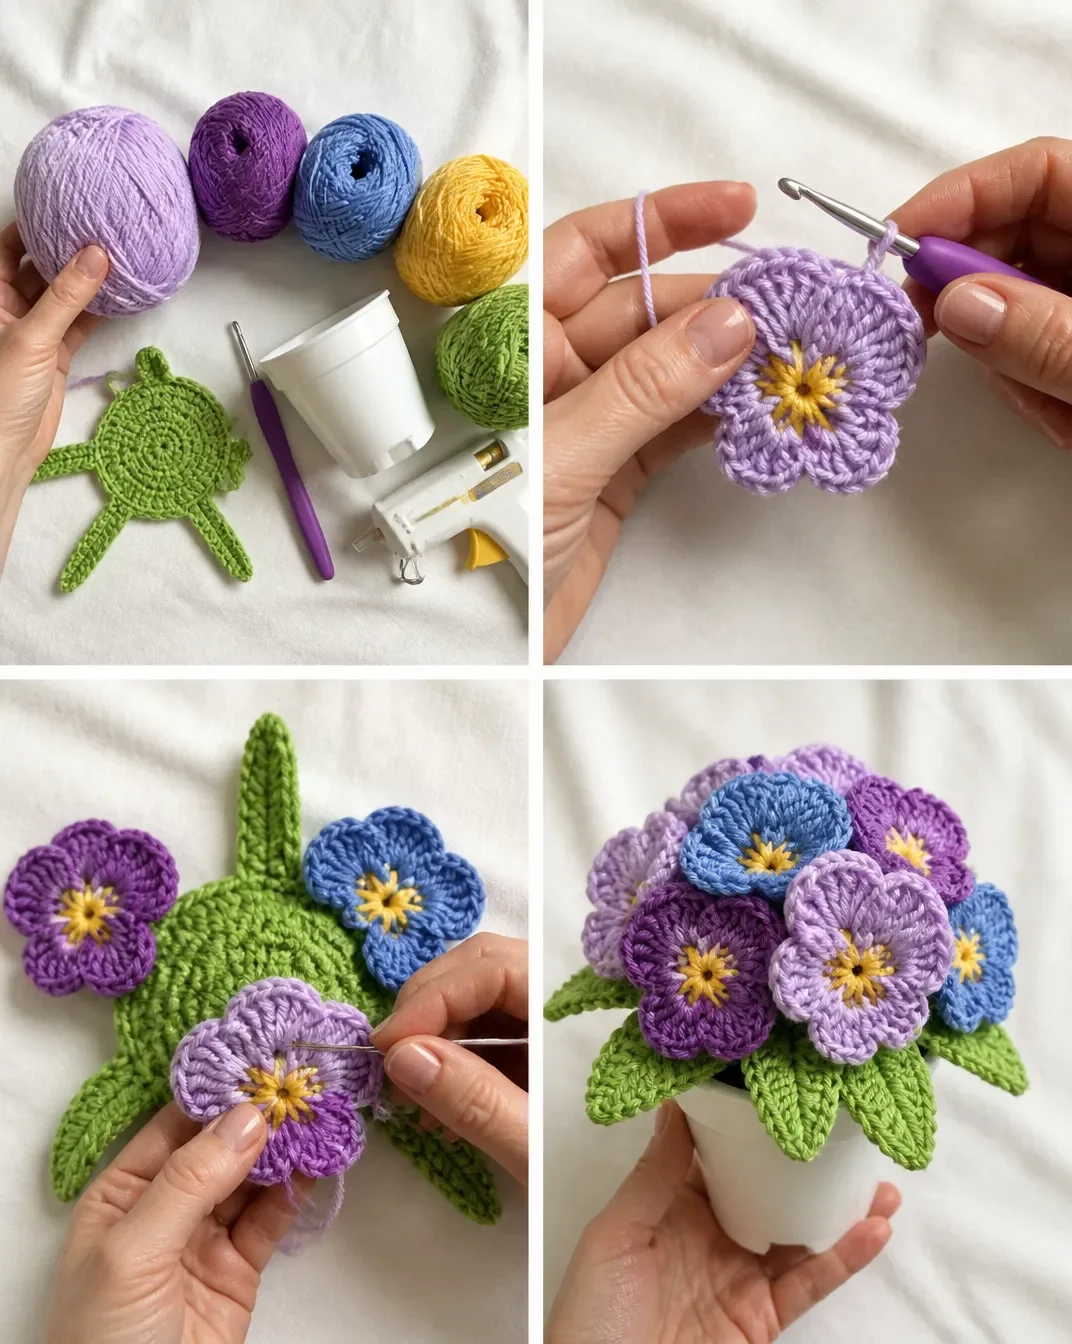
This Pansy Bouquet Pattern consists of nine pansies and one green crocheted base. Make three pansies with Contrast A, three with Contrast B, and three with Contrast C. Contrast D forms the first round of every pansy, while Contrast E is used for the base.
The base has four rounds. Its final round creates four long petals and four short petals. Six pansies are sewn around the base one at the beginning of each long petal and the remaining three pansies are sewn inside the base. Stuffing is placed inside the plastic pot before the completed cluster is positioned over it.
The pattern uses US crochet terminology. The supplied hook is a 4 mm (U.S. G or 6) crochet hook, or the size needed to obtain gauge. The plastic pot is 3½ ins [9 cm] in diameter.
Helpful Abbreviations
- ch: chain
- sc: single crochet
- hdc: half double crochet
- dc: double crochet
- sl st: slip stitch
- sp: space
- rnd: round
- picot: three chains followed by a slip stitch in the first chain
Materials You’ll Need
- Lily® Sugar’n Cream Solids: 2.5 oz/70.9 g
- Lily® Sugar’n Cream Ombres: 2 oz/56.7 g
- Contrast A (00093 Soft Violet): 1 ball
- Contrast B (01317 Hot Purple): 1 ball
- Contrast C (00083 Cornflower Blue): 1 ball
- Contrast D (00073 Sunshine): 1 ball
- Contrast E (01712 Hot Green): 1 ball
- Size 4 mm (U.S. G or 6) crochet hook, or size needed to obtain gauge
- Plastic pot: 3½ ins [9 cm] in diameter
- Hot glue gun
Amounts are given for the complete cluster of Pansies. The yellow yarn is used for the first round of each flower, the three contrasting colors create the remaining flower sections, and the hot green yarn forms the base.
Step-by-Step Crochet Instructions
Pansy
Make the first round with Contrast D. Each pansy then receives its second round in one of the flower colors.
With D, ch 4. Join with sl st to form a ring.
1st rnd: Ch 1. (2 sc in ring. Ch 2) twice. (2 sc in ring. Ch 5) 3 times. Join with sl st to first sc. Break D.
2nd rnd: Join Color 2 with sl st to first ch-2 sp. Ch 2. (2 hdc. Ch 3. 1 sl st in first ch – Picot made. 2 hdc) all in same ch-2 sp.
Miss next sc. Sl st in next sc.
(2 hdc. Picot. 2 hdc) all in next ch-2 sp.
[Miss next sc. Sl st in next sc. (1 hdc. 9 dc. 1 hdc) all in next ch-5 sp] 3 times.
Miss next sc. Sl st in next sc. Join with sl st to top of ch 2. Fasten off.
Pansy Cluster
Make 3 Pansies each with A, B and C as Color 2.
This produces nine pansies in total: three soft violet, three hot purple, and three cornflower blue. Set the completed flowers aside while you crochet the base.
Base
With E, ch 2.
1st rnd: 8 sc in 2nd ch from hook. Join with sl st in first sc.
2nd rnd: Ch 3 (counts as dc). 1 dc in same sp as sl st. 2 dc in each sc around. Join with sl st to top of ch 3. 16 dc.
3rd rnd: Ch 3 (counts as dc). 1 dc in same sp as sl st. 2 dc in each dc around. Join with sl st to top of ch 3. 32 dc.
4th rnd: Ch 1.
1 sc in each of next 4 dc. Ch 12. 1 sc in 2nd ch from hook. 1 hdc in next ch. (2 dc in next ch. 1 dc in next ch) 3 times. 2 dc in next ch. 1 hdc in next ch. 1 sc in next ch. 1 sc in each of next 4 sc. Ch 8. 1 sc in 2nd ch from hook. 1 hdc in next ch. 2 dc in next ch. 1 dc in next ch. 2 dc in next ch. 1 hdc in next ch. 1 sc in next ch. Rep from * around. Join with sl st to first sc. Fasten off. (4 long petals and 4 short petals).
Finishing
Sew 6 Pansies around Base – one at beg of each long petal, alternating colors.
Sew rem 3 Pansies inside of Base.
Place stuffing inside of pot.
Cover with Cluster of Pansies.
Glue Cluster to pot if necessary.
Ways to Display Your Finished Crochet
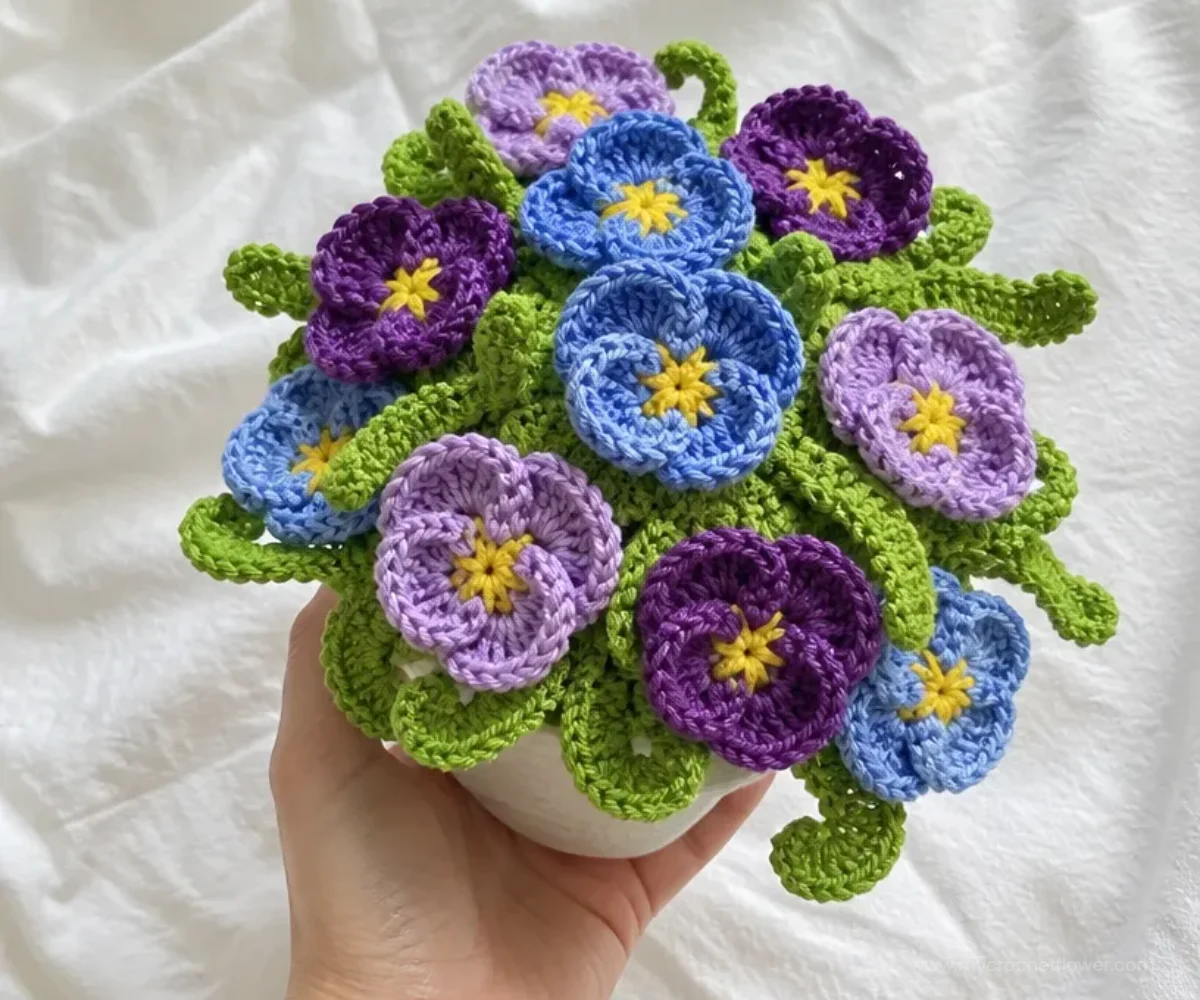
- Tabletop centerpiece: Place the potted pansy cluster in the center of a dining table, coffee table, or entryway console.
- Spring decoration: Use the bright flower colors to add a cheerful accent to a mantel, shelf, or windowsill.
- Handmade gift: Give the finished pot as a long-lasting floral gift for a birthday, housewarming, or special occasion.
- Desk decoration: The compact plastic pot makes the cluster suitable for a home office, craft room, or bedside table.
- Seasonal color display: Position it with other coordinated decorations and change the surrounding accents as the seasons change.
- Mixed crochet arrangement: Display it alongside other crocheted flowers, keeping the pansy cluster at the front where its layered petals remain visible.
Caring for Your Crochet Project
- Dust the pansy petals and green base gently with a soft, dry cloth or a clean, soft brush.
- Avoid soaking the finished cluster because it includes stuffing, a plastic pot, and hot-glued construction.
- For a small mark, use careful spot cleaning with minimal moisture, then allow the area to dry completely.
- Keep the pot away from excessive heat, which may soften or loosen the hot glue.
- Store the project upright in a dry place so the petals are not crushed.
- If a petal is pressed out of shape, gently reposition it by hand rather than pulling on the sewn attachment.
- When storing it for a season, place the cluster in a roomy container with light tissue around the flowers instead of compressing it.
Helpful Crochet Tips
Count the spaces in the first pansy round carefully. The first round creates two ch-2 spaces and three ch-5 spaces. These spaces produce the different petal shapes in the second round.
Mark the beginning of a round if needed. This is especially useful while working the green base, where the stitch count increases from 8 sc to 16 dc and then to 32 dc.
Remember that the beginning ch 3 counts as a dc. In the second and third rounds of the base, include this chain when checking the stated stitch counts.
Work the picot neatly. After chaining three, make the slip stitch in the first chain as instructed. This creates the small pointed detail in the shorter pansy petals.
Keep the long and short base petals distinct. The ch-12 sequence creates a long petal, while the ch-8 sequence creates a short petal. Their placement determines where the flowers are sewn.
Arrange the pansies before sewing. Lay six flowers around the base first and alternate the colors visually. Then place the remaining three inside the base before securing them.
Use small, secure stitches when attaching flowers. Sew through stable parts of the pansy and base so the petals remain supported without becoming visibly gathered.
Secure yarn ends before final assembly. Loose ends can show through the open spaces between the flowers, so weave them in neatly before covering the pot.
Color and Styling Variations
The following ideas are optional styling changes and do not alter the approved pattern instructions.
- Use a monochromatic arrangement: Make all nine pansies in one flower color for a coordinated violet, purple, or blue display.
- Create a softer palette: Pair the yellow centers with pale-looking color combinations if you substitute yarn, while keeping the same component quantities and construction.
- Emphasize the original contrast: Alternate soft violet, hot purple, and cornflower blue around the base so each flower color appears evenly.
- Coordinate the pot: A neutral plastic pot keeps attention on the flowers, while a matching colored pot can make the arrangement feel more seasonal.
- Add surrounding greenery separately: Display the pansy cluster beside other crocheted leaves or flowers rather than changing the approved base.
- Change yarn carefully: A different yarn or hook size can affect gauge, petal size, texture, finished proportions, and yarn requirements. Make a test flower before committing to a substitute.
- Try a different display setting: The same finished cluster can suit a bright spring arrangement, a craft-room accent, or a colorful gift basket.
Frequently Asked Questions
How many pansies does this pattern make?
The pattern makes nine pansies in total: three with Contrast A, three with Contrast B, and three with Contrast C. Contrast D is used for the first round of each pansy.
What color is used for the pansy centers or first round?
The first round is worked with Contrast D, Sunshine. The second round is worked with Color 2, which is A, B, or C depending on the individual pansy.
What hook size is recommended?
Use a size 4 mm (U.S. G or 6) crochet hook, or the size needed to obtain gauge.
How is the green base shaped?
The base begins with 8 sc in the second chain from the hook. The next rounds increase to 16 dc and then 32 dc. The fourth round forms four long petals and four short petals.
How are the flowers attached?
Sew six pansies around the base, placing one at the beginning of each long petal and alternating colors. Sew the remaining three pansies inside the base.
Does the finished piece need stuffing?
Yes. The finishing instructions say to place stuffing inside the plastic pot before covering it with the completed cluster of pansies.
Is glue always required?
The finishing instructions say to glue the cluster to the pot if necessary. Use the hot glue gun only where additional stability is needed.
Can the flower colors be changed?
Yes, color changes are an optional styling choice. Keep the approved construction the same, and remember that changing yarn type or size may affect the flower’s dimensions and texture.
How should the completed cluster be cleaned?
Because the project includes stuffing, a plastic pot, and possible hot-glue attachment, gentle dusting and careful spot cleaning are more suitable than soaking or machine washing.
Conclusion
This Pansy Bouquet Pattern combines colorful individual flowers with a sculpted green base to create a cheerful potted display. Follow the stated counts and assembly order for a balanced cluster, then customize the arrangement or surrounding décor to suit your space. For another floral crochet project with a related pansy theme, explore this pansy bouquet kit with a PDF pattern.