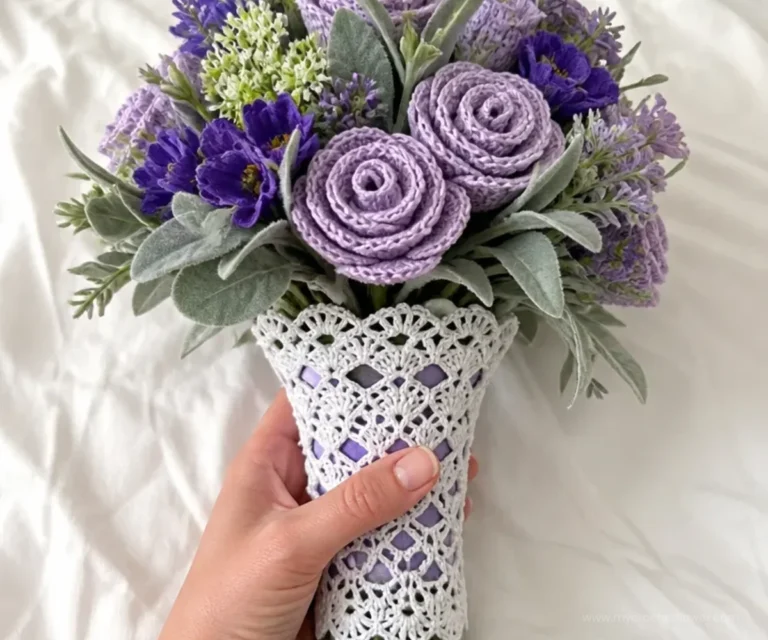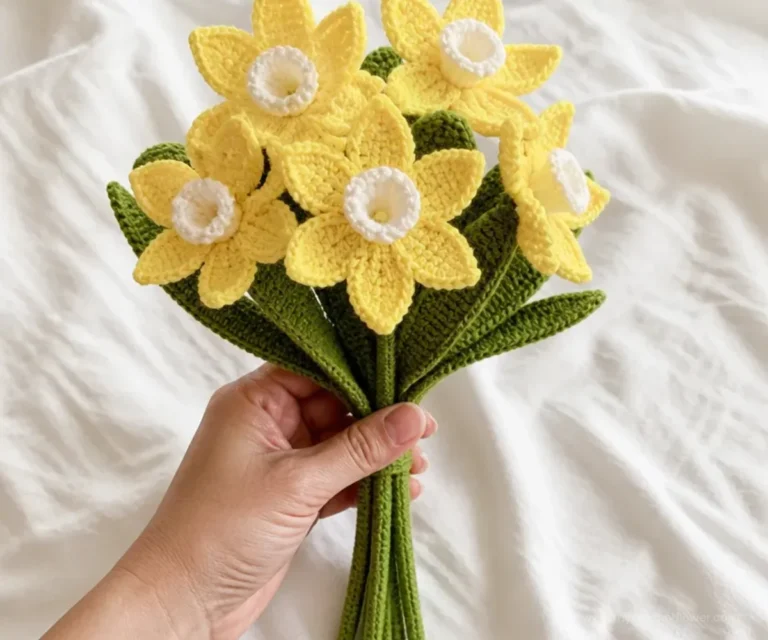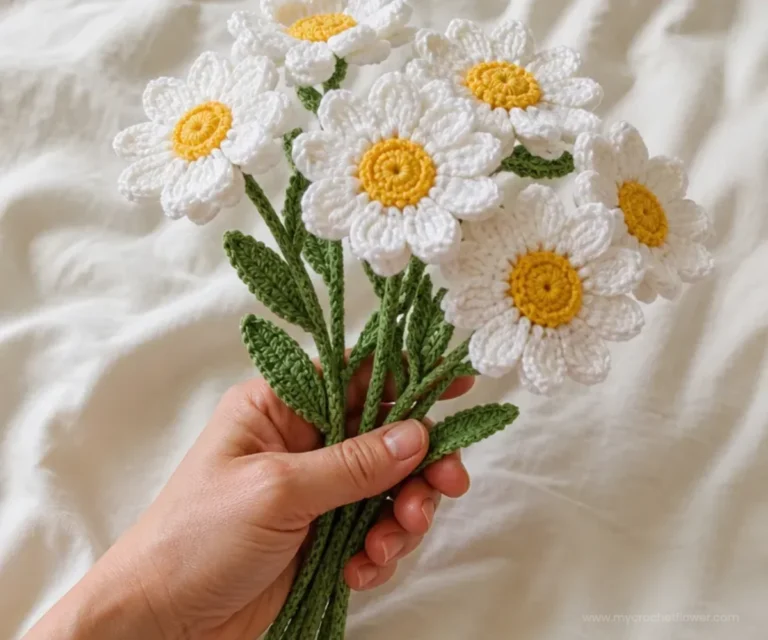

A Crochet Easy To Make Red Roses Bouquet brings together simple crocheted circles, rich red yarn, and floral wire to create a charming handmade arrangement. The finished roses can brighten a vase, serve as a thoughtful gift, or add a romantic touch to a table or celebration. This project is especially enjoyable for beginners who want to explore crochet flowers without a complicated stitch pattern. For another floral idea to pair with your bouquet, try this easy daisy granny square crochet tutorial.
Why You’ll Love This Crochet Project
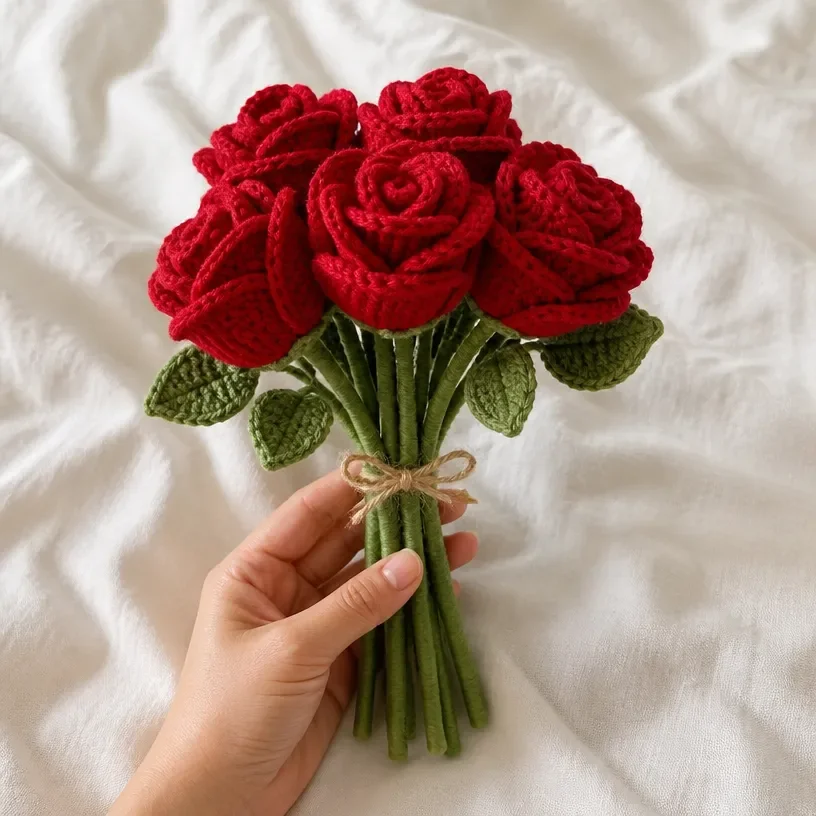
- Simple construction: The rose petals begin as crocheted circles, making the project approachable for crocheters who prefer straightforward shapes.
- Reusable decoration: Unlike fresh flowers, these roses can be displayed repeatedly without wilting or needing water.
- Handmade gift potential: A red rose bouquet can make a thoughtful present for birthdays, anniversaries, weddings, or special celebrations.
- Creative arrangement options: Finished flowers can be grouped in a vase, combined with greenery, or arranged as a centerpiece.
- Room for personalization: Optional leaves and embellishments allow you to adjust the bouquet to match a season, event, or home décor style.
My Crochet Flower Tip: Make the crocheted circles with consistent tension so the petals have a similar size and stack neatly during assembly. You may also find Crochet Bridal Bouquet Wrap Pattern For Weddings useful.
How This Crochet Project Comes Together
The approved pattern uses red yarn to create several crocheted circles that become rose petals. The petals are stacked together to form each flower, then floral wire is used to support the shape and create a stem. Floral tape covers the wire and gives the stem a finished appearance. Green leaves or additional embellishments may be added if desired, and the completed roses are arranged in a vase.
The pattern does not specify a hook size, stitch counts, yarn quantity, gauge, finished dimensions, or an exact number of roses. Make several crocheted circles for each rose and repeat the process for as many flowers as you want in your bouquet.
The main techniques are crocheting circles, stacking and shaping components, securing a flower to floral wire, wrapping a stem with floral tape, and arranging the finished pieces.
Materials You’ll Need
- Red yarn: Used to crochet the rose petals.
- Floral wire: Supports each flower and forms the stem.
- Floral tape: Wraps the wire and helps create a neat stem.
- Scissors: Used to cut yarn and floral materials.
- Hot glue gun: Helps secure components during assembly.
- Green leaves (optional): Add greenery and extra visual detail to the bouquet.
- Vase: Holds and displays the finished roses.
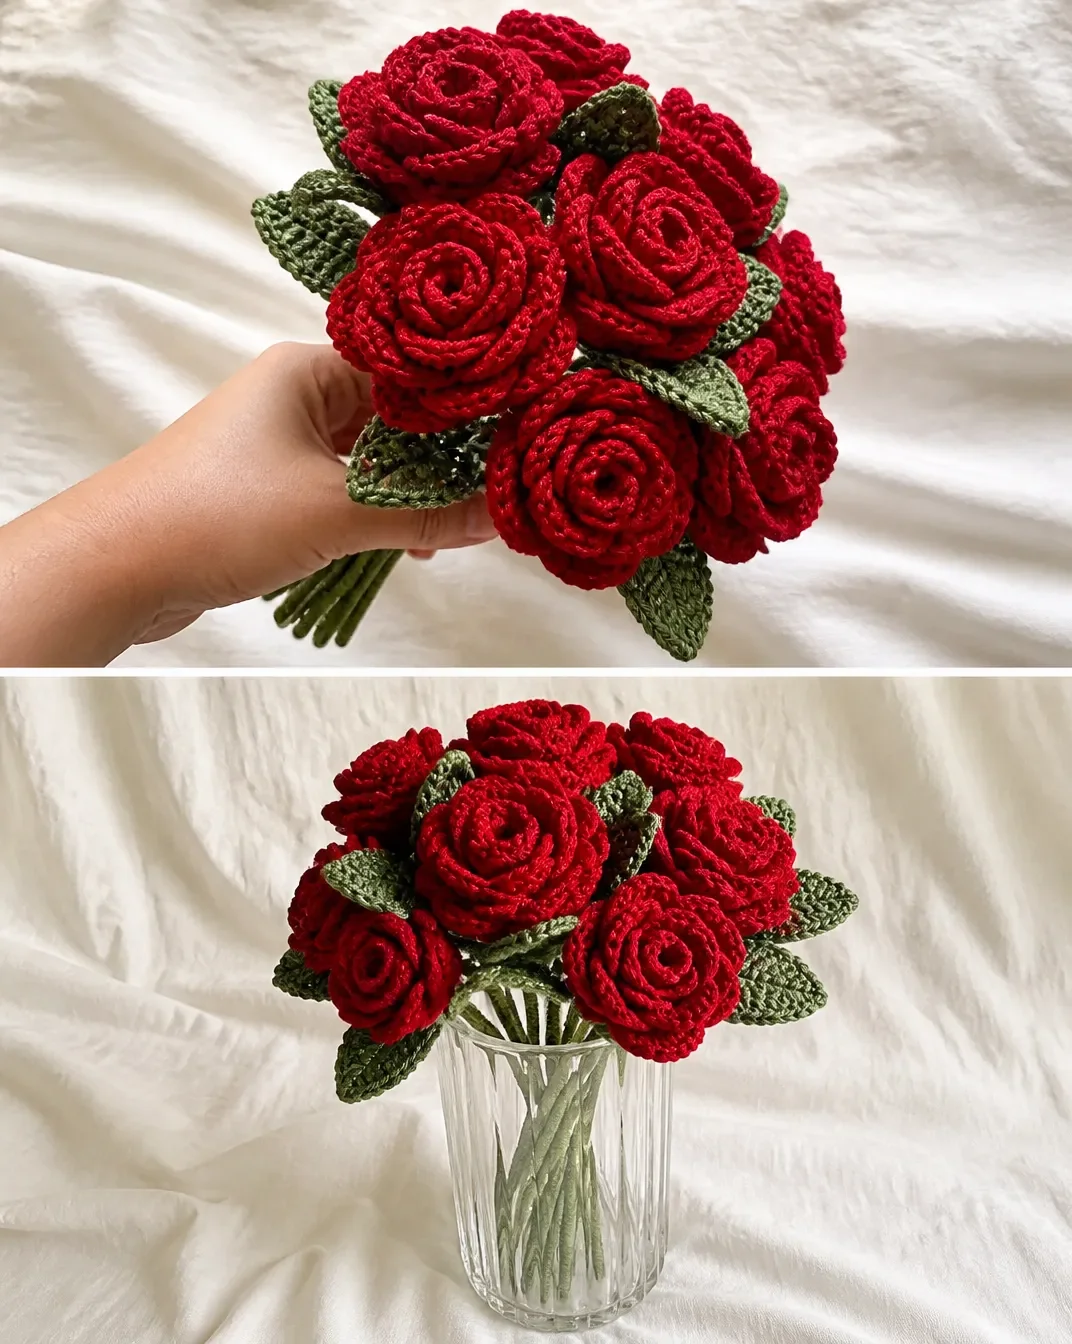
Step-by-Step Crochet Instructions
Create the Rose Petals
- Create rose petals by making several crocheted circles with red yarn.
The circles become the individual petal components. Make several for each rose so they can be layered into a fuller flower shape. Keep the circles similar in size when possible, since consistent pieces will stack more evenly.
Assemble the Crocheted Petals
- Assemble the crocheted petals into a flower shape by stacking them together.
Stack the crocheted circles together to create the appearance of a rose. Adjust the placement of the circles so the layers form a balanced flower rather than lining up perfectly in one direction. Hold the stacked petals in place while preparing the support.
Add the Floral Wire
- Use floral wire to support the flower shape and wrap it with floral tape.
Position the floral wire so it supports the assembled flower. Wrap the wire with floral tape to create the stem and help hold the flower structure together. Work carefully around the flower so the petals remain in the desired position.
Add Optional Leaves or Embellishments
- Attach green leaves or additional embellishments if desired.
Green leaves can add contrast to the red roses and make the arrangement look more botanical. Additional embellishments are optional, so use only those that suit your preferred style.
Arrange the Bouquet
- Arrange the finished roses in a vase.
Place the completed roses in a vase and adjust the stems until the bouquet has a pleasing shape. Spread the flowers at different angles if you want a fuller arrangement, or keep them close together for a compact display.
Creative Ways to Use Your Project
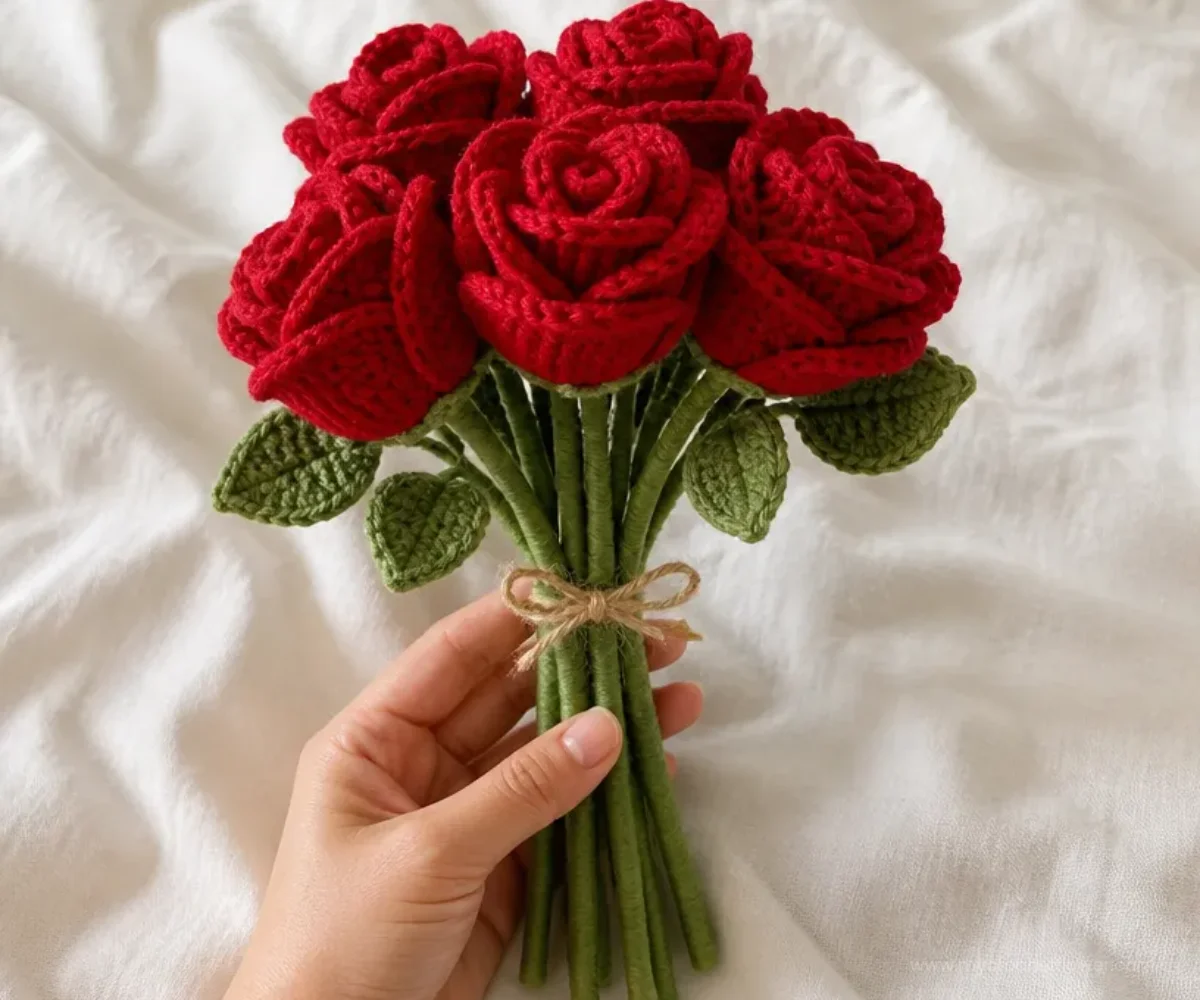
- Vase arrangement: Display several red roses together as a permanent floral accent in a living room, bedroom, entryway, or office.
- Table centerpiece: Arrange the flowers in a vase at the center of a dining or coffee table.
- Handmade gift: Present the bouquet as a keepsake for a birthday, anniversary, Valentine’s Day, or other meaningful occasion.
- Wedding-inspired décor: Use red roses with optional greenery for a romantic wedding or engagement display. A coordinating crochet bridal bouquet pattern can provide another way to develop a handmade floral theme.
- Seasonal decoration: Combine the roses with suitable greenery or decorative accents to create a display for different seasons.
- Mixed crochet bouquet: Pair the red roses with other handmade flowers for a varied bouquet with contrasting shapes and colors.
Caring for Your Crochet Project
Keep the finished bouquet away from excessive dust by gently using a soft brush or carefully shaking the flowers outdoors. If a spot needs attention, use a lightly damp cloth and dab the affected area rather than soaking the flower.
Because the bouquet contains floral wire, floral tape, and hot glue, do not machine wash or soak it. Excess moisture may weaken the adhesive or affect the wrapped stems. Allow any spot-cleaned area to dry completely before returning the flowers to a vase.
Store the bouquet in a dry location away from excessive heat and direct sunlight. Heat can soften hot glue and may cause the yarn, tape, or flower shape to deteriorate. When storing the arrangement, use a roomy container so the petals are not crushed.
Tips for Better Results
- Keep the circles consistent: Crochet with steady tension so the petal pieces have a similar appearance and stack smoothly.
- Plan the petal arrangement: Before securing the flower, move the circles slightly to see how they create the fullest rose shape.
- Support the flower early: Hold the stacked petals together while positioning the floral wire so the flower does not shift unexpectedly.
- Wrap the stem gradually: Apply floral tape neatly along the wire, keeping the wrap firm without pulling so hard that it distorts the flower.
- Use hot glue carefully: Work on a protected surface and avoid touching fresh glue. Apply only enough adhesive to secure the components.
- Check the bouquet from every angle: Rotate the vase as you arrange the roses to find gaps and balance the overall shape.
- Handle floral wire safely: Cut and position the wire carefully, keeping sharp ends covered or directed away from handling areas.
- Secure optional greenery: Attach leaves firmly enough to stay in place, but avoid adding so much weight that the stems become difficult to arrange.
Color and Styling Variations
The approved pattern uses red yarn, but the project can be customized with other colors as an optional variation. Deep burgundy can create a dramatic arrangement, while pink, cream, or white can produce a softer look. Changing the yarn may alter the appearance and size of the crocheted circles, so keep the petal pieces consistent within each bouquet.
For a classic romantic style, combine red roses with green leaves and a simple vase. A seasonal arrangement could use warm red and burgundy shades, while a spring-inspired display might combine lighter rose colors with fresh-looking greenery.
The vase also offers an easy styling change. A clear vase keeps attention on the stems, a ceramic vase creates a more substantial centerpiece, and a small container works well for a compact arrangement. These are optional presentation changes and do not alter the approved construction sequence.
Frequently Asked Questions
Is this rose bouquet suitable for beginners?
Yes. The approved instructions use crocheted circles as the petal components and then focus on stacking, supporting, wrapping, and arranging them. Beginners may find the project approachable because the construction is broken into clear stages.
What color yarn should I use?
The approved pattern calls for red yarn. You may optionally use another color, but changing the yarn color will change the finished appearance.
How many crocheted circles are needed?
The pattern says to make several crocheted circles for the rose petals but does not specify an exact number. Make enough circles to create the fullness you want for each flower.
How many roses should go in the bouquet?
The instructions do not specify an exact flower count. Make as many finished roses as needed for the vase or arrangement you want to create.
How are the petals assembled?
The crocheted circles are stacked together into a flower shape. After arranging the layers, floral wire is used to support the flower and floral tape is wrapped around the wire.
Are the green leaves required?
No. Green leaves are optional. They can add contrast and a more traditional bouquet appearance, but the roses can be displayed without them.
What is the purpose of the floral wire?
Floral wire supports the assembled flower and creates a stem that can be wrapped with floral tape and placed in a vase.
Can I use a different vase?
Yes. Any vase that safely holds the finished stems can be used. Choose the size and style according to the number of roses and the arrangement you want.
How should I clean the finished bouquet?
Dust the flowers gently and use careful spot cleaning when necessary. Avoid soaking or machine washing because the bouquet includes floral wire, floral tape, and hot glue.
Conclusion
A Crochet Easy To Make Red Roses Bouquet is a practical way to turn simple crocheted circles into lasting floral décor. Stack the petals, support each flower with wire, wrap the stems neatly, and arrange the roses in a vase for a handmade display. For more rose-making inspiration, explore this collection of free crochet rose patterns.