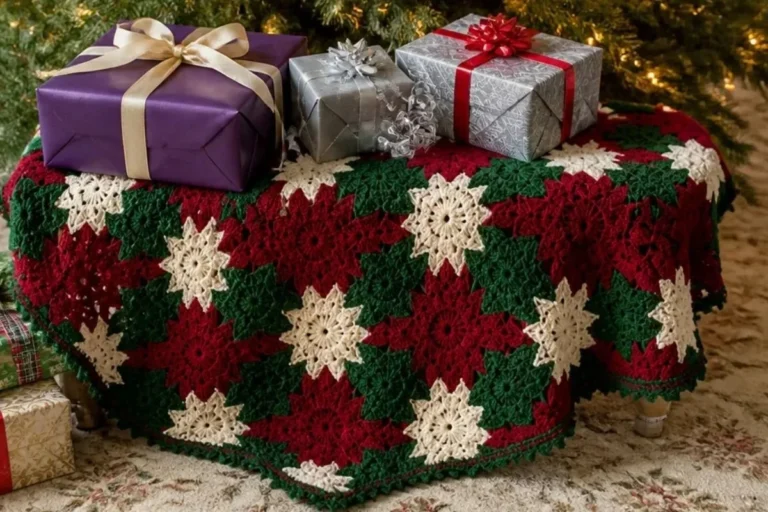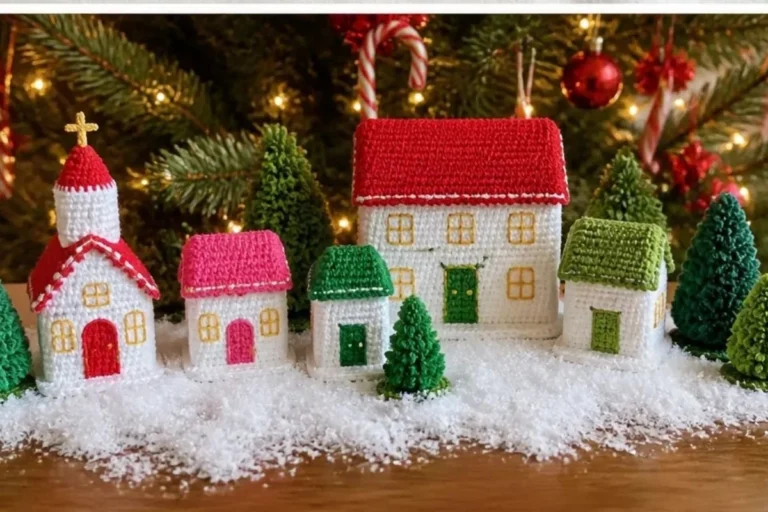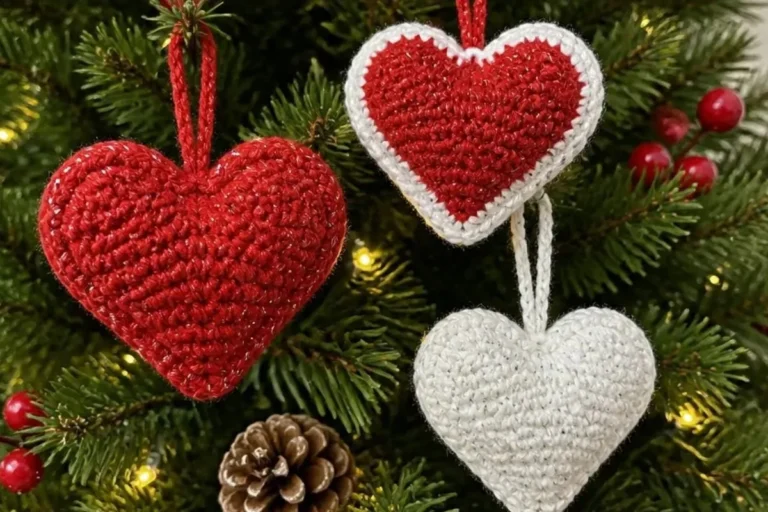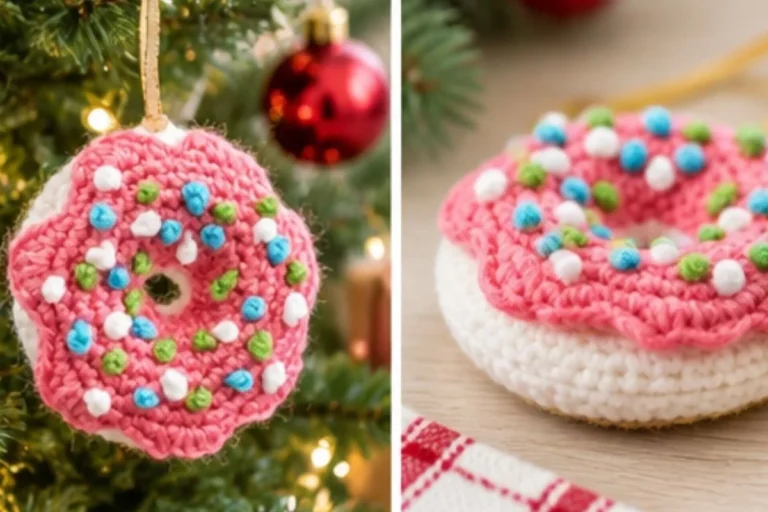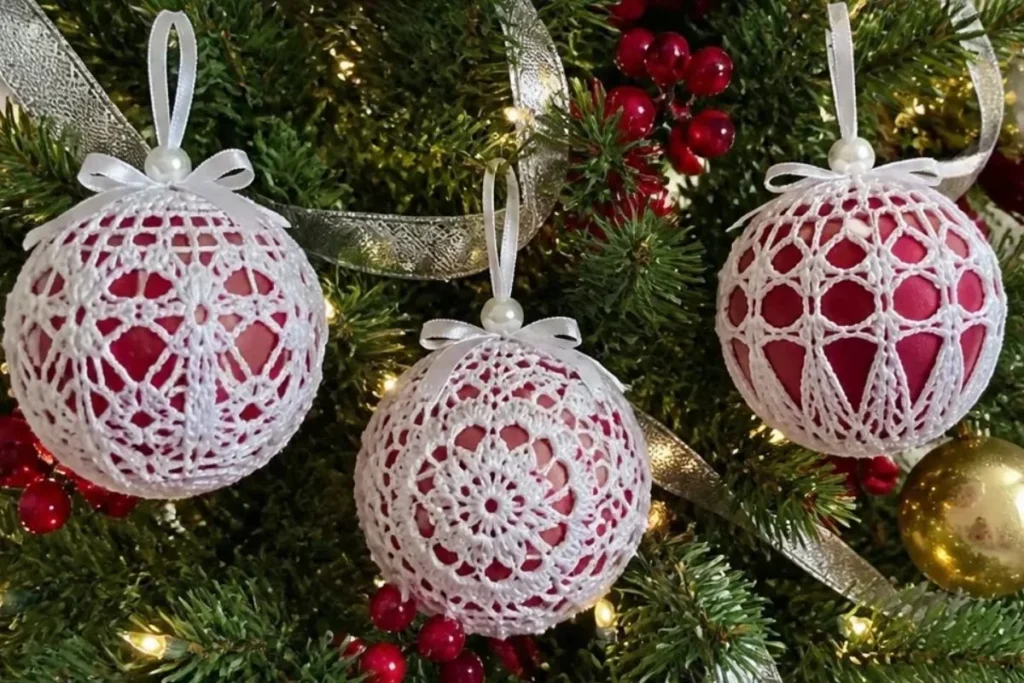
Crochet Christmas tree ornaments add delicate texture and handmade charm to a holiday tree. This pattern includes three distinct lacy covers for 3-inch red satin balls, each finished with a hanger made from ribbon, crochet thread, or a pearl corsage pin. The set is especially enjoyable for crocheters who like repeating motifs, openwork, picots, and carefully shaped rounds. Display the ornaments together, give them as handmade gifts, or pair them with other seasonal decorations such as a colorful floral crochet project for a coordinated handmade collection.
Why You’ll Love This Crochet Project
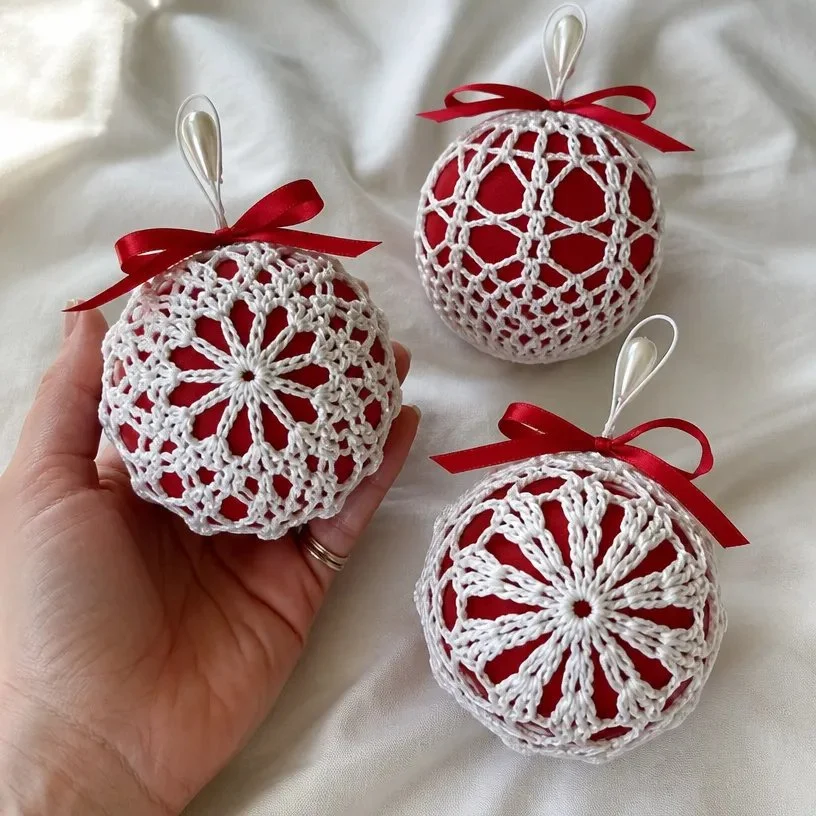
- Three different designs: The ornament set offers three decorative covers, so the finished display has variety while maintaining a coordinated look.
- Elegant openwork: Chains, spaces, picots, and tall stitches create airy lace that lets the red satin balls show through.
- Practice with shaping: The patterns build from small rings into rounded covers, helping you practice increases, joined rounds, and working into chain spaces.
- Gift-ready results: Finished ornaments make thoughtful holiday gifts for family, teachers, coworkers, or friends.
- Flexible display options: Hang the ornaments on a Christmas tree, arrange them in a seasonal bowl, or use them as accents on a wrapped present.
My Crochet Flower Tip: Keep each ornament design in a separate small project bag while working. The similar thread and hook size make it easy to confuse a partial cover with another design.
Before You Start Crocheting
This pattern makes three crocheted covers for 3-inch red satin balls. Ball Number 1 is worked as one continuous cover with 19 rounds. Ball Numbers 2 and 3 are made from two matching halves that are joined around the satin ball.
The construction sequence is:
- Crochet the cover or both halves.
- Fasten off and weave in ends where instructed.
- Place the crochet over the satin ball.
- Close or tighten the cover according to the design.
- Add the ribbon or crochet-thread hanger and pearl teardrop corsage pin.
The pattern uses a 1.5 mm steel crochet hook and size 10 crochet thread. Consistent tension is important because each cover must fit a 3-inch satin ball. The supplied instructions use US crochet terminology.
Special Stitch and Pattern Notes
- Picot: Ch 3, slip st in top of last st made.
- An asterisk
*or double asterisk**means repeat whatever follows as indicated. - Directions in brackets
[ ]are worked the number of times specified.
Common abbreviations include ch (chain), sc (single crochet), hdc (half double crochet), dc (double crochet), dtr (double treble crochet), and slip st (slip stitch).
Materials You’ll Need
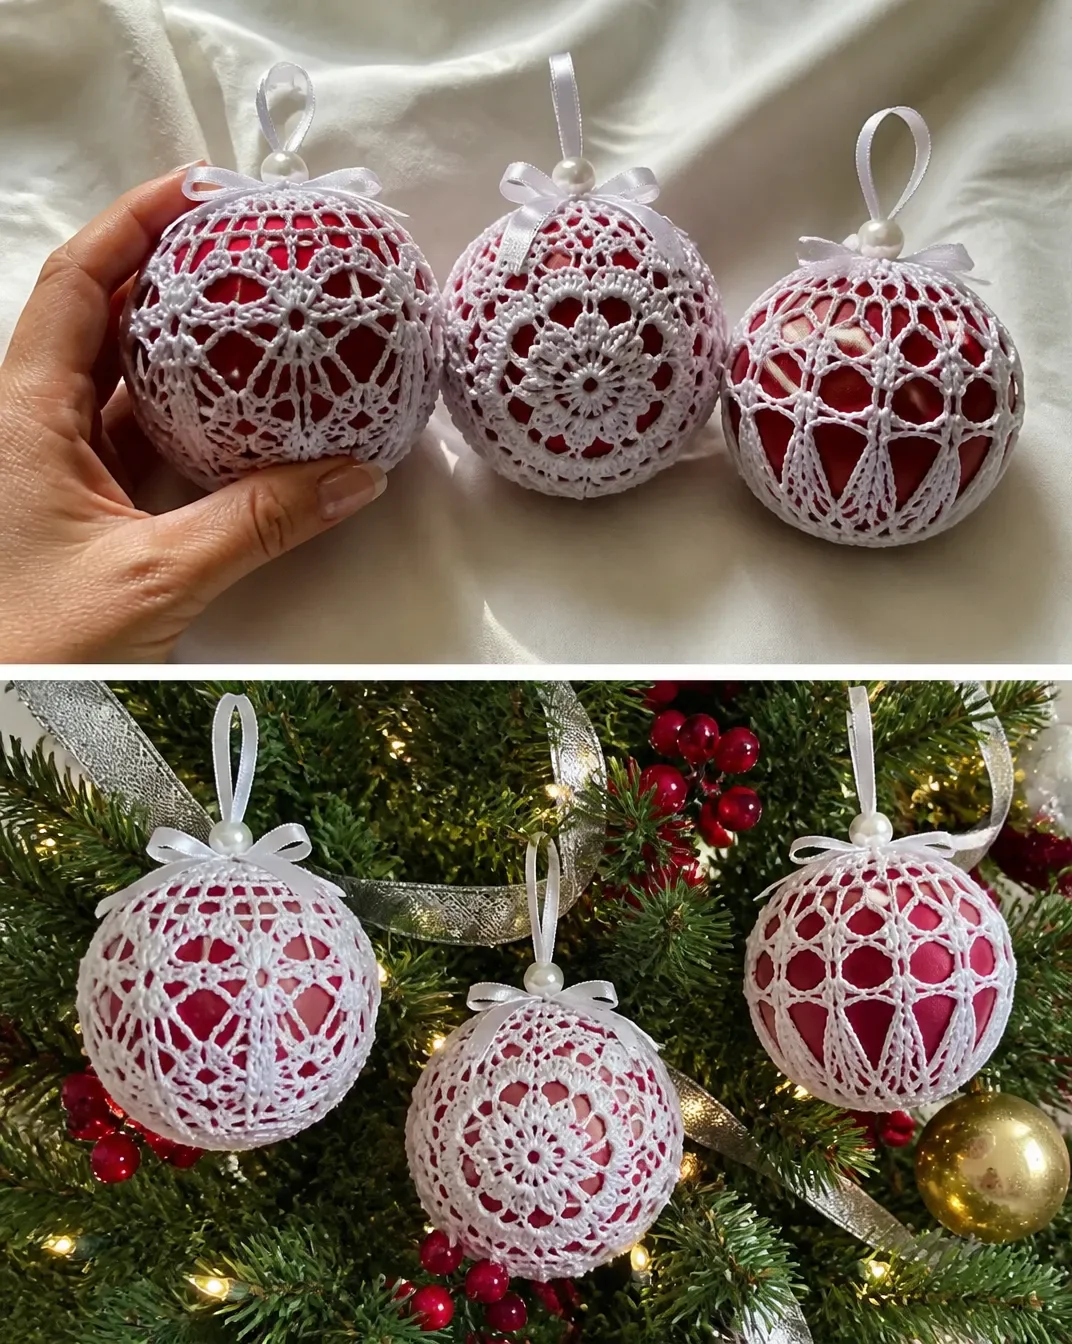
Ball Number 1 Center of Photo
- AUNT LYDIA’S® Classic Crochet Thread, Size 10: 1 ball, 1 White
- Steel crochet hook: 1.5 mm [US 7]
- Tapestry needle
- 1/8” x 25” double-faced satin ribbon
- 2” long pearl teardrop corsage pin
- 3” red satin ball
Ball Number 2 Top of Photo
- Steel crochet hook: 1.5 mm [US 7]
- Tapestry needle
- 1/8” x 7” double-faced satin ribbon
- 2” long pearl teardrop corsage pin
- 3” red satin ball
Ball Number 3 Bottom of Photo
- Steel crochet hook: 1.5 mm [US 7]
- Tapestry needle
- 1/8” x 7” double-faced satin ribbon
- 2” long pearl teardrop corsage pin
- 3” red satin ball
The thread creates the lace covers, while the satin balls provide the ornament shape and rich red color. The tapestry needle is used for sewing, weaving in ends, and handling the ribbon.
Step-by-Step Crochet Instructions
Ball Number 1 Center of Photo
Ball Cover
Ch 6; join with a slip st to form a ring.
Round 1
Ch 5 (counts as dc, ch-2), [dc in ring, ch 2] 7 times; join with a slip st in 3rd ch of ch-5.
Round 2
Slip st in next space, ch 5 (counts as dtr), 3 dtr in same space, ch 3,
[4 dtr in next space, ch 3] 7 times;
join with a slip st in top of ch-5.
Round 3
Slip st in next dtr,
[sc between 2nd and 3rd dtr, (4 dc, ch 2, 4 dc) in next ch-3 space] 8 times;
join in first sc.
Round 4
Slip st in next 4 dc and into ch-2 space,
ch 5 (counts as dtr),
(dtr, [ch 3, 2 dtr] 3 times) all in same space,
- (4 dc, ch 2, 4 dc) in next ch-2 space **,
([2 dtr, ch 3] 3 times, 2 dtr) all in next ch-2 space;
repeat from * around,
end at **;
join in top of ch-5.
Round 5
Ch 1,
- sc between next 2 dtr,
(3 dc, [picot, 3 dc] twice) all in next ch-3 space;
repeat from * twice more;
sc between next 2 dtr,
sc between dtr and dc,
(4 dc, picot, 4 dc) in next ch-2 space,
sc between dc and dtr;
repeat from * around;
join in first sc.
Fasten off.
Round 6
Join thread in 3rd picot of Round 5;
ch 1, sc in picot,
- ch 3, sc in next picot, ch 5, sc in next picot, ch 3,
pull up a loop in each of the next 3 picots, yo and draw through all 4 loops on hook,
ch 3, sc in next picot, ch 5 **,
sc in next picot;
repeat from * around,
end at **;
join.
Round 7
Ch 1, sc in first sc,
- ch 3, sc in next sc, ch 5, hdc in next sc, ch 3, dc in next joined sts, ch 3, hdc in next sc, ch 5 **,
sc in next sc;
repeat from * around,
end at **;
join.
Round 8
Ch 1, sc in first sc,
- ch 3, sc in next space, ch 3, sc in next sc,
[ch 3, sc] twice in ch-5 space,
ch 3, sc in next hdc,
ch 3, sc in next space,
ch 3, sc in next dc,
ch 3, sc in next space,
ch 3, sc in next hdc,
[ch 3, sc] twice in ch-5 space **,
ch 3, sc in next sc;
repeat from * around,
end at **;
(ch 1, hdc) in first sc to join and form last loop.
Rounds 9–17
Ch 1, sc in loop just formed,
- ch 3, sc in next ch-3 loop;
repeat from * around,
ending with (ch 1, hdc) in first sc to join and form last loop.
Round 18
Repeat Round 17 ending with ch 3;
join in first sc.
Round 19
- (Sc, picot, sc) in next ch-3 loop;
repeat from * around;
join in first sc.
Fasten off.
Weave in ends.
To Finish
- Insert satin ball into crocheted piece, placing the center hole at the bottom of the crocheted piece on the center bottom of the ball.
- Weave 18” length of ribbon through Round 15, draw up ribbon very tightly and knot, then tie in a bow on top of the knot. Trim ribbon ends.
- Insert the teardrop pearl corsage pin through the ends of the 7” length of ribbon and into the center top of the ball to form the hanger loop.
Ball Number 2 Top of Photo
Ball Cover, First Half
Ch 12; join with a slip st to form a ring.
Round 1
Ch 1, 24 sc in ring; join with a slip st in first sc.
Round 2
Ch 10 (counts as dtr, ch-5), skip next sc,
[sc in next sc, ch 5, skip next sc, dtr in next sc, ch 5, skip next sc] 5 times,
sc in next sc, ch 5, skip next sc;
join with a slip st in 5th ch of ch-10.
Round 3
Ch 1, sc in same st as joining, ch 8,
[sc in next dtr, ch 8] 5 times;
join in first sc.
Round 4
Ch 1, sc in first sc,
- sc in first ch of ch-8, ch 8, skip next 6 ch, sc in next ch **, sc in next sc;
repeat from * around,
end at **;
join in first sc – 18 sc.
Round 5
Ch 1, sc in first 2 sc,
- sc in first ch of ch-8, ch 8, skip next 6 ch, sc in next ch **, sc in next 3 sc;
repeat from * to last sc,
end at **;
sc in last sc;
join – 30 sc.
Round 6
Ch 1, sc in first 3 sc,
- sc in first ch of ch-8, ch 8, skip next 6 ch, sc in next ch **, sc in next 5 sc;
repeat from * to last 2 sc,
end at **;
sc in last 2 sc;
join – 42 sc.
Round 7
Slip st in next 3 sc, slip st in next 4 ch,
ch 1, sc in same loop, ch 12,
- sc in next loop, ch 12;
repeat from * around;
join in first sc.
Round 8
Ch 1, sc in first sc, sc in each ch and sc around;
join – 78 sc.
Round 9
Ch 1, sc in each sc around; join.
Fasten off.
Weave in ends.
Second Half
Work same as First Half, leaving a 48” thread tail at the end of Round 9 to sew halves together and to make the hanger loop.
Finishing
- Place crocheted halves over the satin ball, matching the crochet design pattern and matching sts. Sew or slip st together with the length of thread that was left on Second Half.
- With the remaining thread left after sewing, using the crochet hook, anchor the thread with a slip st at the center top of the ball; ch 40; join to first ch to form a loop, being careful not to twist the chain. Fasten off.
- Open the hanger loop at the base. Insert the teardrop pearl corsage pin into the satin ball at the center top to give firm hold to the hanger loop. Weave in ends.
Ball Number 3 Bottom of Photo
Ball Cover, First Half
Ch 12; join with a slip st to form a ring.
Round 1
Ch 3 (counts as dc), 23 dc in ring; join with a slip st to top of ch-3.
Round 2
Ch 6 (counts as dc, ch 3), skip next dc,
[dc in next dc, ch 3, skip next dc] 11 times;
join in 3rd ch of ch-6.
Round 3
Ch 3, 5 dc in next ch-3 space,
[dc in next dc, 5 dc in next ch-3 space] 11 times;
join.
Round 4
Ch 3, 2 dc in same st as joining, ch 3, skip next 5 dc,
[3 dc in next dc, ch 3, skip next 5 dc] 11 times;
join.
Rounds 5 and 6
Ch 3, dc in next 2 dc, ch 3,
[dc in next 3 dc, ch 3] 11 times;
join.
Round 7
Ch 3, dc in next 2 dc,
3 dc in next ch-3 space,
[dc in next 3 dc, 3 dc in next ch-3 space] 11 times;
join.
Fasten off.
Weave in ends.
Second Half
Work same as First Half, leaving a 48” thread tail at end of Round 7.
Finishing
- Place crocheted halves over the satin ball, matching the crochet design pattern and matching sts. Sew or slip st together with the length of thread that was left on second half.
- Insert the teardrop pearl corsage pin through the ends of the 7” length of ribbon and into the center top of the ball to form the hanger loop.
Finished Project Inspiration
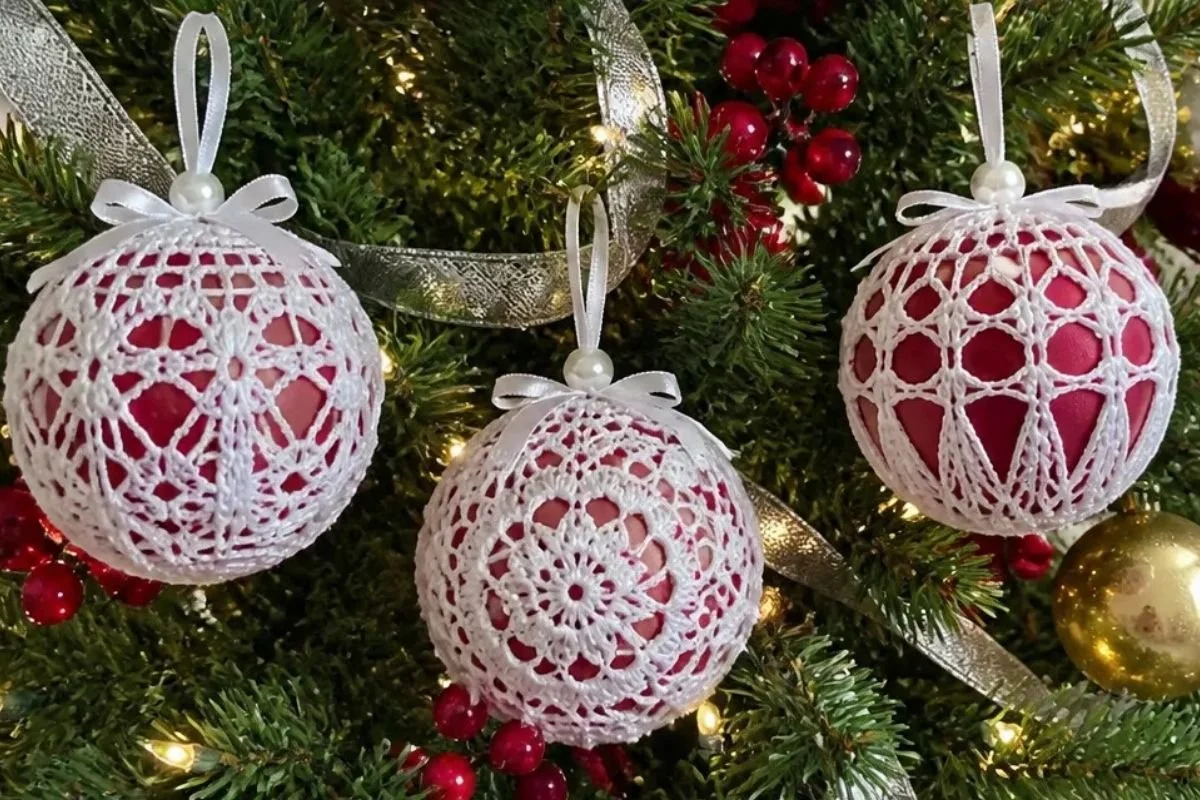
- Hang all three ornaments together on a Christmas tree for a coordinated lace-and-satin display.
- Use the ornaments as elegant accents on a holiday mantel, especially when grouped with white thread details and red decorations.
- Place them in a shallow bowl or basket as a tabletop centerpiece, taking care that the pearl pins remain protected.
- Give one ornament at a time as a small handmade holiday gift.
- Tie an ornament onto a wrapped present in place of a conventional bow.
- Combine the red satin ornaments with other seasonal handmade pieces, such as a floral wreath or botanical decoration; a crocheted flower wreath idea can inspire a broader handmade holiday arrangement.
Caring for Your Crochet Project
Treat these ornaments as decorative pieces rather than washable toys or household textiles. The fine thread, satin balls, ribbon, and pearl corsage pins all benefit from gentle handling.
- Dust the crochet lightly with a clean, dry, soft brush or microfiber cloth.
- For a small mark, use careful spot cleaning with minimal moisture and avoid saturating the thread or satin.
- Do not machine wash, soak, or wring the finished ornaments.
- Keep them away from excessive heat, which may affect the satin finish, ribbon, or shape.
- Store each ornament in a soft container with enough space to prevent crushing the lace.
- Before storing, check that the ribbon remains tied securely and that the pearl pin is firmly positioned.
- Keep the ornaments away from children and pets because the corsage pins are sharp and the satin balls may be damaged by pulling.
Helpful Crochet Tips
- Use consistent tension. Size 10 thread and a 1.5 mm hook create delicate fabric, so abrupt tension changes can make the cover too loose or too tight for the satin ball.
- Mark the beginning of rounds if needed. The openwork designs contain many chain spaces, and a removable marker can help you identify the joining point.
- Read the repeat punctuation carefully. In Ball Number 1, the asterisks and double asterisks divide long sequences; finish the indicated repeat before moving to the next instruction.
- Make picots consistently. Each picot is ch 3 followed by a slip stitch in the top of the last stitch made. Similar picot size helps the edging lie evenly.
- Watch the stitch counts in Ball Number 2. The pattern specifically reaches 18 sc in Round 4, 30 sc in Round 5, 42 sc in Round 6, and 78 sc in Round 8.
- Leave the specified thread tails. Ball Number 2 requires a 48” tail at the end of Round 9, and Ball Number 3 requires a 48” tail at the end of Round 7. These tails are used for joining and finishing.
- Match the halves before sewing. Align the design pattern and corresponding stitches around the satin ball so the seam remains even.
- Secure the hanger carefully. The pearl corsage pin should enter the center top of the satin ball and hold the ribbon or crochet-thread loop firmly without distorting the cover.
For another small-scale way to use crochet motifs in seasonal styling, consider adapting the color-planning approach from these crochet appliqué ideas while keeping this ornament pattern unchanged.
Color and Styling Variations
The approved pattern uses white size 10 thread with red satin balls, but the following are optional styling ideas rather than changes to the written instructions:
- Use a traditional red, white, and green display by pairing the red balls with green ribbon or nearby greenery.
- Choose metallic gold or silver ribbon for a more formal tree while retaining the white crochet covers.
- Make a coordinated set with different satin-ball colors, such as ivory, emerald, or deep burgundy.
- Combine the three ornament designs in alternating colors so the different silhouettes are easier to distinguish.
- Display the ornaments in a glass bowl with white, silver, or natural wood accents.
If you substitute a different thread weight or hook size, the fabric density, lace scale, and finished fit may change. A different yarn can also alter the amount of thread required, so test the cover against the 3-inch satin ball before committing to a full set.
Frequently Asked Questions
Is this pattern suitable for a beginner?
It is best suited to a crocheter who is comfortable with joined rounds, chain spaces, single crochet, double crochet, tall stitches, and basic finishing. Ball Numbers 2 and 3 are more repetitive, while Ball Number 1 includes more detailed openwork and picots.
What thread and hook size are recommended?
The supplied materials specify AUNT LYDIA’S® Classic Crochet Thread, Size 10, in White, with a 1.5 mm [US 7] steel crochet hook.
How many ornaments does the pattern make?
The pattern includes three ornament designs, identified as Ball Number 1, Ball Number 2, and Ball Number 3. Each cover is made for a 3-inch red satin ball.
How is Ball Number 1 assembled?
Ball Number 1 is worked as one cover through Round 19. After the ball is inserted, an 18” ribbon is woven through Round 15 and tightened, and a 7” ribbon is secured at the top with a teardrop pearl corsage pin.
How are Ball Numbers 2 and 3 assembled?
Each is made from two matching halves. The halves are placed over the satin ball and sewn or slip-stitched together using the long thread tail. Ball Number 2 also uses its remaining thread to make a ch 40 hanger loop.
Can the colors be changed?
Yes, color changes are optional. Keep the same thread weight and hook size when possible so the covers retain a similar fit. Changing thread or hook size may affect the finished fabric and dimensions.
How should the ornaments be stored?
Store them dry in a soft container, protected from crushing, moisture, heat, children, and pets. Avoid placing heavy decorations on top of the lace covers.
Can the ornaments be washed?
Washing is not recommended for these assembled ornaments because they include satin, ribbon, and sharp pearl corsage pins. Use gentle dry dusting and minimal spot cleaning instead.
Conclusion
These crochet Christmas tree ornaments combine fine white thread, red satin balls, lace texture, and elegant hanger details in three distinctive designs. Make one style or complete the full set, then display the finished ornaments on your tree, give them as gifts, or coordinate them with other handmade decorations. For a separate flat seasonal project, you can also explore this flat Christmas tree crochet pattern.