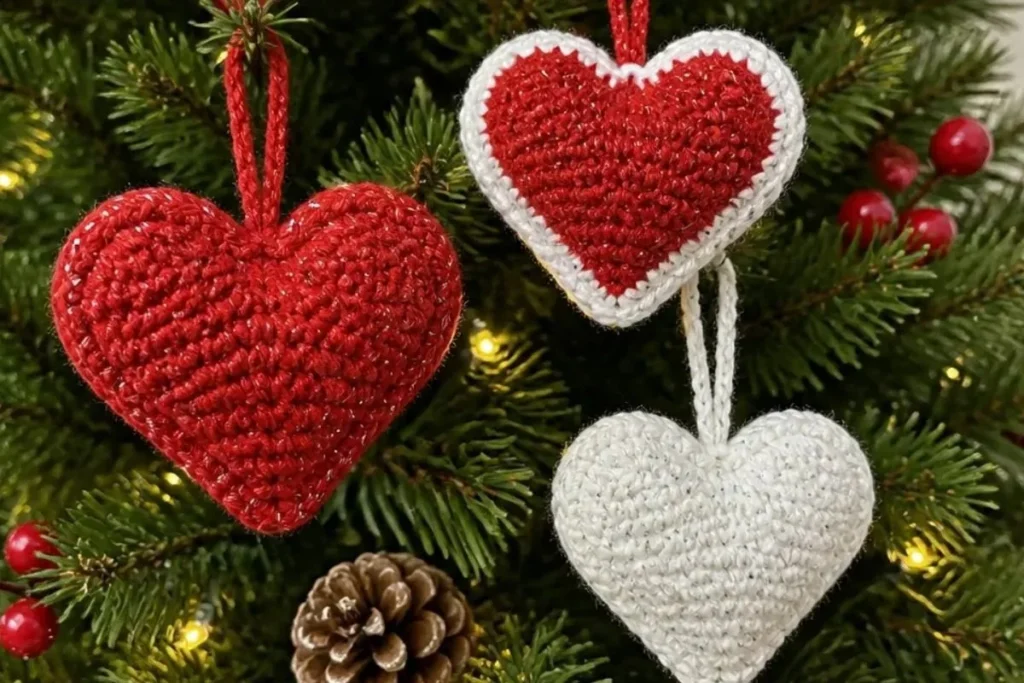
A handmade heart ornament adds warmth, sparkle, and a personal touch to a Christmas tree, mantel, gift package, or holiday centerpiece. This Crochet Christmas Heart Ornament Pattern creates three stuffed hearts using festive RED HEART® Holiday yarn in red and white metallic colorways. The project is especially enjoyable for crocheters who like shaping, small seasonal decorations, and practical handmade gifts. For another ornament idea with a dimensional design, you may also enjoy this crochet flower ball ornament pattern.
Why You’ll Love This Crochet Project
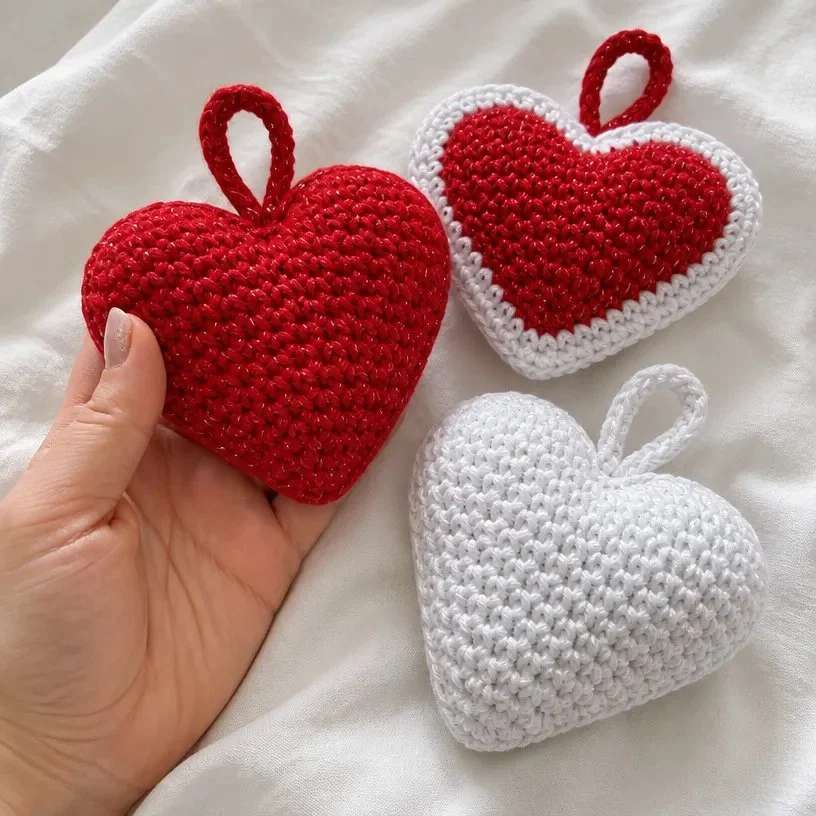
- It uses simple single crochet techniques. The heart shape is built with increases, skipped stitches, and a center chain-space point.
- The metallic yarn adds holiday shine. Red/Silver and White/Silver create a festive finish without requiring extra embellishments.
- The ornament is stuffed for dimension. A small amount of stuffing helps each heart hold its shape.
- Three hearts offer flexible decorating options. Make a matching trio for one tree or distribute them throughout a seasonal display.
- The hanging loop is built into the pattern. The chain-20 loop is created during Round 5 rather than attached afterward.
My Crochet Flower Tip: Keep the front and back pieces aligned with their wrong sides together before beginning Round 5. This makes the outer slip-stitch edging and hanging loop neater.
How This Crochet Project Comes Together
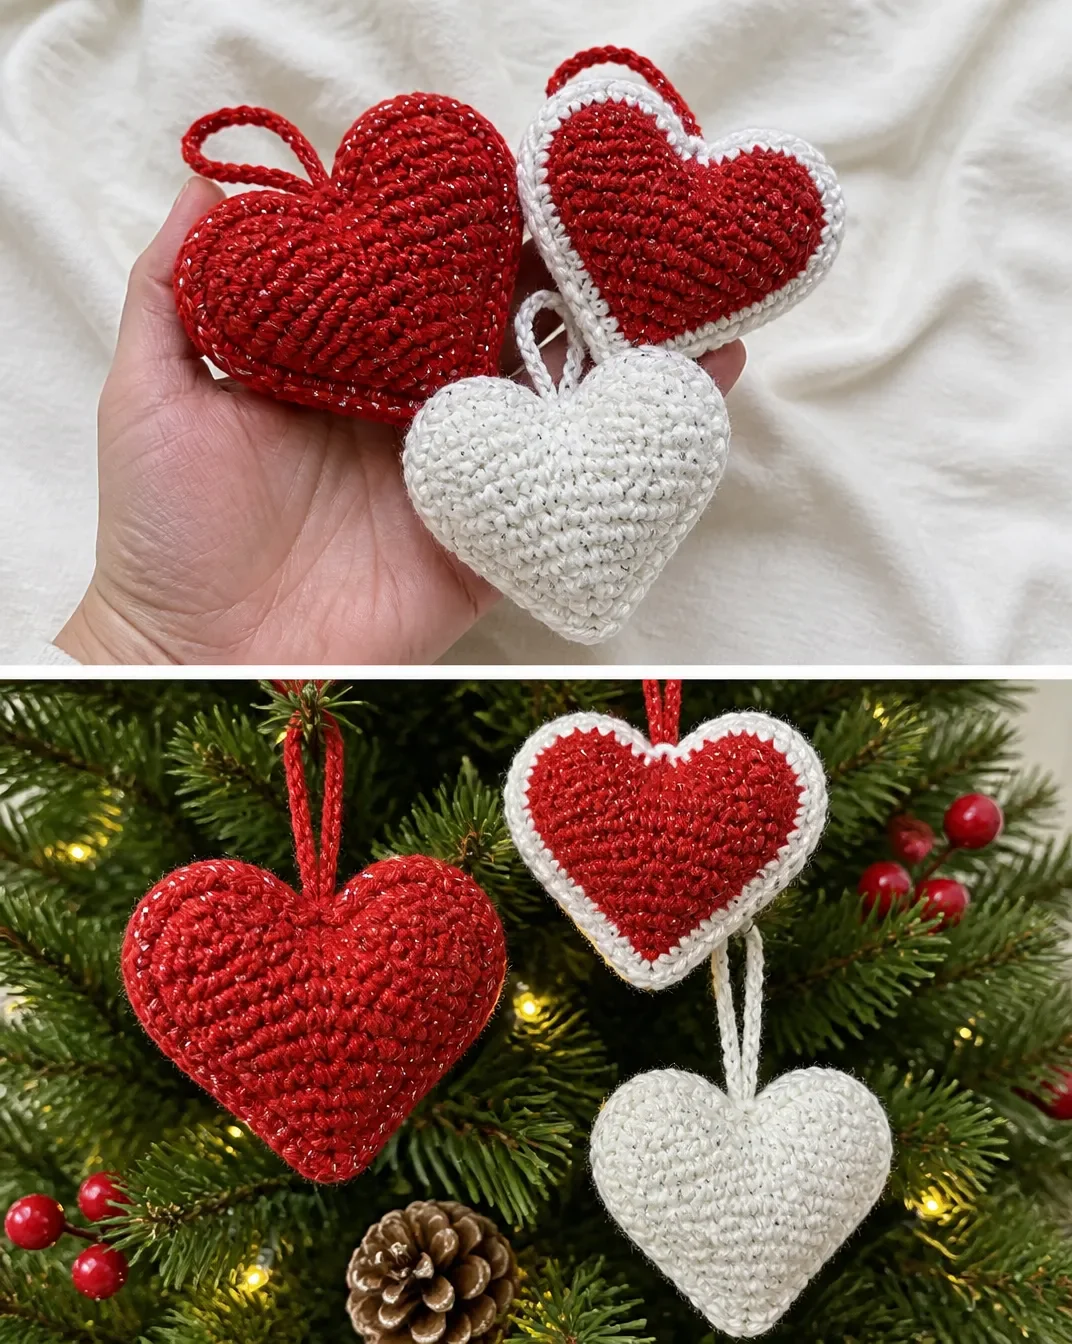
You will make three individual stuffed heart ornaments. Heart 1 is made entirely with Color A, Heart 2 is made entirely with Color B, and Heart 3 combines the two colors: its front uses Color A and its back uses Color B.
Each heart begins as a flat front and back piece. Every piece is worked through Round 4. The front is fastened off, while the back remains attached to the yarn so the two pieces can be joined around the edge. During Round 5, you create the hanging loop, add stuffing, and complete the joining round. Round 6 is worked as slip stitches around the heart to finish the edge.
The pattern uses US crochet terminology. Helpful abbreviations include:
- ch: chain
- sc: single crochet
- sl st: slip stitch
- st/sts: stitch/stitches
Pay close attention to the stitch counts at the end of Rounds 1–4. The increases shape the rounded upper sections, while the chain-2 space forms the point at the bottom of the heart.
Materials You’ll Need
- RED HEART® Holiday yarn: 1 ball each
- 9040 Red/Silver (Color A)
- 140 White/Silver (Color B)
- Crochet hook: 5.5mm [US I-9]
- Split-ring stitch marker
- Small amount of stuffing
- Yarn needle
The split-ring stitch marker can help identify the beginning or a key location while you work, although the supplied instructions do not designate a specific placement. The yarn needle is used to weave in the finished ends.
Complete Crochet Instructions
Before starting, read through the construction sequence so you know which piece is fastened off and which piece remains attached for joining.
Heart 1
Front
With A, ch 15.
Round 1: 3 sc in 2nd ch from hook, sc in next 5 ch, skip next 2 ch, sc in next 5 ch, 3 sc in next ch; turn to work in unused loops of beginning ch, sc in next 5 ch, (sc, ch 2, sc) all in ch-2 space, sc in last 5 ch 28 sc
Round 2: [2 sc in next st] 3 times; sc in next 4 sts, skip next 2 sts, sc in next 4 sts, [2 sc in next st] 3 times; sc in next 6 sts, (sc, ch 2, sc) all in ch-2 space, sc in last 6 sts 34 sc
Round 3: [2 sc in next st, sc in next st] 3 times; sc in next 3 sts, skip next 2 sts, sc in next 4 sts, [2 sc in next st, sc in next st] 3 times; sc in next 6 sts, (sc, ch 2, sc) all in ch-2 space, sc in last 7 sts 40 sc
Round 4: sc in next st, [2 sc in next st, sc in next 2 sts] 3 times; sc in next st, skip next 2 sts, sc in next 3 sts, [2 sc in next st, sc in next 2 sts] 3 times; sc in next 7 sts, (sc, ch 2, sc) all in ch-2 space, sc in last 8 sts 48 sc
Fasten off.
Back and Joining
With A, repeat same as for Front; DO NOT fasten off at end of Round 4.
Hold Front and Back wrong sides together and work next round through both pieces.
Round 5: sc in next 14 sts, ch 20, slip st in 20th ch from the hook, sc in next 23 sts, 3 sc in ch-2 space, add stuffing, sc in last 9 sts.
Round 6: slip st in every sc around.
Fasten off, weave in ends.
Heart 2
With B, repeat as for Heart 1.
This means you will work both the Front and Back with Color B, join the two pieces through both layers during Round 5, add stuffing, complete Round 6, and then fasten off and weave in the ends.
Heart 3
With A, repeat Heart 1 Front.
With B, repeat Heart 1 Back.
For this two-color heart, the front and back are made separately in different colors. Do not fasten off the back at the end of Round 4. Hold the Front and Back wrong sides together and use the joining instructions from Heart 1.
Work the following joining rounds:
Round 5: sc in next 14 sts, ch 20, slip st in 20th ch from the hook, sc in next 23 sts, 3 sc in ch-2 space, add stuffing, sc in last 9 sts.
Round 6: slip st in every sc around.
Fasten off, weave in ends.
Finishing
For each heart:
After Round 6: Fasten off and weave in ends.
Use the yarn needle to secure the ends discreetly within the ornament. The chain-20 loop made in Round 5 serves as the hanger, so no separate hanging cord is required.
Ways to Display Your Finished Crochet
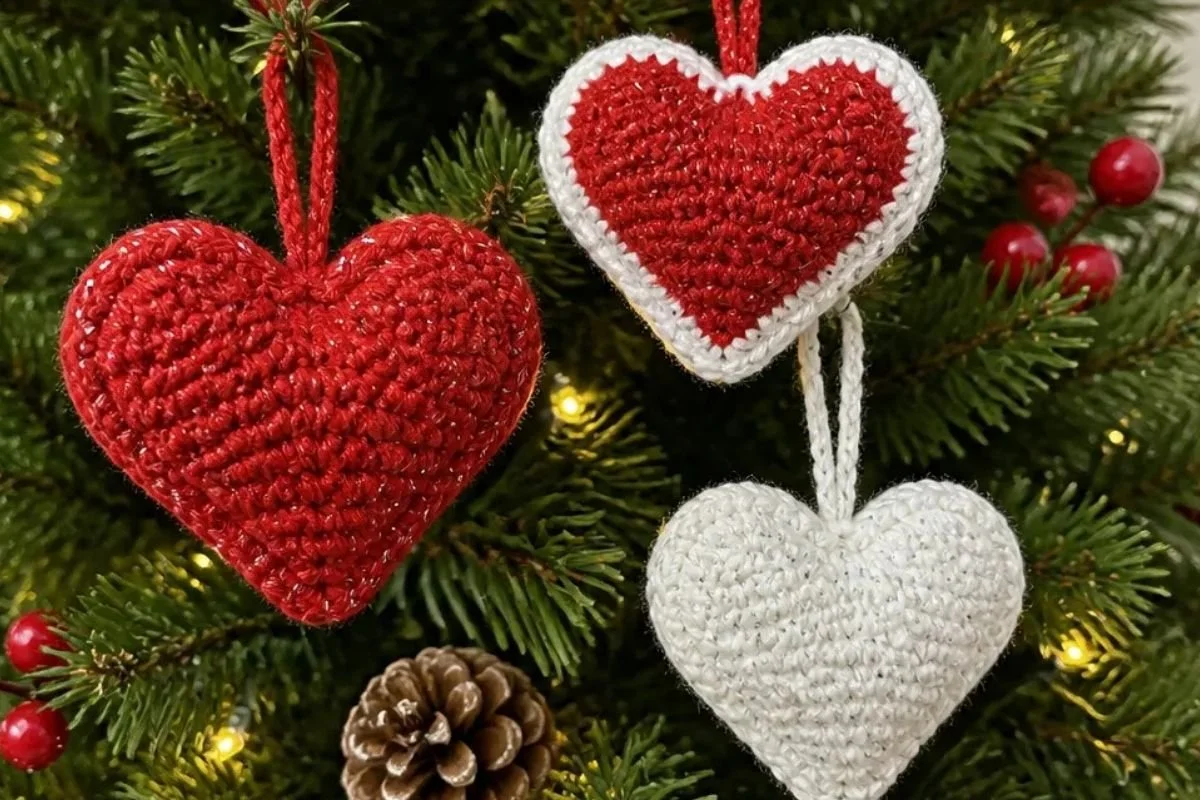
- Decorate a Christmas tree: Hang the three hearts at different heights to create a balanced red-and-white arrangement.
- Dress up wrapped gifts: Use one heart as a reusable gift topper or tie it to a ribbon around a package.
- Create a mantel display: Arrange the hearts along a garland, on a tray, or beside candles and other seasonal decorations.
- Make a holiday centerpiece: Place the ornaments in a shallow bowl or basket with other nonbreakable decorations.
- Give them as a handmade set: Package all three together as a small seasonal gift for a crochet-loving friend or family member.
- Coordinate with floral décor: The hearts can complement botanical holiday displays, especially arrangements using red, white, or silver accents. A different seasonal decoration to pair with them is this crochet flowers wreath pattern.
Caring for Your Crochet Project
Keep the stuffed hearts looking crisp by handling them gently. Dust them with a soft, dry cloth or use a gentle air stream from a distance. Avoid pulling on the hanging loops, especially when removing the ornaments from storage.
For small marks, use careful spot cleaning with a lightly damp cloth, then allow the ornament to dry completely before storing it. Do not saturate the stuffing or leave the ornament damp.
Store the hearts in a clean, dry container away from excessive heat, moisture, and sharp decorations that could catch the yarn. Placing tissue paper around them can help prevent the metallic yarn from rubbing against rough surfaces. If the hearts become slightly flattened, gently reshape the stuffed forms by hand rather than pressing them with heat.
Tips for Better Results
- Count the starting chain carefully. The pattern begins with ch 15, and the shaping depends on placing the first stitches in the correct chain spaces.
- Mark the center chain-2 space if helpful. This space forms the lower point of the heart, so identifying it can make the increases and later joining easier to follow.
- Work into the unused loops as directed in Round 1. After reaching the end of the beginning chain, turn to work in the unused loops rather than fastening off or joining.
- Check every round’s stitch count. The totals progress from 28 sc in Round 1 to 34 sc, 40 sc, and 48 sc. Counting helps catch missed increases before the pieces are joined.
- Keep the front and back aligned. Hold the pieces wrong sides together before Round 5, matching the edges and the ch-2 spaces.
- Add stuffing gradually. Place the stuffing during Round 5, using enough to give the heart shape without stretching the stitches or making the edge difficult to close.
- Do not fasten off the back too early. The back must remain attached after Round 4 so it can be used to work the joining round through both layers.
- Secure metallic yarn ends neatly. Weave in each end with the yarn needle, taking care not to pull so firmly that the heart edge puckers.
For a coordinating geometric floral project, the 3D flower granny square crochet pattern and color chart can provide additional color-planning inspiration.
Color and Styling Variations
The approved pattern uses RED HEART® Holiday yarn in red-and-silver and white-and-silver colorways, but the construction offers several optional styling possibilities:
- Reverse the color placement: For a two-color Heart 3 variation, you could place the lighter color on the front and the darker color on the back. Keep the approved stitch instructions unchanged.
- Create a single-color set: Making all three hearts in one color would produce a uniform look for a minimalist tree or coordinated gift wrapping.
- Use a traditional holiday palette: Red, white, silver, and green can work well together when the ornaments are displayed with greenery.
- Try a winter-neutral arrangement: White and silver hearts can complement frosty blue, gray, or natural wood decorations.
- Coordinate with a room’s décor: Choose colors that repeat shades already present in your tree ornaments, table linens, or wrapping paper.
If you substitute another yarn, the texture, shine, thickness, stuffing coverage, and finished size may change. A different hook size can also affect the dimensions and firmness of the fabric, so treat substitutions as optional adaptations rather than changes to the approved pattern.
Frequently Asked Questions
Is this crochet heart ornament pattern suitable for beginners?
It can be approachable for a crocheter who is comfortable with chains, single crochet, slip stitches, increases, skipped stitches, and working around a beginning chain. The shaping requires careful counting, particularly in Rounds 1–4.
How many heart ornaments does the pattern make?
The pattern includes three hearts: Heart 1 uses Color A, Heart 2 uses Color B, and Heart 3 uses Color A for the front and Color B for the back.
What hook size is used?
Use a 5.5mm [US I-9] crochet hook.
Which yarn colors are required?
The materials call for RED HEART® Holiday yarn, one ball each of 9040 Red/Silver for Color A and 140 White/Silver for Color B.
How is the ornament stuffed?
Stuffing is added during Round 5 after the two heart pieces have been joined around part of the edge. Add the small amount of stuffing before completing the remaining stitches of that round.
Does the pattern include a hanging loop?
Yes. During Round 5, work ch 20 and slip stitch in the 20th chain from the hook to form the hanging loop.
Can the colors be changed?
Yes, color changes are an optional styling choice. Keep in mind that different yarns or colorways may alter the texture and appearance, while changing the yarn weight or hook size may affect the finished dimensions and firmness.
How should the two pieces be positioned before joining?
Hold the Front and Back wrong sides together and work Round 5 through both pieces.
How do I finish each heart?
After Round 6, fasten off and weave in the ends for each heart.
Conclusion
These stuffed crochet Christmas hearts are festive, dimensional, and useful for decorating trees, gifts, mantels, and holiday arrangements. The three-color plan creates variety while keeping the set coordinated, and the built-in loops make finishing straightforward. Once your hearts are complete, you can display them together or give them individually. For more heart-themed crochet inspiration, explore these free crochet heart patterns.