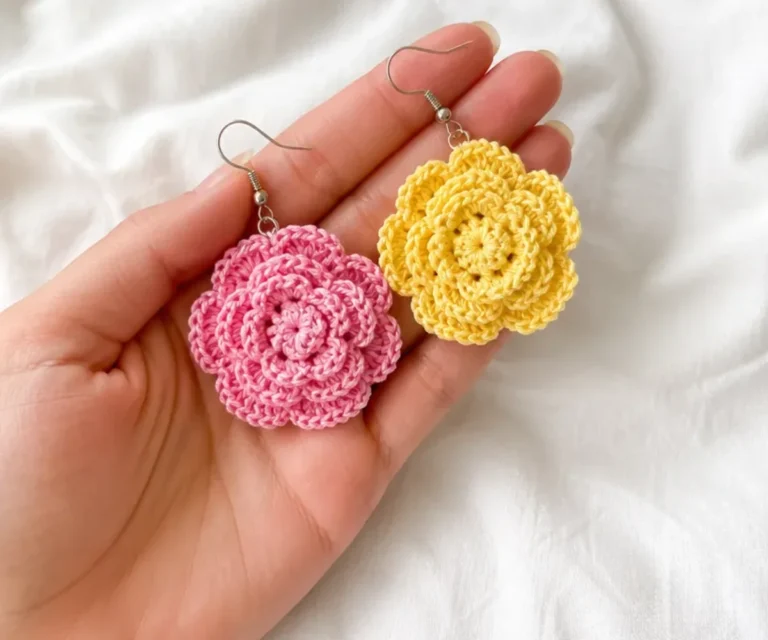
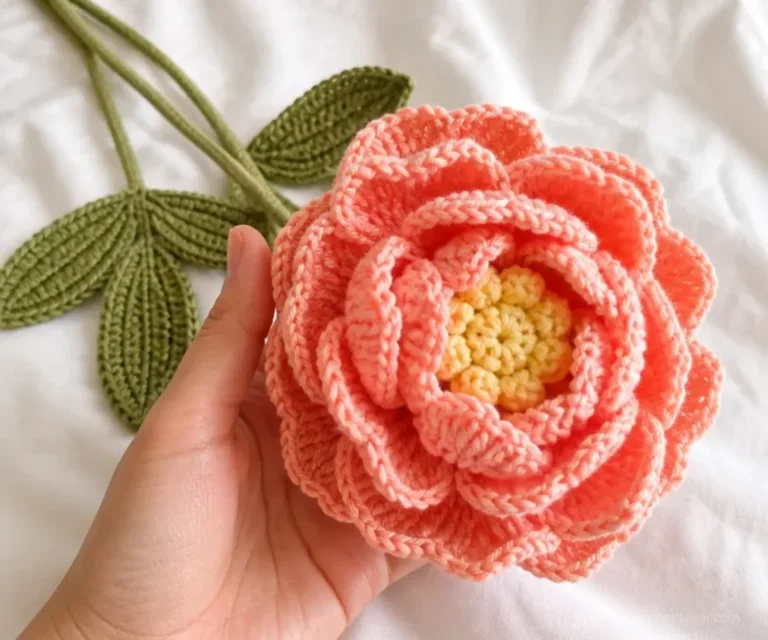
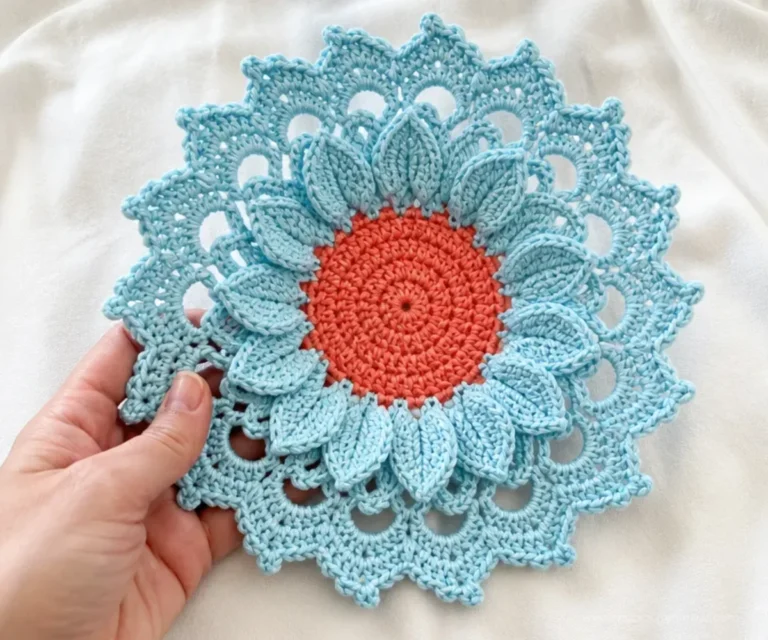
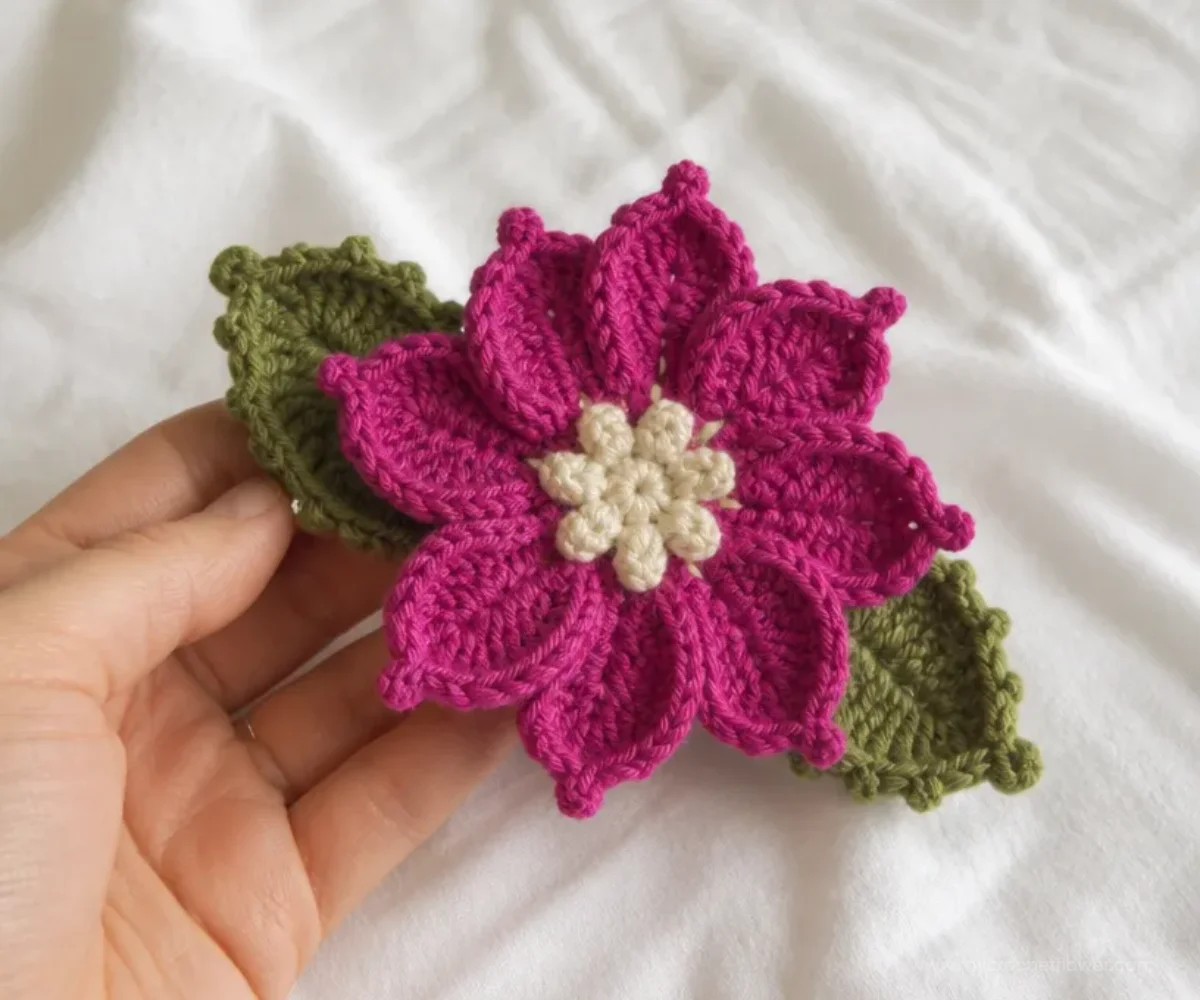
A felted clematis makes a charming botanical accessory with layered petals, pointed tips, and two small leaves arranged behind the bloom. This Crochet Felted Clematis Pin Pattern uses three coordinated yarn colors to create a dimensional flower that can brighten a jacket, bag, hat, or gift package. The project is especially enjoyable for crocheters who want to practice picots, back-loop stitches, shaping, felting, and careful assembly. Once finished, the flower can be worn as a handmade pin or displayed with other crocheted floral pieces.
Why You’ll Love This Crochet Project

- It creates a dimensional flower. The two petal rounds build a full clematis shape, while the picots add definition to the tips.
- It teaches useful techniques. You’ll practice working into back loops and back humps, joining rounds, making picots, and shaping crocheted pieces through felting.
- The color palette is naturally botanical. Passionfruit forms the flower, Thyme creates the leaves, and Little Lamb adds a light center accent.
- It makes a practical handmade accessory. The finished flower is designed to become a wearable pin with a 1 ½” bar pin.
- It is easy to personalize after learning the construction. Optional color changes can create seasonal flowers or coordinated accessories.
My Crochet Flower Tip: Keep the flower pieces separate until after felting. This makes it easier to shape the petals and block the leaves and backing individually.
Pattern Overview
This project includes one flower, two leaves, and one crocheted backing. The flower is made in three stages: a small picot center, an eight-petal foundation round, and a second round that shapes the finished petals. Each leaf begins with a short center vein and is then worked around both sides of the starting chain.
The backing is a four-round single crochet circle. After crocheting, all pieces are felted in pillowcases in a washing machine with hot water and a small amount of detergent. The petals are slightly overlapped and pinned while drying, while the leaves and backing are blocked into shape. Finally, the leaves are stitched to the flower, the backing is attached, and the bar pin is sewn onto the back.
The pattern uses US crochet terminology. Join rounds with a slip stitch. For the leaves, work around both sides of the starting chain while keeping the right side facing.
Abbreviations and Technical Notes
- ch: chain
- sc: single crochet
- hdc: half double crochet
- dc: double crochet
- slip st: slip stitch
- yo: yarn over
A picot is a small decorative point made from chain stitches and worked back into the stitch just made.
Materials You’ll Need
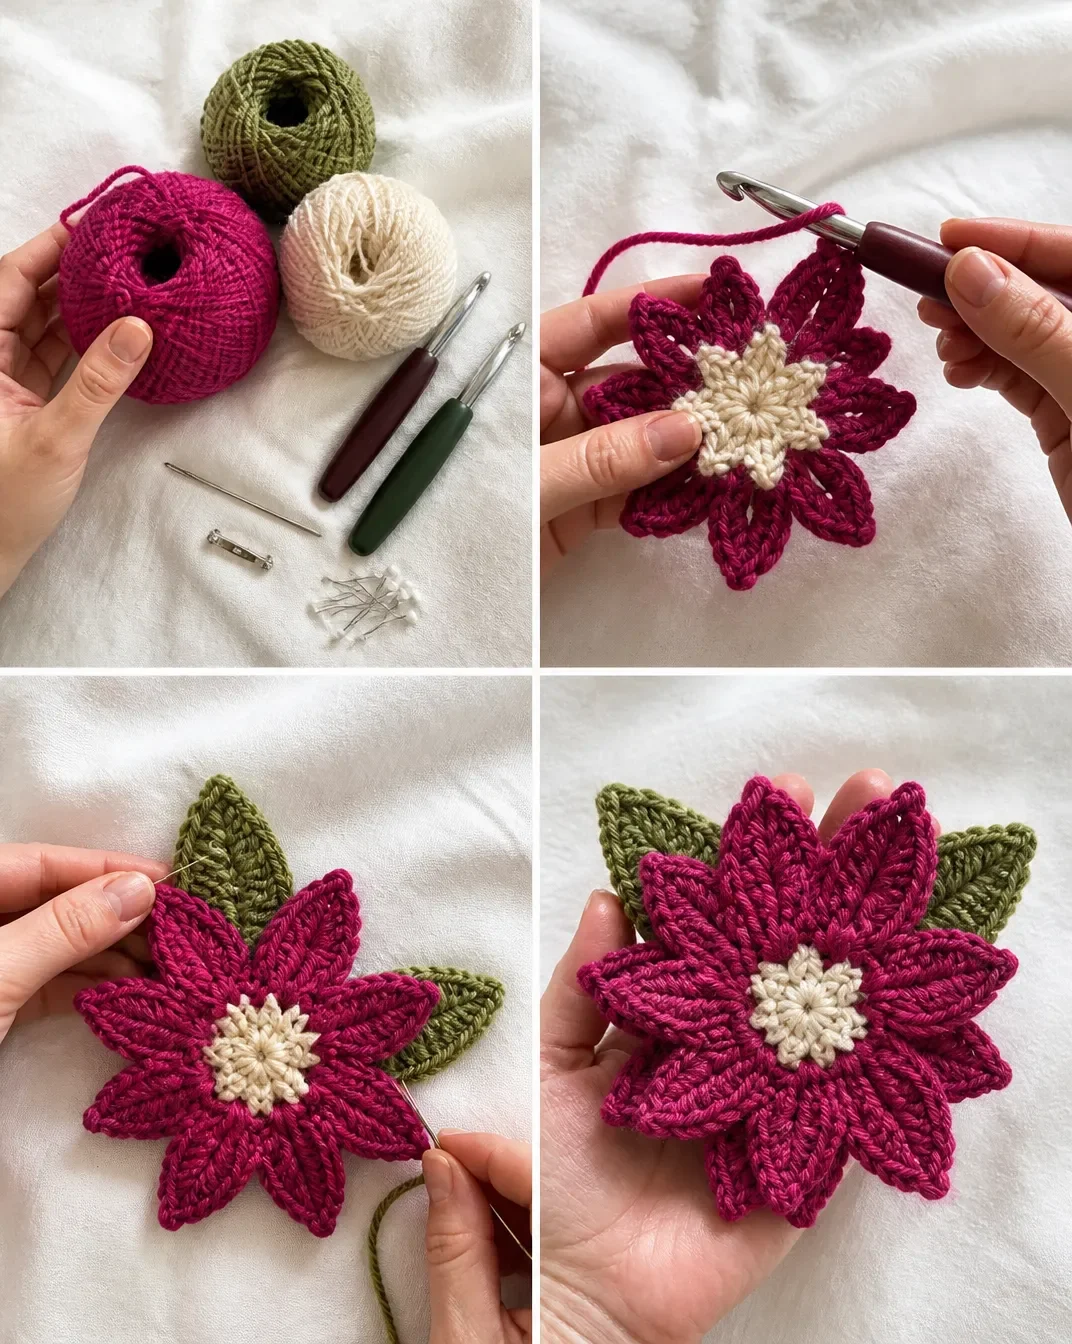
- Yarn, 3 colors, 1 ball each:
- Color A: 2925 Passionfruit
- Color B: 2640 Thyme
- Color C: 2205 Little Lamb
- 8 mm [US L-11] crochet hook
- 6 mm [US J-10] crochet hook
- Sharp yarn needle
- 1 ½” bar pin
- Straight pins
The 6 mm hook is used for the flower center. The 8 mm hook is used for the petals, leaves, and backing. Straight pins are used to hold the felted petals, leaves, and backing in position while they dry and during assembly.
Step-by-Step Crochet Instructions
Special Abbreviations and Technical Notes
2-Chain Picot (2-ch-picot)
Ch 2, insert hook in front loop (horizontal bar) of the sc just made and in the left strand (vertical bar) of the same st, yo and pull through all three loops.
3-Chain Picot (3-ch-picot)
Ch 3, insert hook in front loop (horizontal bar) of the dc just made and in the left strand (vertical bar) of the same st, yo and pull through all three loops.
Joining and Leaf Construction Direction
Join rounds with a slip stitch. The leaf is made by working around both sides of the starting chain, keeping the right side facing.
Clematis Flower
Flower Center
With C and 6 mm hook, ch 2.
[sc in to second ch from the hook, 2-ch-picot] 8 times.
Join to first sc and fasten off 8 2-ch picots.
Petals: Round 1
Working into the back loops of the flower center with the 8 mm hook:
Join A in the back loop of a sc.
Slip st into sc.
[ch 5, slip st in back hump of second ch from the hook and in back hump of next 3 ch, slip st into next sc] 7 times.
Ch 5, slip st in back hump of second ch from the hook and in back hump of next 3 ch.
Slip st into first slip st.
Total: 8 ch-5 petals.
The back-hump placement creates a defined ridge along each petal. Keep the chain loops relaxed enough to allow the petals to spread during shaping.
Petals: Round 2
Work into the back loops of the ch-5 petals:
[slip st into the first chain of the petal, sc in the next st, hdc in the next st, dc in the next st, (3 dc, 3-ch-picot, 3 dc) in the back loop of the turning chain at tip of petal, dc in the first slip st, hdc in the next st, sc in the next st, slip st in the next st, slip st into the slip st between the petals] 8 times.
Total: 8 petals.
Fasten off and weave in the ends.
The 3-chain picot is worked at the tip of every petal. Take care to work into the back loop of the turning chain at the tip so the point remains clearly defined.
Leaves Make 2
Center Vein
With B and 8 mm hook, ch 6.
Working into the back hump of the chains:
- Slip st in the second ch from the hook.
- Slip st in next 4 ch.
- Ch 1 – 5 slip st.
Leaf: Round 1
Starting on the opposite side and working into the back loops of the center vein:
- Slip st in the first ch.
- Sc in next ch.
- Hdc in next ch.
- Dc in next 2 ch.
- (3 dc, 3-ch-picot, 3 dc) in back loop of turning ch at tip of leaf.
Working down the slip st side:
- Dc in next 2 slip st.
- Hdc in next slip st.
- Sc in next slip st.
- Slip st in last slip st.
- Join.
Fasten off and weave in ends.
Repeat the complete leaf instructions to make 2 leaves.
Crocheted Backing
Round 1
With A and 8 mm hook:
Ch 2.
6 sc in second ch from the hook.
Join to first sc 6 sc.
Round 2
Ch 1.
2 sc in each sc.
Join to first sc 12 sc.
Round 3
Ch 1.
2 sc in first sc.
Sc in next sc.
[2 sc in next sc, sc in next sc] 5 times.
Join to first sc 18 sc.
Round 4
Ch 1.
2 sc in first sc.
Sc in next 2 sc.
[2 sc in next sc, sc in next 2 sc] 5 times.
Join to first sc 24 sc.
Fasten off and weave in the ends.
Felting
Before assembling the flower, put the pieces into pillowcases and tie closed.
Place them in a washing machine with hot water and a small amount of detergent.
Check during the wash cycle regularly until the desired amount of felting is achieved.
Rinse soap and squeeze out excess water.
Slightly overlap the clematis petals, pin into place, and let dry.
Block the remaining pieces into desired shapes and let dry.
Because felting develops gradually, check the pieces regularly rather than leaving them unattended for the entire wash cycle. Shape the petals while they are damp so the overlap dries in place.
Assembly
Arrange two leaves on the back of the flower; pin into place and stitch to the clematis with B.
Place the backing on the clematis over the leaves; pin and stitch into place with A.
Sew the bar pin onto the back.
Finishing
Fasten off and weave in the ends:
- After Petals, when completed
- After Leaves, for each leaf
- After Backing
Complete felting and drying/blocking as specified above.
Pin and stitch the assembly as specified above.
Sew the bar pin onto the back.
Ways to Display Your Finished Crochet
- Wear it as a jacket pin. Attach the clematis to a lapel, cardigan, scarf, or coat.
- Decorate a handbag or tote. The flower adds a botanical accent without requiring a permanent alteration.
- Use it as a handmade gift topper. Pin it to ribbon or fabric packaging so the recipient can reuse it.
- Create a floral accessory collection. Make clematis pins in several color combinations and group them on a display card.
- Style a seasonal arrangement. Place finished flower pins near other handmade botanical decorations on a shelf, entry table, or craft display.
- Give it as a small floral gift. The compact design is suitable for birthdays, spring celebrations, or anyone who enjoys handmade accessories.
Caring for Your Crochet Project
The flower has been felted and shaped, so handle it gently after assembly. Dust the surface with a soft, dry brush or use a carefully controlled stream of cool air. Avoid pulling on the picots, petal tips, leaves, or bar pin.
For small marks, use careful spot cleaning rather than soaking the completed pin. Do not place the assembled flower in a washing machine, since the stitched layers and metal bar pin can become distorted or damaged. Keep the piece away from excessive heat, which may affect its shape.
Store the pin flat or in a shallow box with enough space that the petals are not crushed. If a petal loses its shape, lightly dampen only the affected area, reshape it, and allow it to dry completely before storing or wearing it.
Tips for Better Results
- Check the hook size before each component. The flower center uses the 6 mm hook, while the petals, leaves, and backing use the 8 mm hook.
- Pay close attention to loop placement. The petal foundation is worked into the back loops of the center, and Round 2 is worked into the back loops of the ch-5 petals.
- Use the back humps for the starting chains. This is especially important for the petal chains and leaf center vein.
- Count the petals as you work. Round 1 must finish with 8 ch-5 petals, and Round 2 must finish with 8 shaped petals.
- Keep the picots consistent. Work the 2-chain picots in the center and the 3-chain picots at the petal and leaf tips using the specified insertion points.
- Shape before stitching. Pin the slightly overlapping petals while damp and let them dry before attaching the leaves and backing.
- Leave enough yarn for secure sewing. Fasten off and weave in ends after each specified component, but keep the assembly stitches firm and neat.
- Keep the right side facing during leaf construction. The leaf is worked around both sides of the center vein, so changing direction incorrectly can reverse the intended texture.
Color and Styling Variations
The approved pattern uses Passionfruit for the flower, Thyme for the leaves, and Little Lamb for the center. You can optionally change the palette while keeping the construction unchanged.
- Use a deep berry, coral, or violet shade for a richer clematis-inspired look.
- Replace Passionfruit with a pale pink or soft blue for a spring accessory.
- Try a darker center color for stronger contrast with light petals.
- Make several flowers with the same leaf color but different petal colors for a coordinated collection.
- Use complementary flower colors when styling multiple handmade pins together.
- Attach the finished clematis to a neutral fabric accessory so the flower remains the focal point.
If you substitute yarn, the felted texture, finished size, stitch definition, and yarn requirements may change. Changing hook size can also affect the density and dimensions of the crocheted pieces, so treat substitutions as optional experimentation rather than part of the approved instructions.
Frequently Asked Questions
Is this pattern suitable for a beginner?
It is a good project for a crocheter who is comfortable with basic stitches and ready to practice back-loop work, back-hump chains, picots, joining, felting, and sewing. Beginners may find the petal shaping and felting stages the most involved.
How many leaves does the project include?
The pattern specifies making 2 leaves. Each leaf is worked from its own center vein and finished with one round around both sides.
Which hook size is used for the flower center?
The flower center is made with Color C and the 6 mm [US J-10] hook. The petals, leaves, and backing use the 8 mm [US L-11] hook.
How many petals does the clematis have?
The first petal round creates 8 ch-5 petals. The second round shapes those into 8 finished petals with 3-chain picots at their tips.
Can I change the yarn colors?
Yes, color changes are an optional styling choice. Keep the color roles clear while crocheting: Color A is used for the petals and backing, Color B for the leaves and assembly stitching, and Color C for the flower center.
When should I felt the pieces?
Felt the pieces before assembling the flower. Place them in tied pillowcases, wash them in hot water with a small amount of detergent, check the felting regularly, then rinse, squeeze out excess water, shape, and dry.
How are the petals shaped?
Slightly overlap the clematis petals, pin them into place, and let them dry. This creates the layered flower shape before the leaves and backing are attached.
How is the bar pin attached?
After the leaves and backing are stitched to the flower, sew the 1 ½” bar pin onto the back using the sharp yarn needle and suitable yarn tails or sewing yarn from the project.
Can I machine wash the finished pin?
The supplied instructions describe machine washing during the felting stage before assembly. For the completed pin, use gentle dusting or careful spot cleaning instead of machine washing, since the bar pin and stitched layers should be protected.
Conclusion
This Crochet Felted Clematis Pin Pattern combines decorative picots, layered petals, shaped leaves, and felting into a distinctive handmade accessory. Make the approved Passionfruit, Thyme, and Little Lamb version or explore your own floral palette while preserving the construction. For another playful crochet project, compare its shaping techniques with this Qwilfish amigurumi crochet pattern.