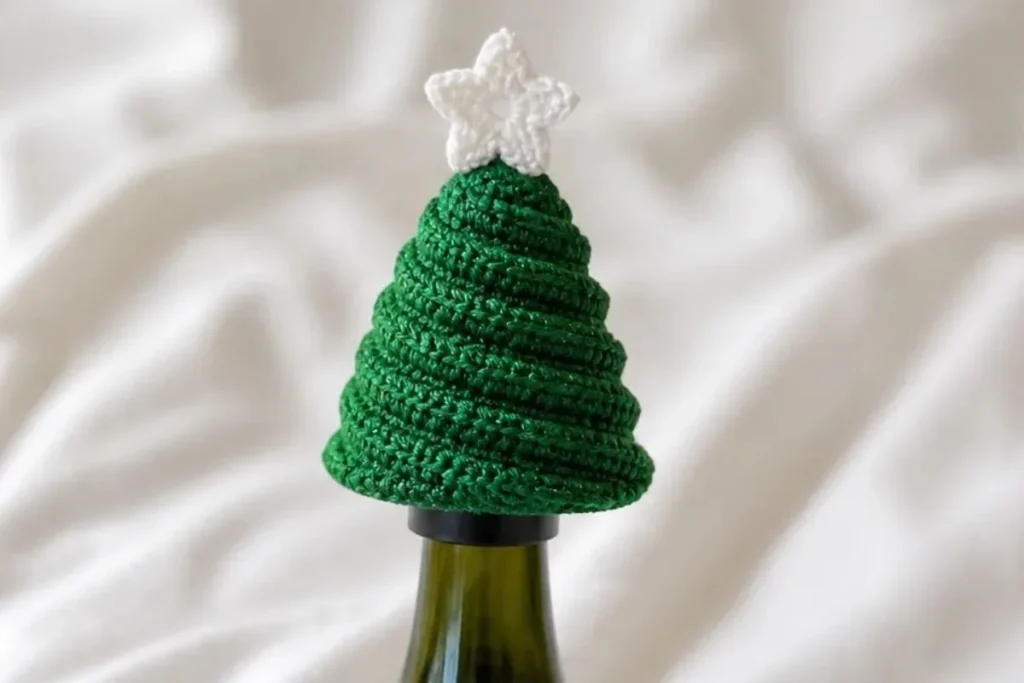
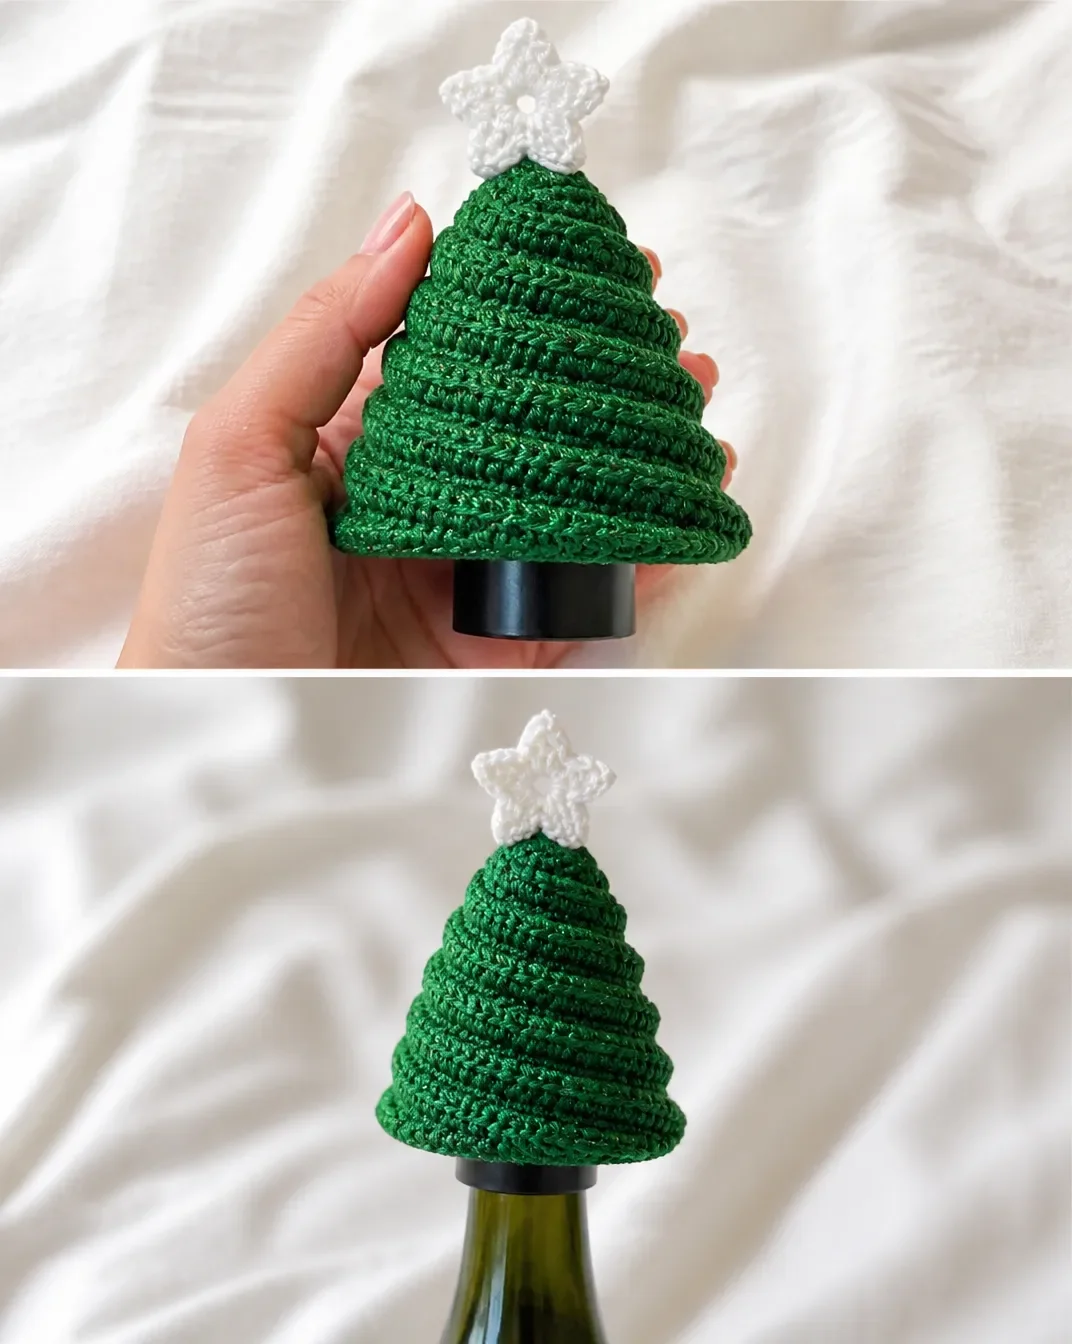
A DIY crochet Christmas tree bottle topper adds a cheerful handmade touch to a holiday bottle, table setting, or hostess gift. This textured tree is worked sideways in glittery green yarn, shaped into nine wedges, cinched at the top, and finished with a small twinkly white star. Crocheters who enjoy seasonal decorations and dimensional shaping will appreciate this compact project. For another festive crochet idea, explore this colorful 3D crochet motif for coordinating handmade décor.
Why You’ll Love This Crochet Project
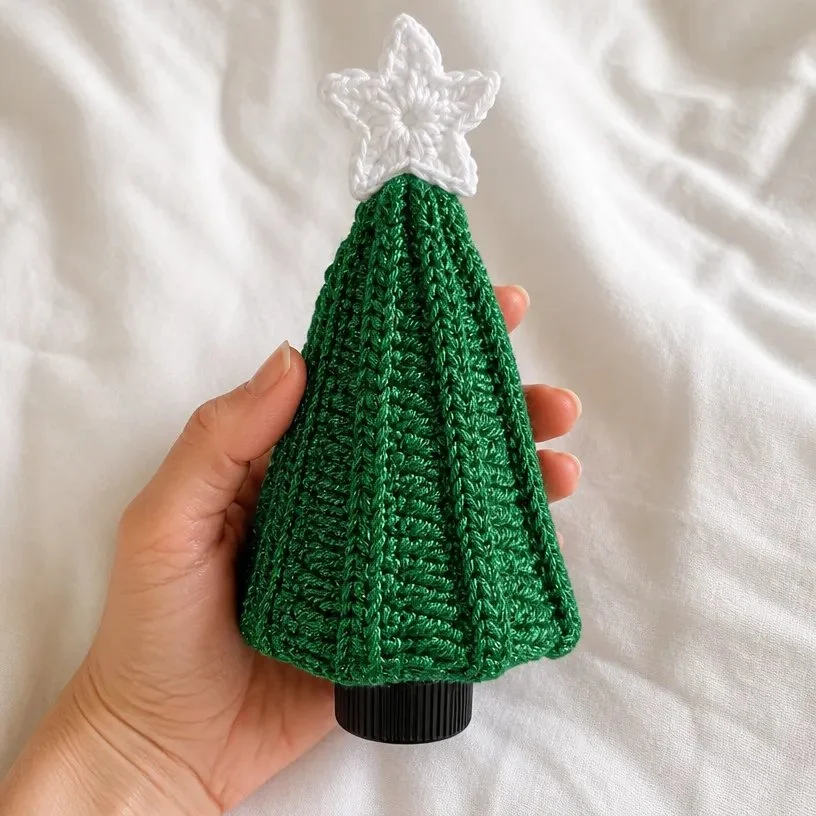
- Creates dimensional texture: The sideways construction forms distinct wedges and ridges that give the tree a natural tiered appearance.
- Uses a festive color combination: Glittery green paired with twinkly white creates an instant Christmas look.
- Practices useful shaping techniques: You will work different stitch heights, front loops, back loops, seaming, and cinching.
- Makes a thoughtful handmade accent: The finished topper can dress up a bottle for a holiday gathering or gift.
- Uses a modest amount of contrast yarn: Only approximately 10 yds / 9 m of Twinkly White is required for the star.
My Crochet Flower Tip: Keep the first row and final row aligned carefully before sewing so the tree forms an even cone rather than twisting.
Pattern Overview
This project includes two crocheted components:
- A green tree worked sideways in nine wedges.
- A white star worked in two rounds and sewn to the top.
The tree begins with a chain of 37. The first row establishes sections of single crochet, half double crochet, double crochet, treble crochet, and double treble crochet. Subsequent rows are worked into the front loop only to create the wedge texture. After nine wedges are completed, ridges are added through the remaining back loops. The tree is then seamed, cinched at the top, and finished with the star.
The supplied instructions use U.S. crochet terminology. Common abbreviations include:
- ch: chain
- sc: single crochet
- hdc: half double crochet
- dc: double crochet
- tr: treble crochet
- dtr: double treble crochet
- sl st: slip stitch
- RS: right side
- MC: main color
Materials You’ll Need
- Bernat® Happy Holidays™ (3.5 oz / 100 g; 240 yds / vgs / 219 m), Main Color (MC) Glittery Green (31711): 1 ball
- Contrast A Twinkly White (31709): Approx 10 yds / 9 m
- U.S. F/5 (3.75 mm) crochet hook
- U.S. 7 (4.5 mm) crochet hook
- Or size needed to obtain gauge
One ball of MC will make 2 Bottle Toppers. Use the larger hook for the tree and the smaller hook for the star, as specified in the instructions.
Step-by-Step Crochet Instructions
Tree
Note: Tree is worked sideways.
Starting Chain
With larger hook and MC, ch 37.
1st Row
(RS).
1 sc in 2nd ch from hook.
1 sc in each of next 8 ch.
1 hdc in each of next 9 ch.
1 dc in each of next 9 ch.
1 tr in each of next 8 ch.
(4 tr. 1 dtr) in last ch.
40 sts. Turn.
Set-Up for Subsequent Rows
From this point on, work all sts into front loop only.
2nd Row
Beg Tr5tog.
1 tr in each of next 8 tr.
1 dc in each of next 9 dc.
1 hdc in each of next 9 hdc.
1 sc in each of next 5 sc.
1 sl st in each of next 4 sc.
36 sts.
One Wedge made. Turn.
3rd Row
Ch 1.
1 sc in each of next 9 sc.
1 hdc in each of next 9 hdc.
1 dc in each of next 9 dc.
1 tr in each of next 8 tr.
(4 tr. 1 dtr) in last tr.
40 sts. Turn.
4th Row
As 2nd row.
Rep last 2 rows 7 times more.
9 Wedges.
Fasten off.
Ridges
With RS facing and beg at bottom (wider edge) of Tree, join MC with sl st to rem back loop at center of any Wedge.
Ch 1.
1 sc in each rem back loop to end of row.
Fasten off.
Rep for each Wedge around.
Seaming and Cinching
Sew foundation ch and last row of Tree tog.
Thread yarn through sts at top of Tree, catching last st of each Ridge row and cinch tightly.
The cinching gathers the narrow top so the sideways fabric takes on the shape of a Christmas tree. Work the gathering evenly around the opening for a balanced finish.
Star
With smaller hook and A, ch 4.
Star 1st Round
9 dc in 4th ch from hook.
(Skipped ch-3 counts as dc.)
Join with sl st to top of ch-3.
10 dc.
Star 2nd Round
Ch 5. 1 sc in 2nd ch from hook. 1 hdc in next ch. 1 dc in next ch. 1 tr in next ch. Skip next dc. Sl st in next dc.
Rep from * around.
Fasten off.
Attach
Sew Star to top of Tree.
Ways to Display Your Finished Crochet
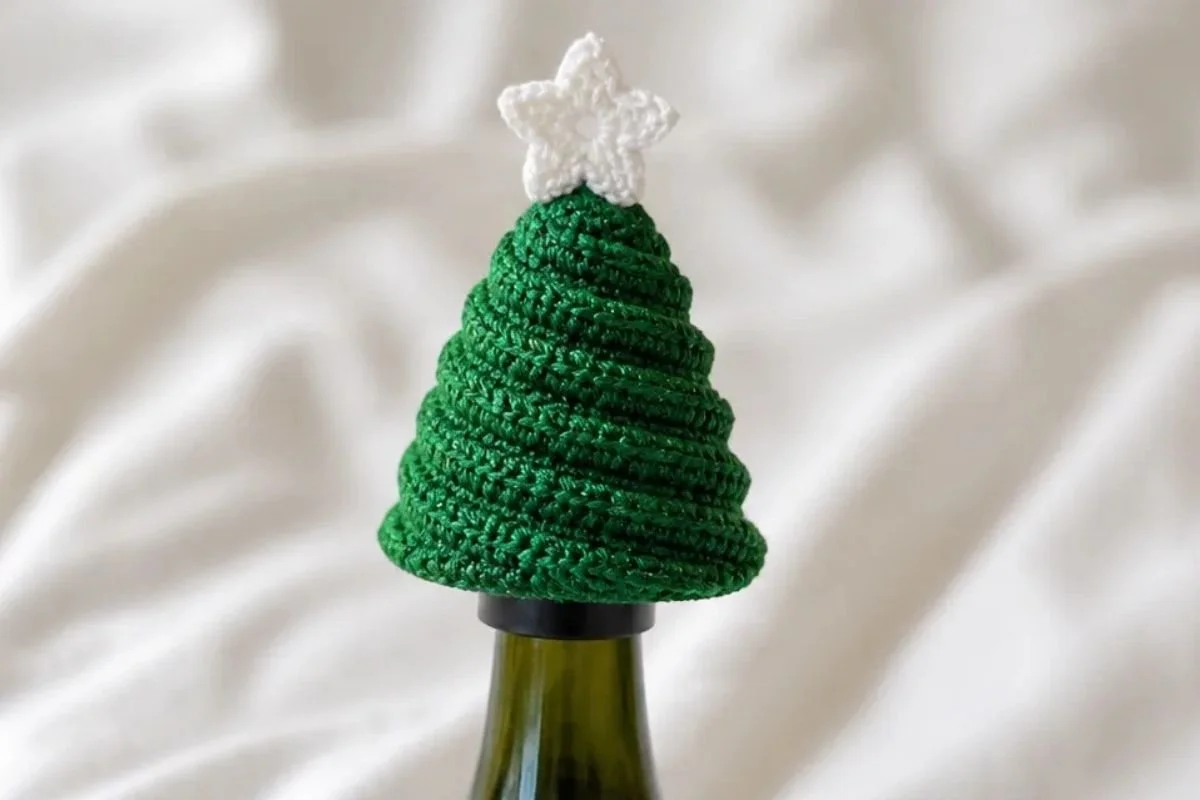
- Dress up a bottle: Place the topper over a wine, sparkling juice, or other appropriately sized holiday bottle for a festive presentation.
- Create a holiday tablescape: Use finished toppers as decorative accents near place settings or along a seasonal centerpiece.
- Make a hostess gift: Pair a bottle topper with a wrapped bottle and a handmade card.
- Build a coordinated display: Crochet several toppers and arrange them at different heights on a buffet or mantel.
- Add handmade gift packaging: Use the tree as a reusable decorative element when presenting a holiday food or drink gift.
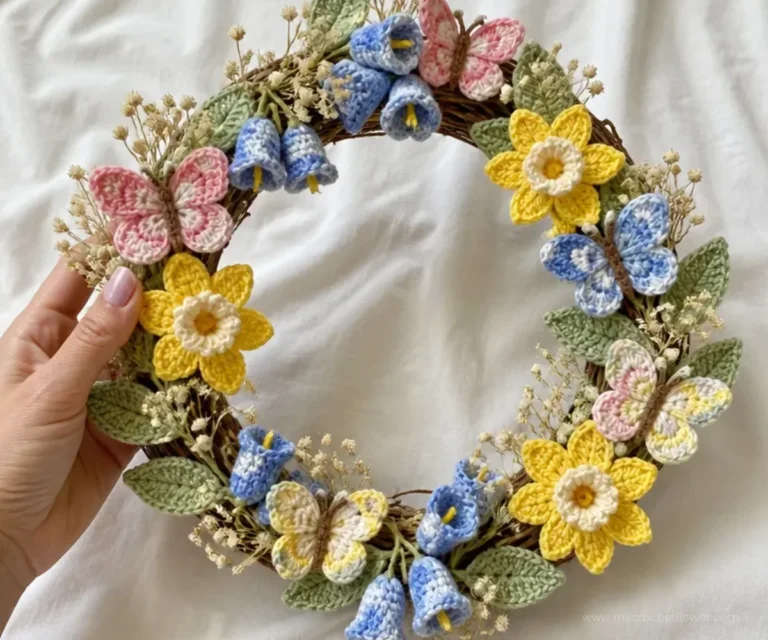
- Coordinate with other seasonal crochet: A floral wreath project, such as this crochet flower wreath pattern, can complement the tree topper in a broader holiday display.
Caring for Your Crochet Project
Handle the topper gently because the ridges, cinched top, and sewn star help create its shape.
- Dust it lightly with a soft brush or dry cloth.
- For a small mark, use careful spot cleaning rather than soaking the entire piece.
- Avoid excessive heat, which can affect the yarn’s texture and the finished shape.
- Store the topper dry and loosely arranged rather than compressed under heavy items.
- If the tree becomes slightly flattened, reshape the wedges gently with your fingers.
- Keep it away from moisture during storage, especially when packed with seasonal decorations.
- Follow the yarn manufacturer’s care instructions when laundering is necessary.
Tips for Better Results
- Use the correct hook for each component. The tree is made with the larger hook, while the star uses the smaller hook.
- Count the first row carefully. The stitch-height sequence must remain in order: sc, hdc, dc, tr, then the final tr and dtr group.
- Watch the working loop. From the set-up for subsequent rows onward, all stitches are worked into the front loop only.
- Mark the beginning of each wedge if helpful. Nine wedges create the tree’s tiered shape, so a removable marker can help you track repeats.
- Keep the ridges consistent. Each ridge is worked through the remaining back loops from the bottom, wider edge toward the end of the row.
- Cinch gradually. Thread through the stitches at the top and pull evenly so the opening closes without bunching to one side.
- Shape the star before attaching it. Lay the star flat and arrange its points before sewing it to the tree.
- Secure the star firmly. Sew through the star and the top of the tree with neat, small stitches so it stays upright during handling.
For a small accessory-inspired crochet project using a similar decorative approach, you can also browse these crochet shoe appliques for ideas about attaching small motifs neatly.
Color and Styling Variations
The approved pattern uses Glittery Green for the tree and Twinkly White for the star, but you can personalize the finished look while keeping the original construction unchanged.
- Try a traditional palette: Use green for the tree and white for the star as written.
- Create a snowy tree: A pale or white tree with a contrasting metallic or jewel-toned star can give the topper a frosted appearance.
- Use a nontraditional holiday palette: Red, gold, silver, or deep blue can create a more modern seasonal accent.
- Coordinate with your wrapping: Match the star color to ribbons, napkins, or gift packaging.
- Make a collection: Crochet several toppers in different tree-and-star combinations for a varied display.
- Experiment with another yarn carefully: A substitution may change gauge, texture, size, shaping, and yarn requirements. If you change yarn, use the stated hook sizes only as a starting point and check the resulting fabric as you work.
These are optional styling ideas; the complete approved instructions remain the same unless you intentionally adjust the yarn or hook.
Frequently Asked Questions
Is this project suitable for a beginner?
It can be approachable for a crocheter familiar with basic stitches, turning rows, and slip stitches. The pattern also introduces front-loop work, back-loop ridge construction, seaming, and cinching.
Which hook makes the tree?
Use the U.S. 7 (4.5 mm) crochet hook, or the size needed to obtain gauge, for the tree.
Which hook makes the star?
Use the U.S. F/5 (3.75 mm) crochet hook for the star.
How many wedges does the tree have?
The tree has nine wedges. The pattern works the final two rows repeatedly seven more times after the first wedge sequence.
How much contrast yarn is needed?
The pattern specifies approximately 10 yds / 9 m of Contrast A Twinkly White for the star.
Can I change the colors?
Yes. Changing colors is an optional styling choice. Keep in mind that a different yarn or colorway may affect the appearance and texture, while a different yarn type or hook size may also affect gauge and dimensions.
How is the tree shaped?
The tree is worked sideways, then the foundation chain and last row are sewn together. Yarn is threaded through the top stitches and the last stitch of each ridge row, and the top is cinched tightly.
How is the star attached?
After completing both star rounds and fastening off, sew the star to the top of the tree.
How should I store the topper?
Store it clean and dry, protected from compression and excessive heat. Reshape the wedges gently if they become flattened.
Conclusion
This DIY crochet Christmas tree bottle topper combines textured sideways construction, a neatly cinched silhouette, and a bright handmade star. It is a practical seasonal accent for bottles, tables, and gifts, and the color possibilities make it easy to coordinate with your holiday décor. For another version of this seasonal project, compare the Free Easy Bernat Christmas Tree Bottle Topper Crochet Pattern.