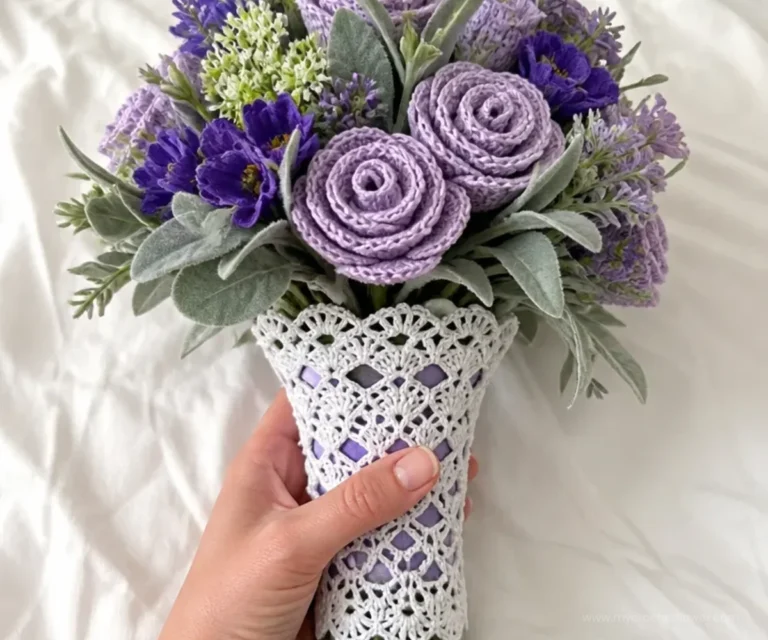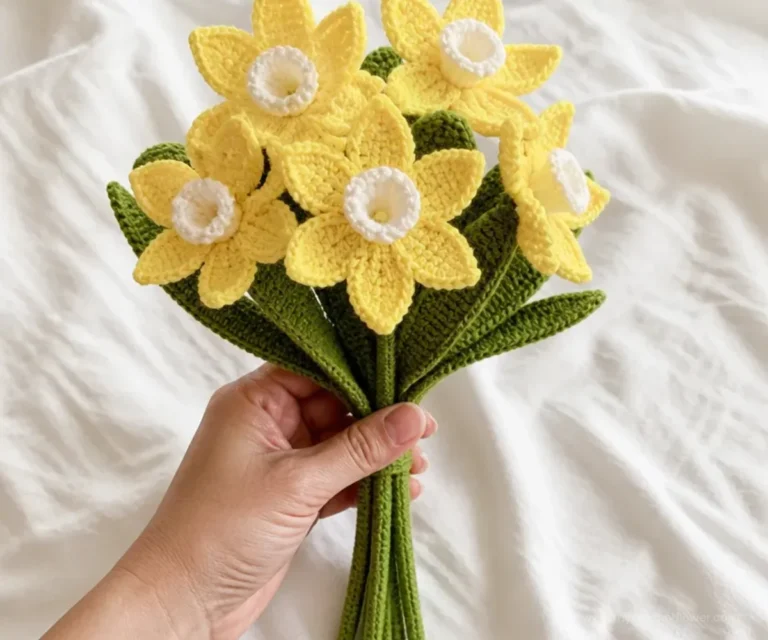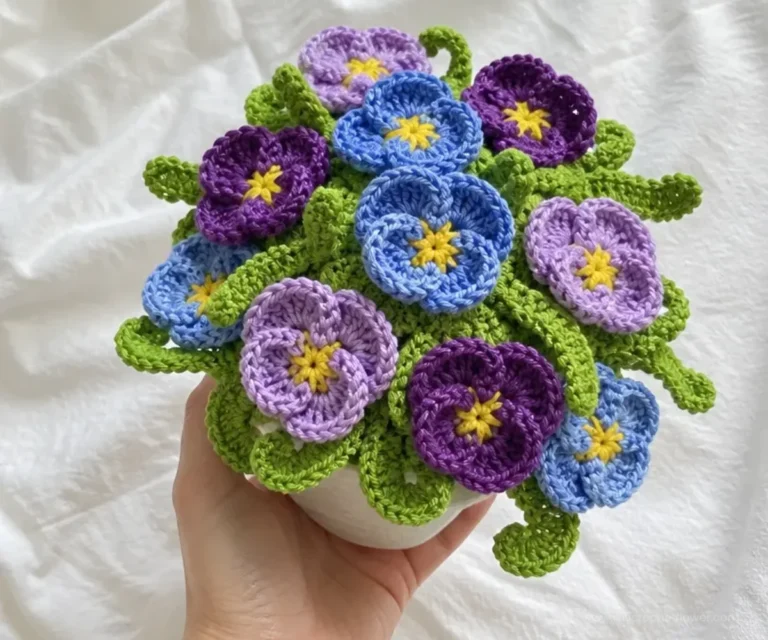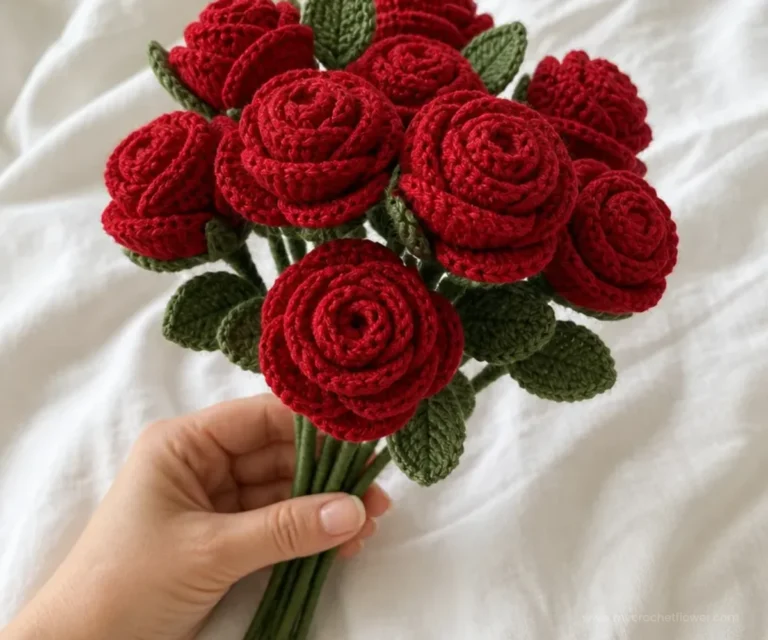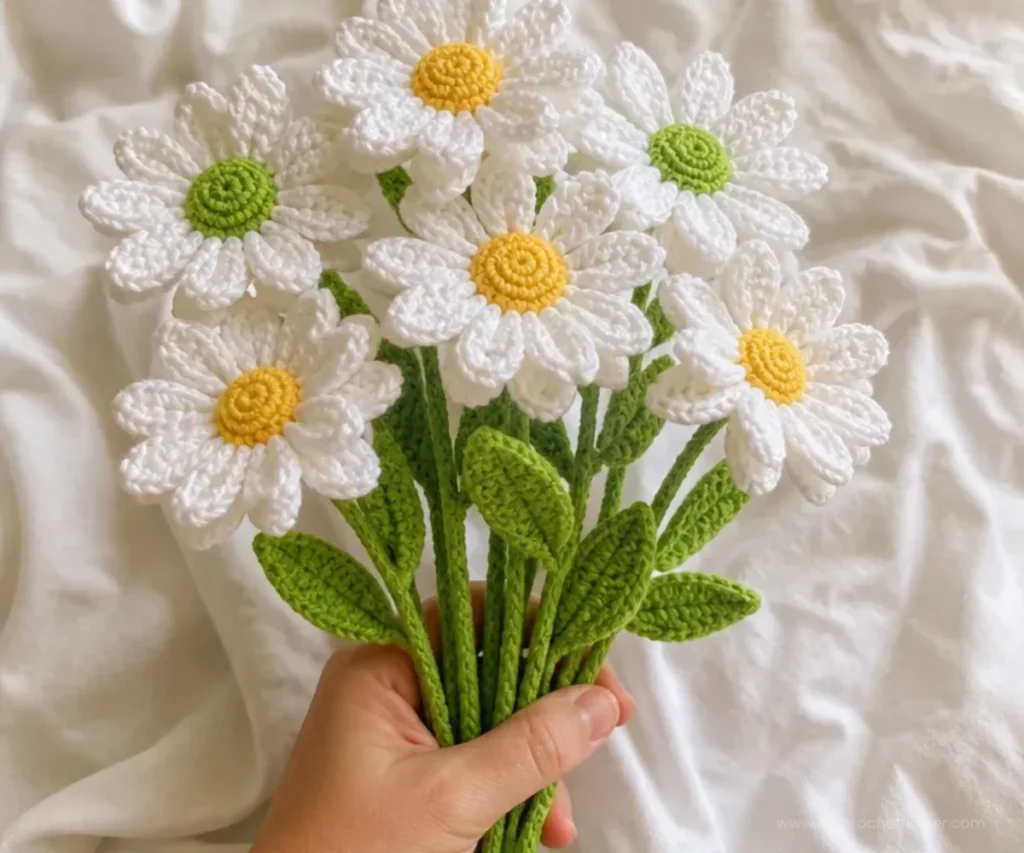
A Daisy Bouquet Pattern creates eight cheerful crocheted flowers with white petals, sunny centers, green stems, and leaves. The finished bouquet makes a bright handmade decoration, thoughtful gift, or lasting floral arrangement. It is also a satisfying project for crocheters who enjoy making repeated motifs and assembling individual pieces into one display. For another floral idea with a classic look, compare this project with the classic daisy bouquet crochet pattern.
Why You’ll Love This Crochet Project
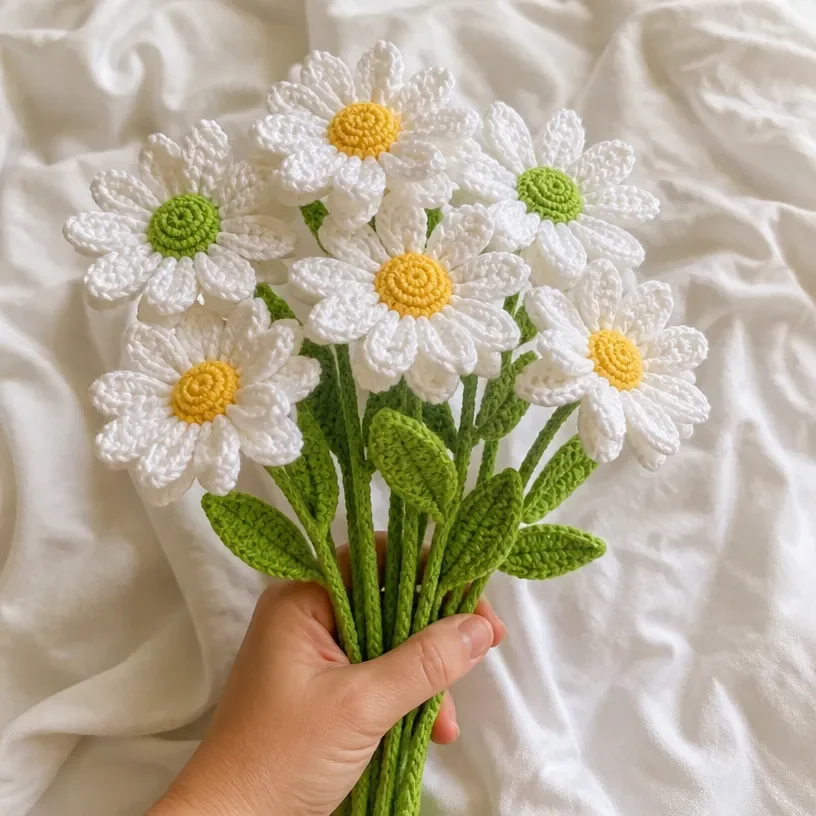
- It makes a complete bouquet: You will create eight flowers, eight stems, and 24 leaves for a coordinated arrangement.
- The colors are bright and recognizable: White petals, yellow centers, and green foliage give the bouquet a fresh daisy appearance.
- It practices useful techniques: The project includes chain stitches, single crochet, half double crochet, double crochet, joined rounds, and layered motifs.
- It makes a lasting gift: Unlike fresh flowers, this bouquet can be displayed repeatedly without wilting.
- It is easy to customize: Once the construction is understood, you can experiment with flower colors, vase styles, and arrangement ideas.
My Crochet Flower Tip: Make the motifs in batches. Complete all eight Daisy Motif A pieces, then all eight Daisy Motif B pieces, before moving to the stems and leaves.
How This Crochet Project Comes Together
The bouquet is assembled from four types of components:
- 8 Daisy Motif A flowers
- 8 Daisy Motif B flowers
- 8 crocheted stems
- 24 leaves
Each finished flower uses two daisy motifs placed with wrong sides facing each other, with a stem between them. Three leaves are sewn to each stem. Floral wire is woven through the crocheted stem to give it support.
The pattern uses US crochet terminology. The design begins with small five-stitch centers, increases to 10 stitches, and then builds two alternating rounds of five petals. The petals are made with chains, half double crochet, and double crochet stitches.
For a different bouquet style using another bright flower, the daffodil crochet bouquet pattern can provide complementary inspiration when planning a larger floral display.
Useful Abbreviations
- ch: chain
- sc: single crochet
- hdc: half double crochet
- dc: double crochet
- sl st: slip stitch
- rnd: round
- MC: Main Color
- WS: wrong side
Materials You’ll Need
- Yarn: Lily® Sugar ’n Cream
- Solids: 70.9 g / 2.5 oz / 109 m / 120 yds
- Ombres: 56.7 g / 2 oz / 86 m / 95 yds
- Main Color (MC) (00001 White): 1 ball
- Contrast A (00073 Sunshine): 1 ball
- Contrast B (01712 Hot Green): 2 balls
- Crochet hook: Size 4 mm (U.S. G or 6) crochet hook or size needed to obtain gauge
- Floral wire: Light green floral wire
- Other: Cut floral wire in lengths to fit stems
The green floral wire is woven through each crocheted stem to help it hold its shape. Cut the wire to fit the stems before assembly, and handle the ends carefully.
Step-by-Step Crochet Instructions
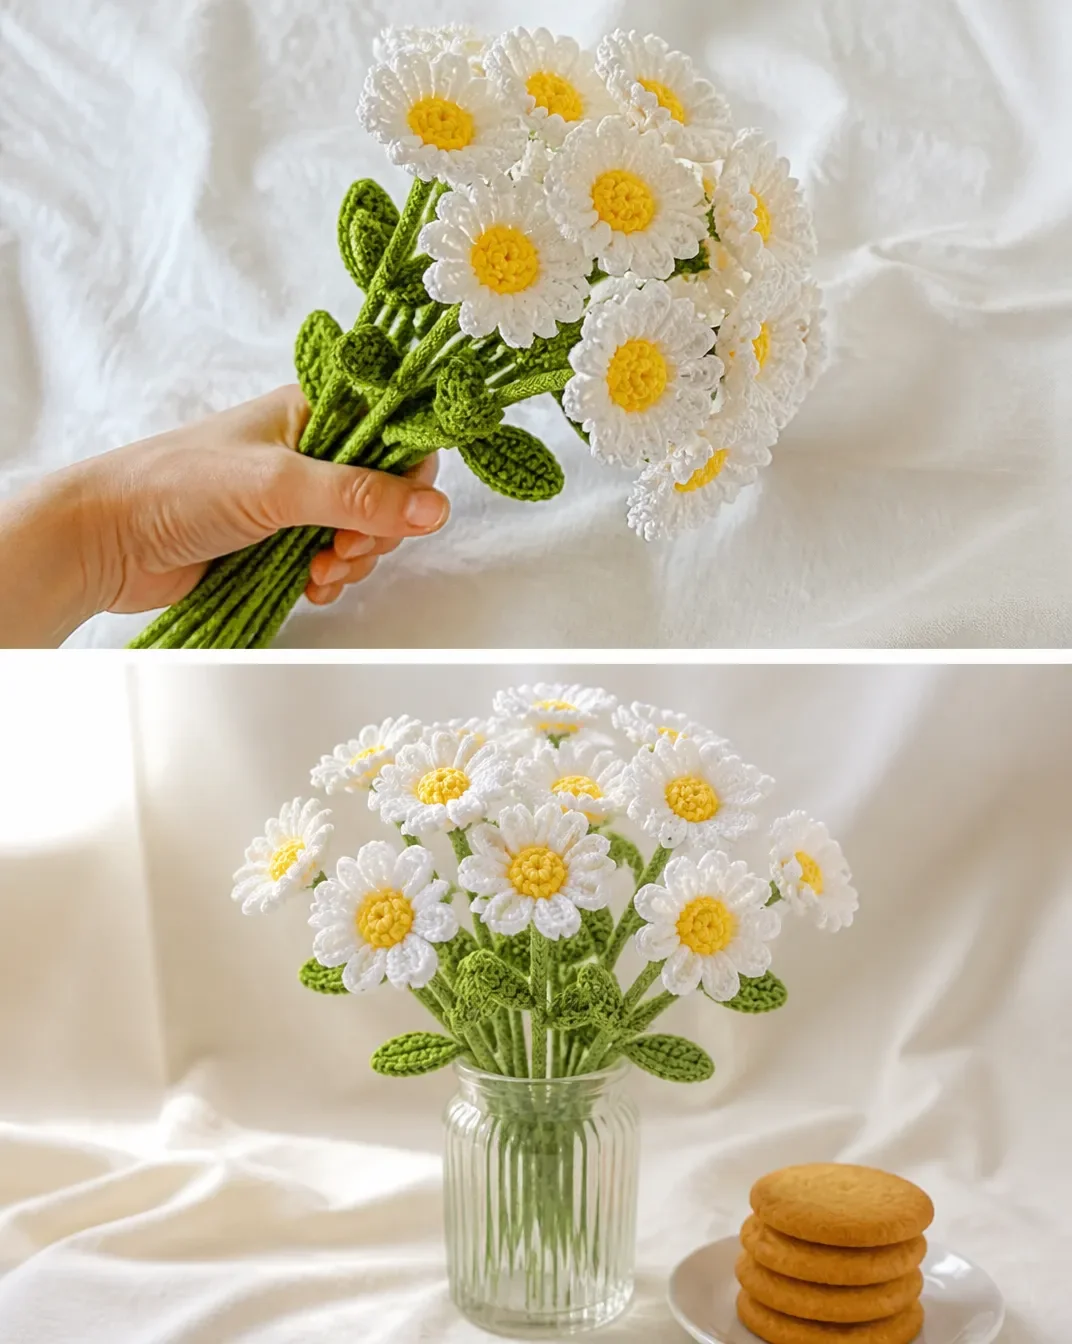
Work the components in the order below. Keep the color changes and stitch counts exactly as written.
Daisy Motif A Make 8
With A, ch 2.
1st rnd: 5 sc in 2nd ch from hook. Join with sl st to first sc.
2nd rnd: Ch 1. 2 sc in each sc around. Join MC with sl st to first sc. 10 sc. Break A.
3rd rnd: With MC, ch 1. 1 sc in first sc.
*Ch 7. 1 hdc in 3rd ch from hook. 1 hdc in next ch. 1 dc in each of next 3 ch. Miss next sc of last rnd. 1 sc in next sc. Rep from * around, ending with sl st in first sc. 5 petals.
Note: 5 petals from 3rd rnd will alternate with 5 petals from 4th rnd.
4th rnd: Ch 1. Working behind last rnd, 1 sc in next missed sc from last rnd.
*Ch 7. 1 hdc in 3rd ch from hook. 1 hdc in next ch. 1 dc in each of next 3 ch. Miss next sc. 1 sc in next missed sc from last rnd. Rep from * around, ending with sl st in first sc. 5 petals. Fasten off.
Daisy Motif B Make 8
With B, ch 2.
1st rnd: 5 sc in 2nd ch from hook. Join A with sl st to first sc. Break B.
2nd rnd: With A, ch 1. 2 sc in each sc around. Join MC with sl st to first sc. 10 sc. Break B.
Work from the asterisk through the end of the 4th round as given for Daisy Motif A:
*Ch 7. 1 hdc in 3rd ch from hook. 1 hdc in next ch. 1 dc in each of next 3 ch. Miss next sc of last rnd. 1 sc in next sc. Rep from * around, ending with sl st in first sc. 5 petals.
Note: 5 petals from 3rd rnd will alternate with 5 petals from 4th rnd.
4th rnd: Ch 1. Working behind last rnd, 1 sc in next missed sc from last rnd.
*Ch 7. 1 hdc in 3rd ch from hook. 1 hdc in next ch. 1 dc in each of next 3 ch. Miss next sc. 1 sc in next missed sc from last rnd. Rep from * around, ending with sl st in first sc. 5 petals. Fasten off.
Stems Make 8
With B, ch 51.
1st row: 1 sc in 2nd ch from hook. 1 sc in each ch to end of ch. 50 sc. Fasten off.
Leaves Make 24
With B, ch 8.
1st rnd: 1 sc in 2nd ch from hook. 1 hdc in each of next 2 ch. 1 dc in each of next 2 ch. 1 hdc in next ch. 5 hdc in last ch.
Working into opposite side of ch into rem loops, 1 hdc in next ch, 1 dc in each of next 2 ch. 1 hdc in each of next 2 ch. 1 sc in last ch.
Join with sl st to first sc. Fasten off.
Assembly and Finishing
Cut floral wire in lengths to fit stems and weave through stem.
Sew 3 leaves to each stem.
Attach 2 Daisy Motifs for each ‘Flower’ with WS facing each other and stem between them.
When attaching the motifs, align the petal rounds so the two flower pieces form a neat front and back. Place the stem centrally between the motifs before securing the layers.
Ways to Display Your Finished Crochet
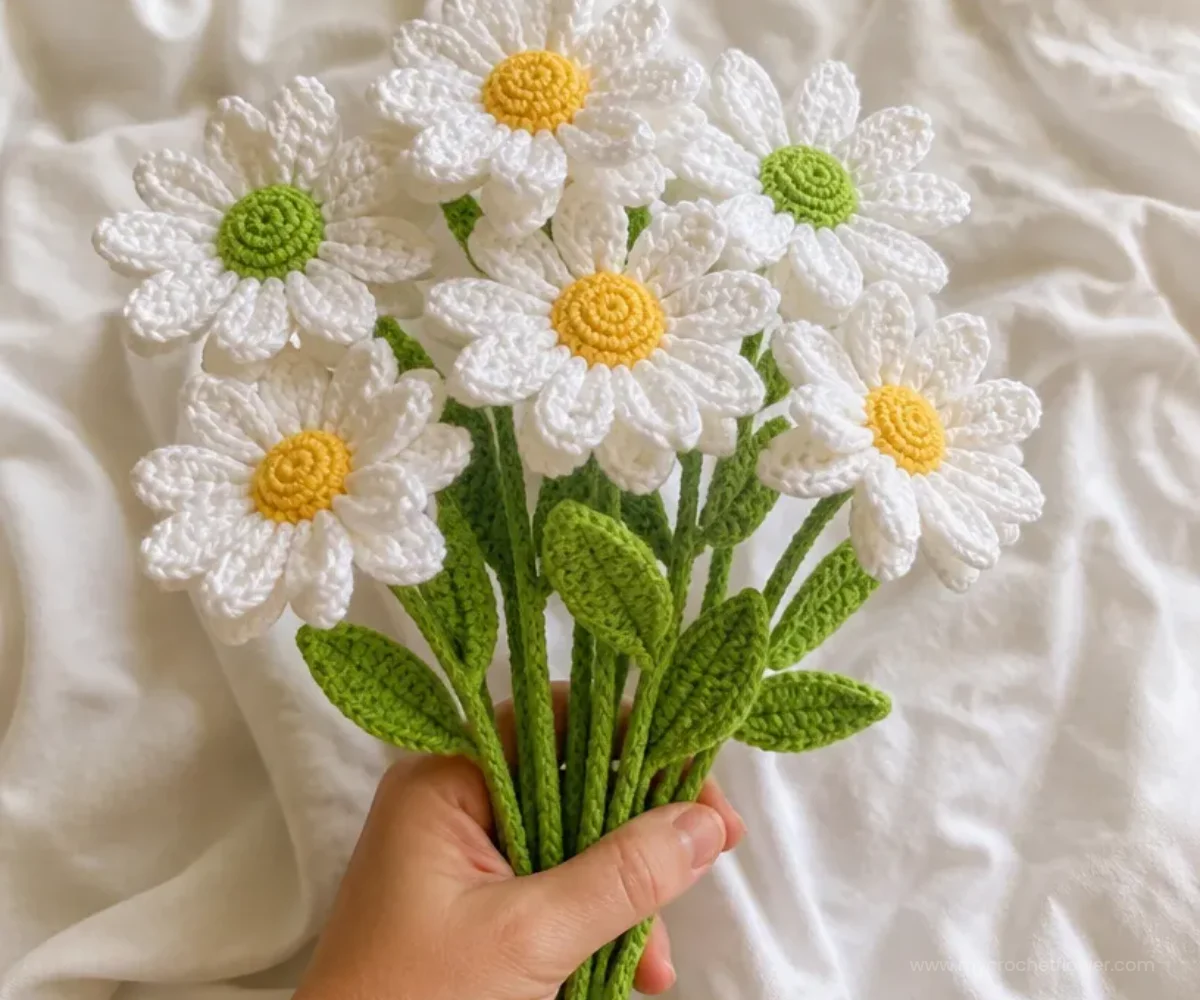
- Use a simple vase: Arrange the eight wired stems in a narrow glass, ceramic, or recycled container so the flowers remain upright.
- Create a table centerpiece: Fan the stems slightly to make the bouquet visible from several angles.
- Give a handmade floral gift: Present the bouquet for a birthday, housewarming, graduation, or spring celebration.
- Style a seasonal display: Pair the daisies with a light-colored vase and natural textures for a spring-inspired arrangement.
- Combine floral projects: Add flowers from the maker mini daisy crochet pattern to create variation in flower size.
- Try a mixed-color bouquet: Keep the green stems and leaves consistent while changing selected flower colors for a more playful arrangement.
Caring for Your Crochet Project
Because the bouquet contains floral wire, avoid machine washing, soaking, or submerging it in water. These methods can distort the crochet and may expose or shift the wire.
- Dust the flowers gently with a soft, dry cloth or a clean, soft brush.
- For a small mark, use careful spot cleaning with minimal moisture, then allow the piece to air-dry completely.
- Reshape petals and leaves gently with your fingers rather than using heat.
- Store the bouquet in a dry place away from excessive humidity.
- Avoid placing it near radiators, fireplaces, hot windows, or other sources of heat.
- When transporting it, wrap the flowers loosely so the petals are not crushed.
- Check the wire ends occasionally and reposition them if they begin to protrude.
Tips for Better Results
- Count the center stitches carefully. The first round has 5 sc, and the second round increases to 10 sc. These stitches support the petal placement.
- Watch the color changes. Daisy Motif A begins with A, while Daisy Motif B begins with B and then joins A as specified.
- Keep the petals consistent. Each petal uses ch 7, followed by 2 hdc and 3 dc worked from the third chain.
- Work the fourth round behind the third. The instruction to work behind the last round is what allows the second set of five petals to alternate with the first set.
- Count each stem chain. Ch 51 produces 50 sc in the first row when you begin in the second chain from the hook.
- Shape the leaves as you crochet. The 5 hdc worked into the last chain form the rounded tip and turn the work toward the opposite side of the foundation chain.
- Place three leaves on every stem. Since there are 24 leaves and 8 stems, each stem receives exactly three leaves.
- Secure the wire safely. Cut floral wire to fit the stem and take care when handling the ends, especially while weaving it through the crochet.
- Hide yarn ends neatly. Weave in ends securely before joining the flower layers so they do not show between the motifs.
- Center the stem between motifs. A centered stem helps the flower sit evenly and keeps the front and back layers aligned.
Creative Ways to Customize Your Project
These are optional styling ideas and do not change the approved pattern instructions.
- Change the flower palette: Keep MC as white and replace the sunny center with another bright shade, or use a pastel center for a softer bouquet.
- Use a seasonal combination: Yellow and white suit spring, while cream, coral, or dusty pink can create a warmer decorative arrangement.
- Coordinate the vase: A white vase emphasizes the green foliage, while a natural or transparent container keeps attention on the flowers.
- Arrange the stems at different angles: Slightly bend the supported stems to create a rounded bouquet rather than a flat row.
- Add related crochet flowers: The pansy bouquet pattern offers a contrasting flower shape for a larger mixed arrangement.
- Change yarn cautiously: A different yarn or hook size may affect gauge, finished dimensions, petal texture, stem firmness, and yarn requirements. Make a sample before committing to a full bouquet.
Frequently Asked Questions
Is this Daisy Bouquet Pattern suitable for a beginner?
It is suitable for a crocheter who is comfortable with basic stitches and joined rounds. The pattern also provides practice with half double crochet, double crochet, layered motifs, and simple assembly.
How many flowers does the bouquet include?
The pattern makes eight Daisy Motif A pieces and eight Daisy Motif B pieces. Two motifs are attached for each flower, creating eight finished flowers.
How many leaves are needed?
Make 24 leaves. The finishing instructions attach three leaves to each of the eight stems.
What hook size should I use?
Use a size 4 mm (U.S. G or 6) crochet hook, or the size needed to obtain gauge.
Can I change the flower colors?
Yes. Color changes are an optional customization, but keep the approved motif instructions unchanged. A different yarn color will alter the appearance without necessarily changing construction.
How are the flowers attached to the stems?
Attach two Daisy Motifs for each “Flower” with WS facing each other and the stem between them. The floral wire is woven through the crocheted stem before the flower layers are attached.
Can I use another yarn?
You can experiment with another yarn, but it may change the flower size, petal definition, stem flexibility, and amount of yarn required. A hook adjustment may also be necessary to obtain comparable tension.
How should I store the finished bouquet?
Store it upright or loosely wrapped in a dry place. Protect the petals from crushing, keep the wire supported, and avoid excessive heat or moisture.
Conclusion
This Daisy Bouquet Pattern combines simple crocheted components into a bright, lasting floral arrangement. The layered petals, wired stems, and three-leaf construction create a bouquet that works as home décor or a handmade gift. For additional floral inspiration, explore Daisy’s Bouquet crochet square pattern and this crochet daisy free pattern as you plan your next botanical project.