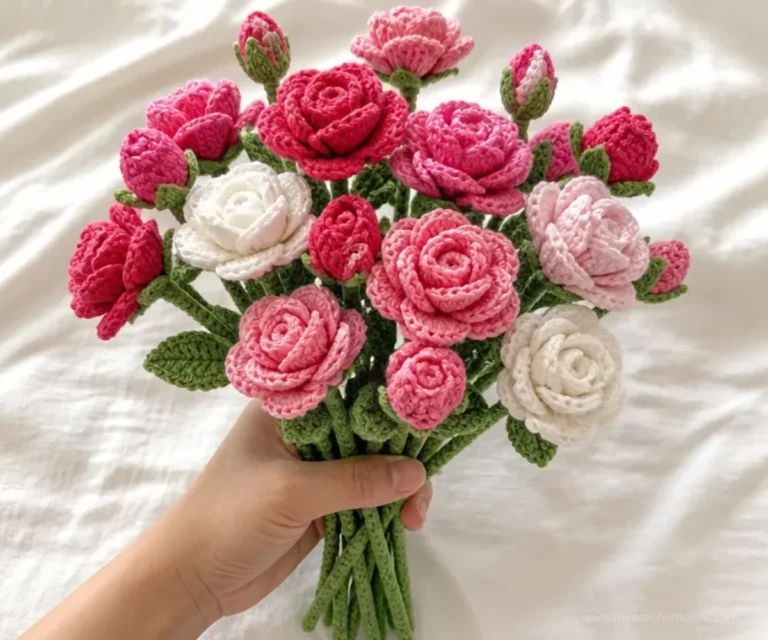
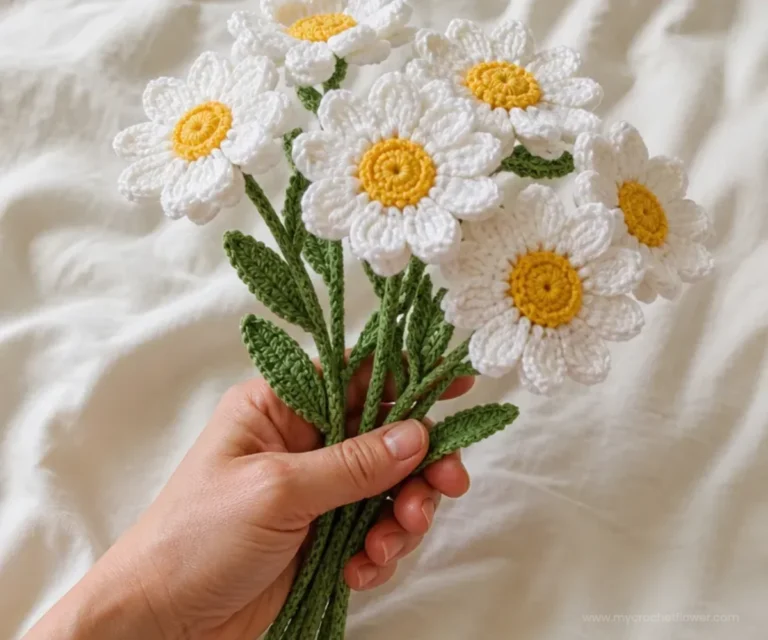
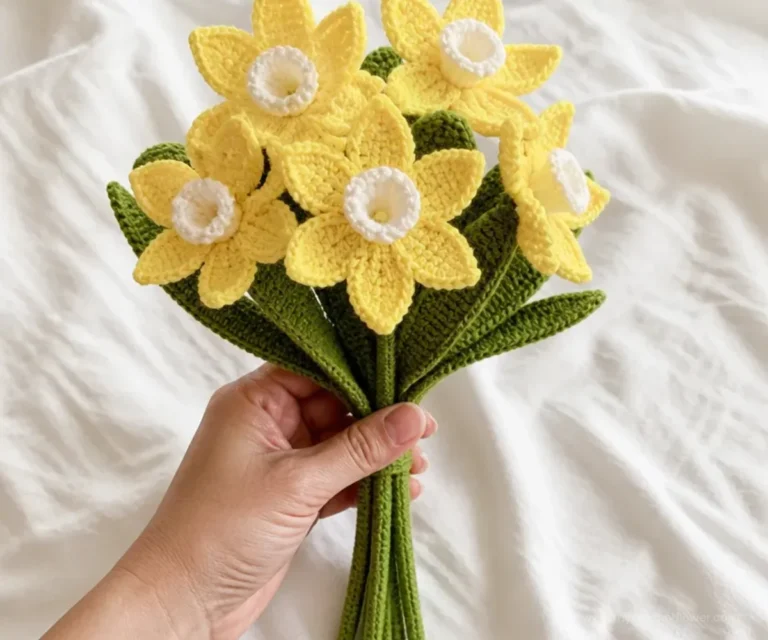
A Crochet Easy To Make Red Roses Bouquet brings together simple crocheted circles, floral wire, and rich red yarn to create a charming handmade arrangement. The finished roses can brighten a vase, become a thoughtful gift, or complement a larger floral display. This project is suitable for crocheters who enjoy creative assembly as much as stitching, and it pairs beautifully with other handmade flowers, such as those in this easy daisy crochet tutorial.
Why You’ll Love This Crochet Project
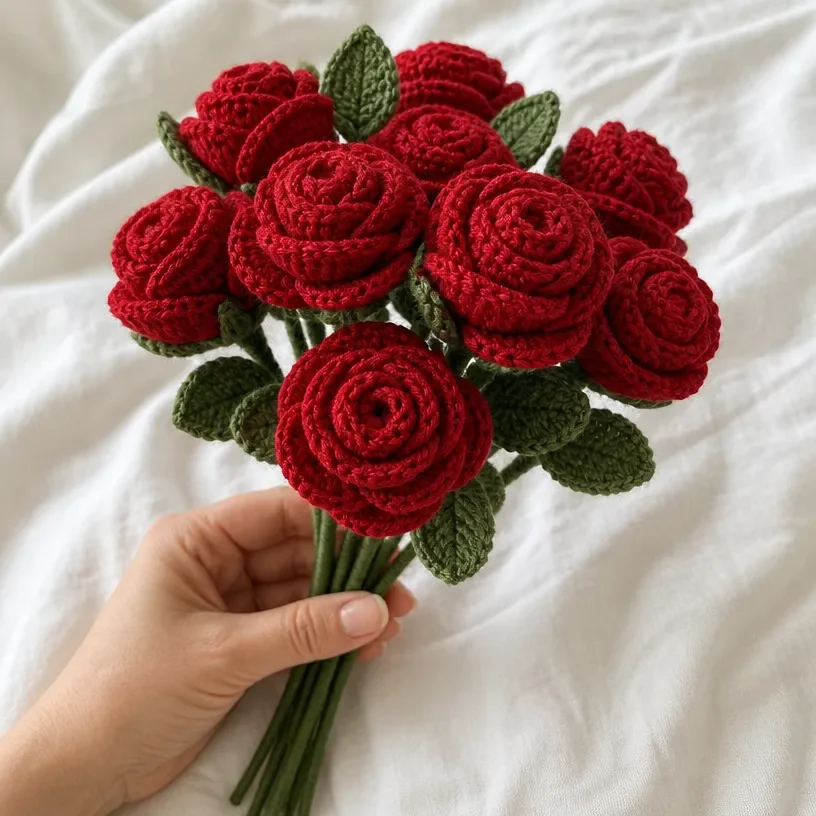
- Create lasting flowers: Unlike fresh roses, these crocheted blooms can be displayed repeatedly without wilting.
- Practice simple shaping: Making crocheted circles and arranging them into petals introduces an approachable way to build a flower form.
- Make a thoughtful gift: A red rose bouquet works well for birthdays, anniversaries, Valentine’s Day, or a handmade wedding-inspired gift.
- Style it in different ways: Finished roses can be arranged together in a vase or combined with optional green leaves for added contrast.
- Customize the presentation: The bouquet can be adapted to suit a centerpiece, decorative shelf, desk, or gift arrangement.
My Crochet Flower Tip: Prepare all the crocheted circles before assembly so you can compare their sizes and arrange the most evenly shaped pieces together.
How This Crochet Project Comes Together
The approved pattern uses red yarn to create several crocheted circles that become rose petals. The circles are stacked and arranged into a flower shape, then supported with floral wire. Floral tape covers the wire to form a neat stem, while optional green leaves or other embellishments add extra detail.
The project has five main stages:
- Make several crocheted circles with red yarn.
- Stack and assemble the circles into a rose shape.
- Support the flower with floral wire.
- Wrap the wire with floral tape.
- Add optional greenery and arrange the roses in a vase.
No stitch counts, hook size, gauge, finished measurements, or specific number of circles are provided in the approved instructions, so work the circles according to the desired size and fullness of each rose.
Materials You’ll Need
- Red yarn: Used to crochet the rose petals.
- Floral wire: Supports each completed flower and creates the stem.
- Floral tape: Wraps the wire and helps give the stem a finished appearance.
- Scissors: Used to cut yarn and floral materials.
- Hot glue gun: Helps secure assembled flower components when needed.
- Green leaves, optional: Add greenery and contrast to the bouquet.
- Vase: Holds and displays the finished roses.

Step-by-Step Crochet Instructions
1. Create the Rose Petals
Create rose petals by making several crocheted circles with red yarn.
Make enough crocheted circles to form the fullness you want in each rose. Since the approved instructions do not specify a particular number, you can prepare several pieces and arrange them before permanently securing the flower. Keep the circles as consistent as possible so the completed rose has an even appearance.
As you work, leave the circles ready for assembly rather than trimming or hiding every end immediately. This gives you room to adjust the arrangement and secure the pieces neatly during the next step.
2. Assemble the Crocheted Petals
Assemble the crocheted petals into a flower shape by stacking them together.
Place the crocheted circles on top of one another, adjusting their positions so the edges create a layered rose appearance. Slightly shifting each circle can make the flower look fuller and less flat. Check the flower from the side as well as from above to ensure the layers form a pleasing shape.
Once the circles are arranged, use the hot glue gun to help secure the components if desired. Handle the hot glue carefully, and allow it to set before moving the flower to the stem assembly.
3. Add Floral Wire Support
Use floral wire to support the flower shape.
Position the floral wire beneath or through the assembled flower so it can hold the rose upright. Keep the wire centered as much as possible to prevent the flower from leaning. The wire provides the structure needed for displaying the rose in a vase.
Take care when handling the wire because its cut ends may be sharp. Bend or position the end securely so it does not catch on the yarn or protrude from the finished stem.
4. Wrap the Stem With Floral Tape
Wrap the floral wire with floral tape.
Begin near the base of the flower and continue wrapping down the wire. Stretching floral tape gently as you work helps it grip and overlap. Keep the wraps close together for a smoother stem, and press the end of the tape firmly into place.
The completed wrap should cover the wire and create a more finished stem for arranging. If the rose shifts while wrapping, pause and reposition the crocheted circles before continuing.
5. Add Optional Leaves or Embellishments
Attach green leaves or additional embellishments if desired.
Green leaves can be positioned along the wrapped stem to add a natural contrast to the red flower. Secure them carefully so they remain attached without pulling on the crocheted petals. Additional embellishments may also be used, provided they do not make the flower too heavy for the floral wire.
For another wedding-inspired direction, you can coordinate the roses with a handmade bouquet covering, such as this crochet bridal bouquet wrap pattern.
6. Arrange the Finished Roses
Arrange the finished roses in a vase.
Place the completed roses in the vase and adjust the stems so the flowers sit at different angles if desired. You can group the roses closely for a full bouquet or spread them slightly to give each bloom more visual space. Add the optional green leaves between flowers to help fill open areas.
Ways to Display Your Finished Crochet
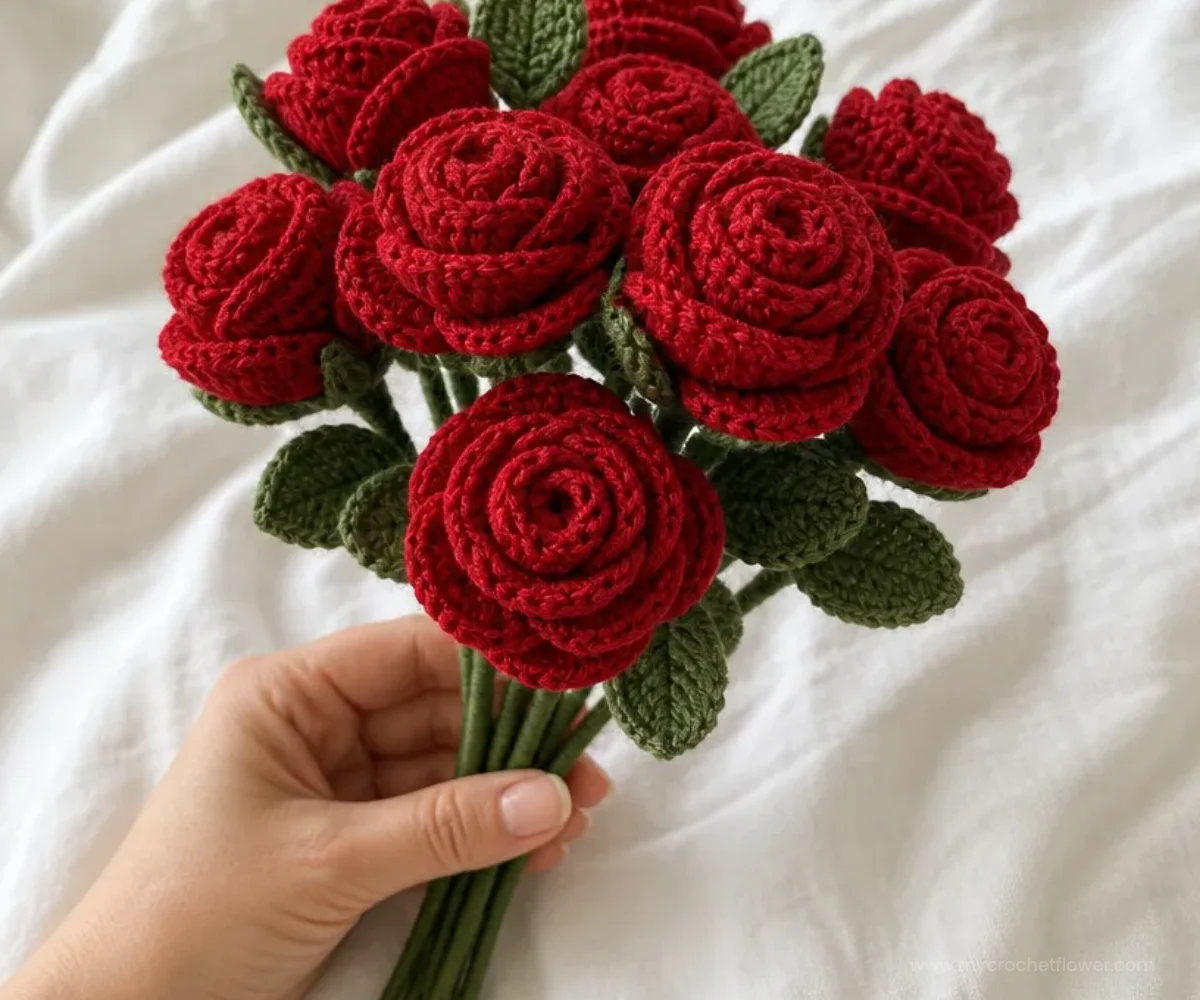
- Classic red rose vase: Arrange several roses together in a simple vase for a bold, traditional display.
- Table centerpiece: Place the bouquet in the center of a dining or coffee table, making sure the arrangement does not obstruct conversation.
- Handmade romantic gift: Give the roses as a lasting alternative to fresh flowers for an anniversary or special occasion.
- Wedding-inspired decoration: Coordinate red roses with white, cream, or green accents for a romantic event display.
- Seasonal home décor: Use the bouquet for Valentine’s Day, an anniversary celebration, or a year-round botanical accent.
- Mixed handmade arrangement: Combine these roses with other crocheted flowers for varied shapes and textures. A complementary crochet bridal bouquet cozy pattern can also inspire a coordinated presentation.
Caring for Your Crochet Project
Keep the finished bouquet away from excessive moisture because it includes floral wire, floral tape, and hot glue. Do not machine wash, soak, or submerge the arrangement.
- Dust the petals gently with a soft, dry cloth or a clean, soft brush.
- Spot-clean only when necessary, using minimal moisture and avoiding the glued areas.
- Reshape the crocheted circles carefully if they shift during storage or display.
- Store the roses upright or in a box large enough to prevent the petals from being crushed.
- Keep the arrangement away from excessive heat, which can soften hot glue and affect the floral tape.
- Protect the stems and optional leaves from bending under heavy objects.
- Before long-term storage, make sure the bouquet is clean and completely dry.
Tips for Better Results
- Keep the circles consistent: Similar-sized circles make the stacked petals look more balanced.
- Arrange before securing: Test different layers and positions before using hot glue or attaching the wire permanently.
- Center the floral wire: A centered support helps the finished rose stand upright in the vase.
- Wrap floral tape evenly: Overlap each section slightly to cover the wire and create a tidy stem.
- Handle hot glue carefully: Use enough adhesive to hold the flower components, but avoid adding so much that it becomes visible between the petals.
- Check the flower from every angle: Rotate the rose as you assemble it so the layers look attractive from the front, sides, and top.
- Secure optional leaves lightly: Greenery should complement the rose without pulling the flower out of shape.
- Trim only after arranging: Wait until the components are positioned correctly before cutting yarn or excess materials.
Creative Ways to Customize Your Project
The approved pattern is worked with red yarn, but the following ideas are optional styling variations and do not change the original instructions:
- Try another flower color: Pink, burgundy, cream, or deep purple can create different moods. Changing yarn may affect the texture and size of the crocheted circles.
- Create a mixed bouquet: Combine red roses with flowers in a coordinating shade for more variety.
- Add contrasting greenery: Green leaves provide a traditional look, while lighter or darker foliage can create a different visual effect.
- Use seasonal colors: Red and white suit winter displays, while coral and pink can create a softer spring arrangement.
- Choose a different vase style: A glass vase gives a clean look, while a ceramic or decorative vase can make the bouquet feel more formal.
- Vary the rose fullness: Use fewer or more crocheted circles to alter the layered appearance, while remembering that the approved pattern simply instructs you to make several circles.
- Coordinate with a wedding palette: Pair red roses with cream, white, gold, or greenery for a romantic event arrangement.
If you change the yarn or use a different hook size, the crocheted circles may have a different texture, size, and amount of stiffness. Adjust the arrangement only as an optional design choice, not as a replacement for the approved construction sequence.
Frequently Asked Questions
Is this project suitable for beginners?
The construction is approachable because it uses crocheted circles followed by straightforward assembly. Beginners should work carefully when stacking the petals and handling floral wire, hot glue, and floral tape.
What color yarn is used for the approved pattern?
The approved pattern uses red yarn for the rose petals.
How many crocheted circles should I make?
The instructions say to make several crocheted circles, but they do not specify an exact number. Make enough to create the fullness and layered shape you want for each rose.
How are the petals assembled?
The crocheted petals are assembled by stacking the crocheted circles together and arranging them into a flower shape.
How does the flower stay upright?
Floral wire supports the assembled flower and acts as the stem. Wrapping the wire with floral tape gives it a more finished appearance.
Are green leaves required?
No. Green leaves are optional. They can be attached if you want additional greenery or contrast in the bouquet.
Is a vase required?
A vase is used to arrange and display the finished roses. It is part of the supplied materials for the completed bouquet presentation.
Can I use another yarn color?
Yes, as an optional variation. Keep in mind that a different yarn may change the circles’ texture, size, or stiffness.
How should I clean the finished bouquet?
Dust it gently and use careful spot cleaning only when necessary. Avoid machine washing, soaking, or submerging the arrangement because it contains floral wire, floral tape, and hot glue.
Can I make the bouquet fuller?
Yes. Make and stack additional crocheted circles as desired, while keeping the flower balanced on its floral-wire support.
Conclusion
This Crochet Easy To Make Red Roses Bouquet combines simple crocheted circles with practical floral assembly to create a lasting handmade display. Arrange the roses in a vase, add optional greenery, or coordinate them with other crochet flowers for a personalized gift or centerpiece. For more rose-making inspiration, browse this collection of free crochet rose patterns.