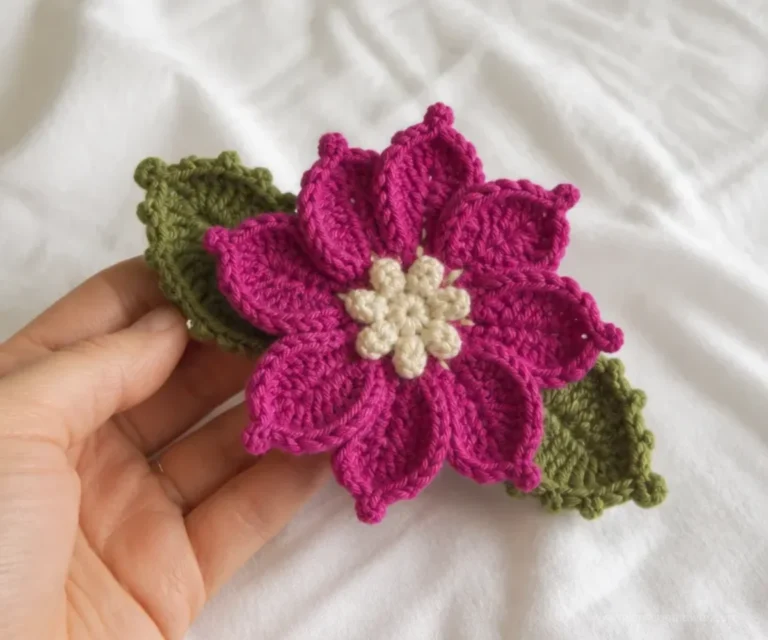
A crochet zinnia brings the layered look of a garden flower into a lasting handmade decoration. This Crochet Zinnia Pattern creates a floral accent that can stand alone, join a bouquet, or become part of a larger botanical display. It is a practical project for crocheters who enjoy working in rounds and shaping petals with yarn. You can also pair it with coordinated floral makes, such as a 3D flower granny square, for a colorful handmade collection.
Why You’ll Love This Crochet Project
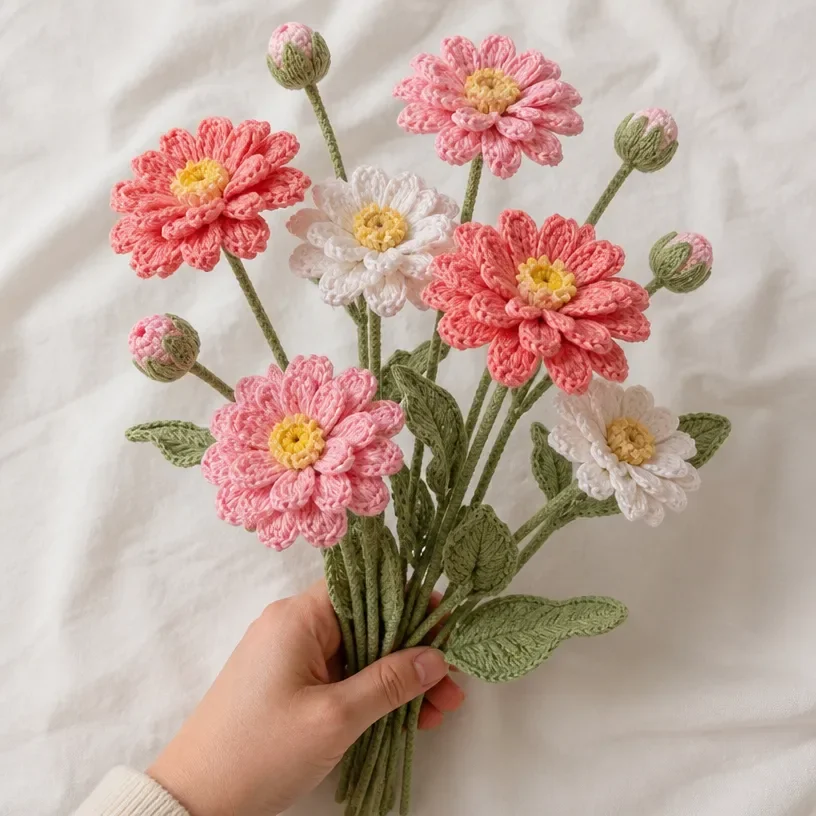
- It creates a versatile flower: A finished zinnia can decorate a vase, gift package, table setting, or seasonal display.
- It supports bouquet making: Crochet several flowers and arrange them together for a handmade floral gift that does not wilt.
- It practices circular construction: Working the petals in rounds helps build familiarity with continuous or joined flower shapes.
- It encourages creative styling: Choose one color for a coordinated arrangement or combine shades for a fuller garden-inspired look.
- It is easy to personalize: Optional leaves and stems allow you to adapt the flower to your intended display.
My Crochet Flower Tip: Make one flower first and use it as your visual guide when creating additional blooms. Consistent tension will help the flowers look harmonious when arranged together.
Before You Start Crocheting
This project begins with a slip knot and a chained foundation. The zinnia petals are then created by following the pattern instructions in rounds. Once the crocheting is complete, the yarn ends are woven in with a tapestry needle.
The supplied pattern also allows you to assemble multiple flowers into a bouquet. Leaves or stems may be added optionally according to your design, so the final project can be a single decorative bloom or part of a larger arrangement.
Keep your tension steady while working around the flower. Petals often look most attractive when their stitches are even and the completed rounds are not pulled too tightly.
Materials You’ll Need
- Crochet yarn
- Crochet hook
- Scissors
- Tapestry needle
The yarn forms the flower, while the crochet hook is used to work the foundation and petal rounds. Scissors are needed for trimming yarn, and the tapestry needle is used to weave in the finished ends.
Step-by-Step Crochet Instructions
Follow the approved construction sequence below. The pattern is intentionally adaptable for a single flower, a bouquet, or a design that includes optional leaves and stems.
Begin the Foundation
- Start with a slip knot and chain a foundation.
Keep the foundation chain even as you work. Avoid tightening the slip knot or chain so much that the hook cannot move comfortably through the stitches.
Create the Zinnia Petals
- Follow the pattern instructions for creating the zinnia flower petals, working in rounds.
Work carefully around each round and maintain consistent tension. The petal shaping comes from following the supplied round instructions, so keep your place as you work and avoid skipping stitches.
When a round is complete, check that the petal structure is developing evenly before moving forward. If you need to pause, place a marker in the active loop or note where you stopped.
Weave In the Ends
- Use the tapestry needle to weave in ends.
Thread each yarn tail onto the tapestry needle and weave it securely through the wrong side or back of the flower. Trim the excess yarn after it is secured. Neat finishing helps keep the flower tidy and reduces the chance of loose ends showing in the arrangement.
Assemble Multiple Flowers
- Assemble multiple flowers if desired for a bouquet.
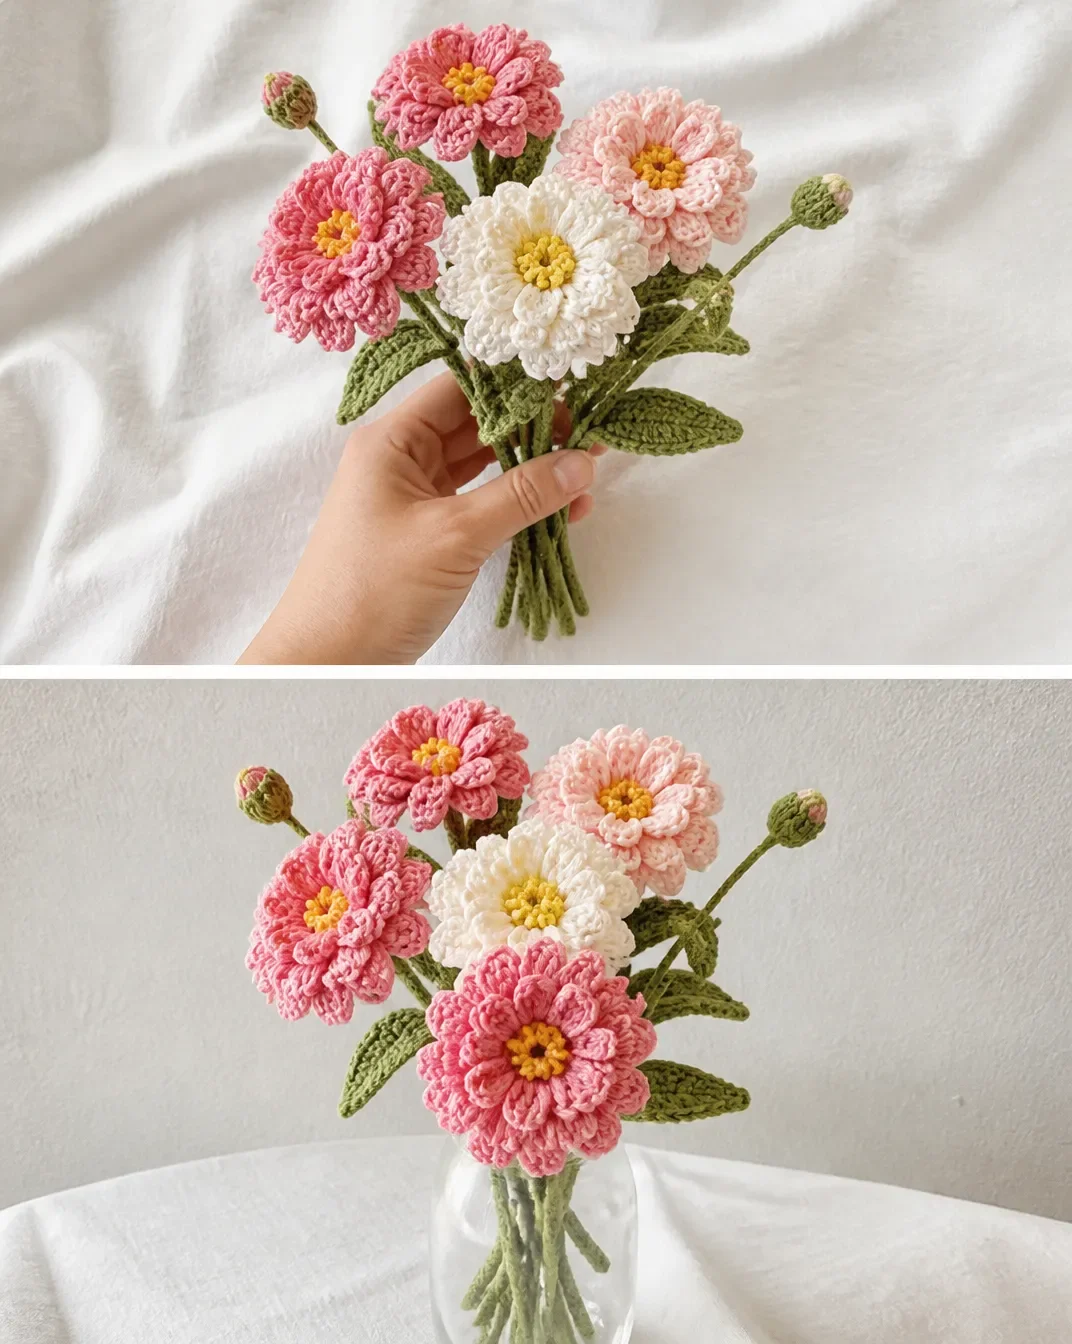
Arrange the completed flowers together in the style you prefer. You can group matching flowers for a simple display or combine different colors for more contrast. Position the blooms at slightly different angles to create a natural-looking arrangement.
- Optionally, attach leaves or stems as per your design.
Leaves and stems are optional design elements rather than required parts of the supplied flower instructions. Add them only if they suit your planned arrangement, and arrange them so they support the shape and overall balance of the bouquet.
Creative Ways to Use Your Finished Crochet
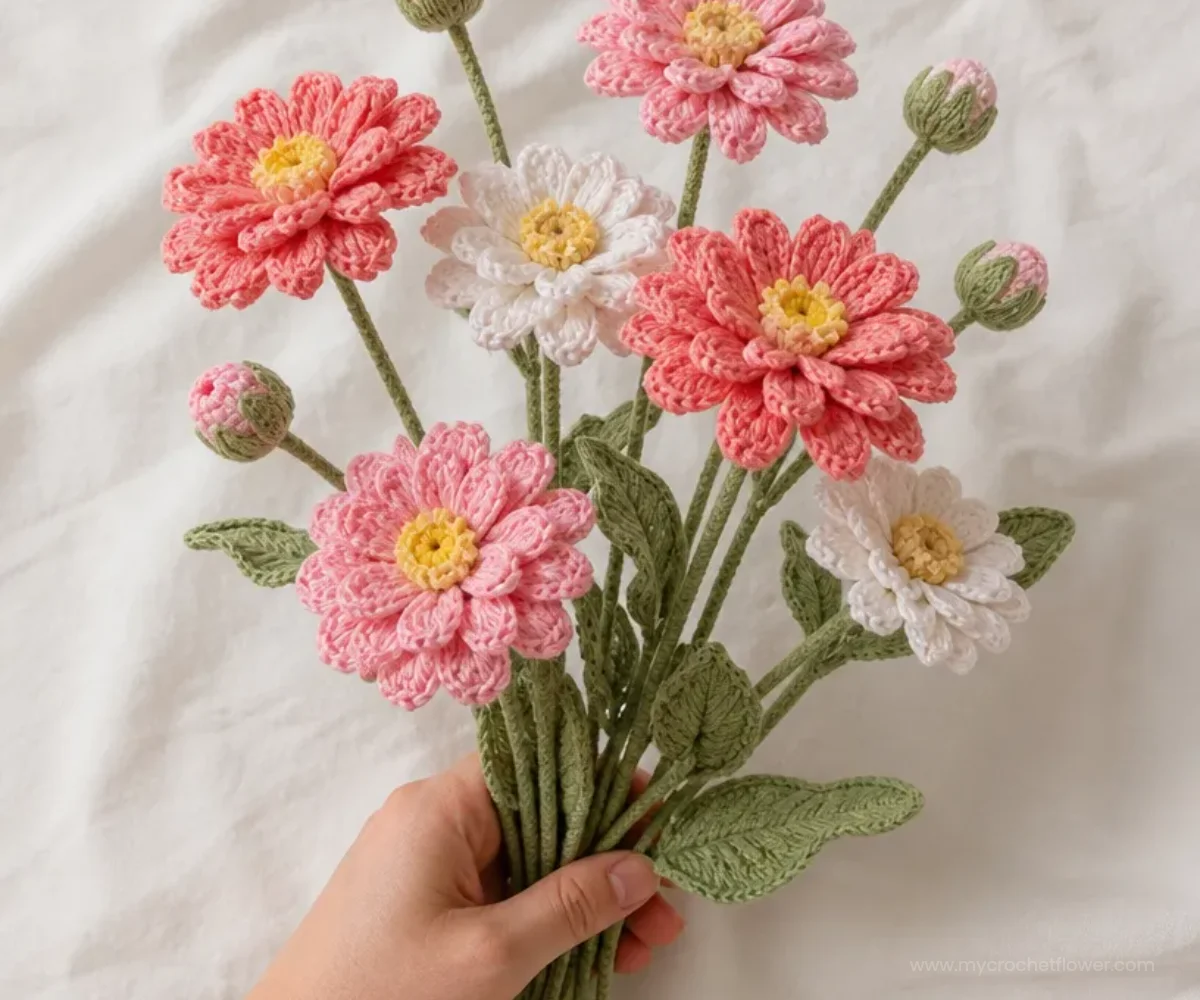
- Create a vase arrangement: Group several crochet zinnias in a small vase or container for a permanent floral display.
- Make a handmade gift: Present a single flower or small bouquet as a thoughtful decoration for a friend or family member.
- Style a table centerpiece: Arrange the flowers in a shallow dish or decorative container for a colorful table accent.
- Build a seasonal display: Use warm shades for autumn, bright colors for spring and summer, or soft tones for a gentle year-round arrangement.
- Combine flowers with crochet decorations: A bouquet can be paired with other handmade botanical pieces, such as a crochet April flowers wreath, to create a coordinated display.
- Decorate a gift or craft project: A small zinnia can be used as a decorative accent on wrapping, a basket, or another handmade presentation, provided it is securely attached.
Caring for Your Crochet Project
Keep the finished zinnia away from excessive heat, moisture, and rough handling. Since the exact yarn fiber is not specified, follow the care guidance provided with your chosen yarn whenever it is available.
For routine maintenance, gently dust the flower with a soft, dry cloth or use light bursts of air from a distance. Avoid pulling the petals while cleaning. If the flower becomes slightly flattened during storage, reshape it carefully with your fingers rather than stretching the stitches.
Store the finished bloom in a clean, dry place. A shallow box can help protect the petals from being crushed, especially when several flowers are stored together. If you add optional stems or leaves, position them loosely so they do not bend or press against the flower.
Tips for Better Results
- Keep the foundation relaxed. A very tight starting chain can make the flower difficult to work into and may pull the base out of shape.
- Track every round. The petals are created in rounds, so marking your place helps prevent accidental skipped or repeated sections.
- Maintain even tension. Consistent tension gives the petals a more uniform appearance when several flowers are placed together.
- Check the petal shape as you work. Pause occasionally to make sure the rounds are forming the intended flower structure instead of twisting.
- Secure yarn tails carefully. Weave in the ends with the tapestry needle before arranging the flower so the finish stays neat.
- Arrange before final styling. If you are making a bouquet, lay the flowers beside one another first and experiment with spacing before deciding how to position optional leaves or stems.
- Use coordinated colors thoughtfully. Two or three related shades can add visual variety without making the arrangement look overly busy.
- Handle finished petals gently. Pulling or compressing the flower can affect its shape, particularly when it is packed for storage or transport.
For another small floral application, you might also enjoy exploring crochet flower shoe appliques as inspiration for using handmade blooms in wearable designs.
Color and Styling Variations
All of the following ideas are optional and should be treated as design choices rather than changes to the approved instructions.
- Use a single color: One shade creates a clean, classic flower that works well in a minimalist vase arrangement.
- Combine complementary colors: Pairing contrasting shades can make individual blooms stand out in a bouquet.
- Try seasonal palettes: Soft pastels suit spring displays, saturated colors brighten summer arrangements, and rust, gold, or burgundy tones create an autumn feel.
- Add coordinated greenery: Optional leaves can fill gaps between flowers and give the bouquet a fuller appearance.
- Vary the arrangement size: Make one flower for a small accent or assemble multiple flowers for a more substantial centerpiece.
- Change the display container: A glass vase, ceramic pot, basket, or small decorative jar can give the same crochet flowers a different character.
- Experiment with yarn carefully: Changing yarn or hook size may affect the flower’s dimensions, petal texture, and the amount of yarn required. Make a sample flower first if you want to compare materials.
Frequently Asked Questions
Is this Crochet Zinnia Pattern suitable for beginners?
The project has a straightforward starting sequence and uses rounds to create the petals. Beginners who are comfortable with a slip knot, chain, and basic round construction may enjoy it, especially when working slowly and tracking their place.
What materials are required?
The supplied materials are crochet yarn, a crochet hook, scissors, and a tapestry needle. These are used to crochet the flower, trim the yarn, and weave in the finished ends.
Can I make more than one flower?
Yes. The pattern specifically allows you to assemble multiple flowers if desired for a bouquet. Making several blooms also gives you an opportunity to experiment with color combinations and arrangement styles.
Can I change the flower color?
Yes. Color changes are an optional styling choice. You can use one color for every flower or combine shades in a bouquet. If you change the yarn type or weight, the flower’s size and texture may also change.
Are leaves and stems required?
No. The instructions state that leaves or stems may be attached optionally according to your design. The flower can be displayed on its own or included in an arrangement with additional elements.
How are the yarn ends finished?
Use the tapestry needle to weave in the ends after crocheting. Secure the tails neatly, then trim any excess yarn.
How can I display the completed flowers?
Place one flower in a small container, arrange several blooms in a vase, or use the flowers as decorative accents on a handmade display. Keep the arrangement in a dry location and handle the petals gently.
Can I use the flower in a bouquet?
Yes. The approved instructions include assembling multiple flowers for a bouquet. Arrange the blooms together first, then add optional leaves or stems if they fit your design.
Conclusion
A crochet zinnia is a charming way to create a lasting floral accent with yarn. Follow the foundation, work the petals in rounds, and finish carefully with a tapestry needle before styling the flower. Whether displayed alone, gifted, or arranged into a bouquet, this project leaves plenty of room for personal color and design choices. For additional zinnia inspiration, see this free zinnia flower crochet pattern.