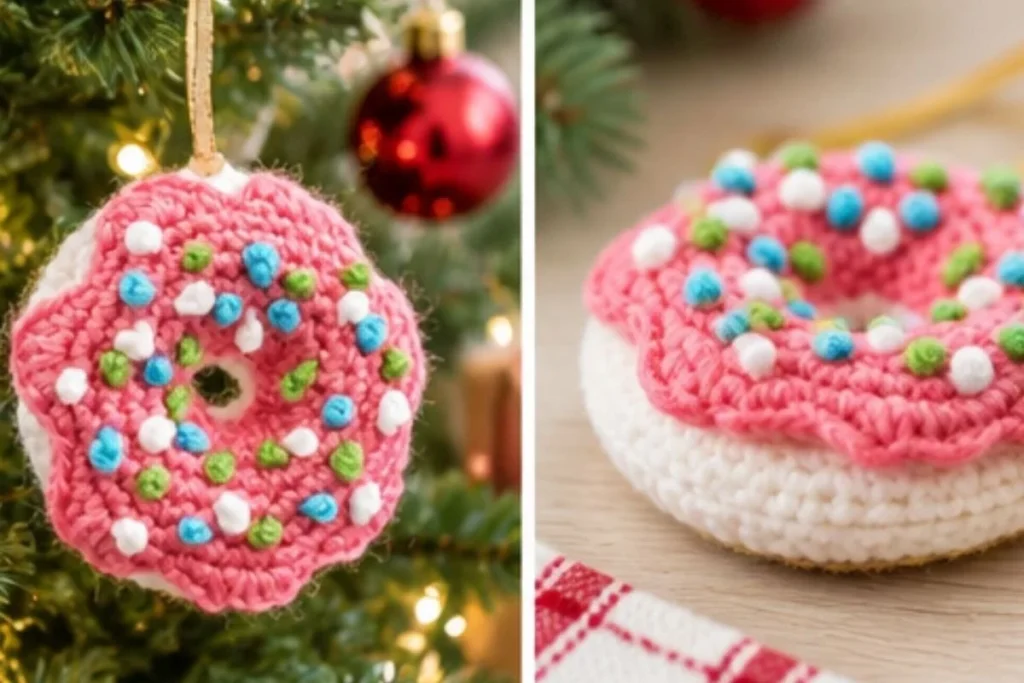
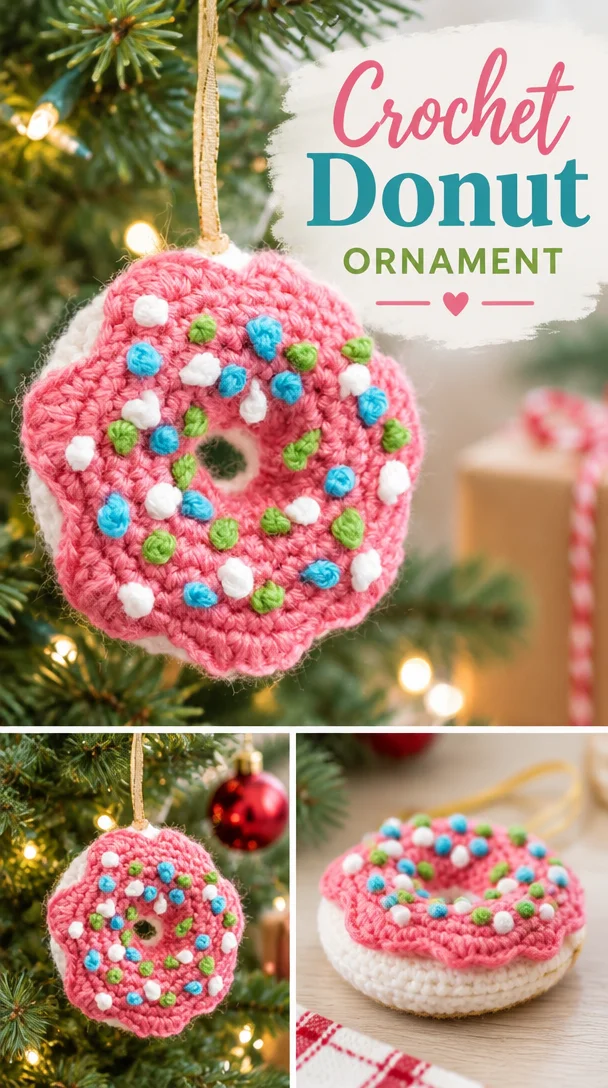
This Crochet Dangling Donut Ornament Pattern creates a cheerful, colorful decoration with a soft white donut, pink frosting, and embroidered sprinkles in turquoise and spring green. It is a small project made from simple shapes, stuffing, increases, decreases, and basic embroidery, making it enjoyable for practicing crochet techniques or creating a playful handmade gift. Hang it on a Christmas tree, decorate a kitchen display, or add it to a gift package alongside other handmade ornaments such as this crochet flower ball ornament.
Why You’ll Love This Crochet Project
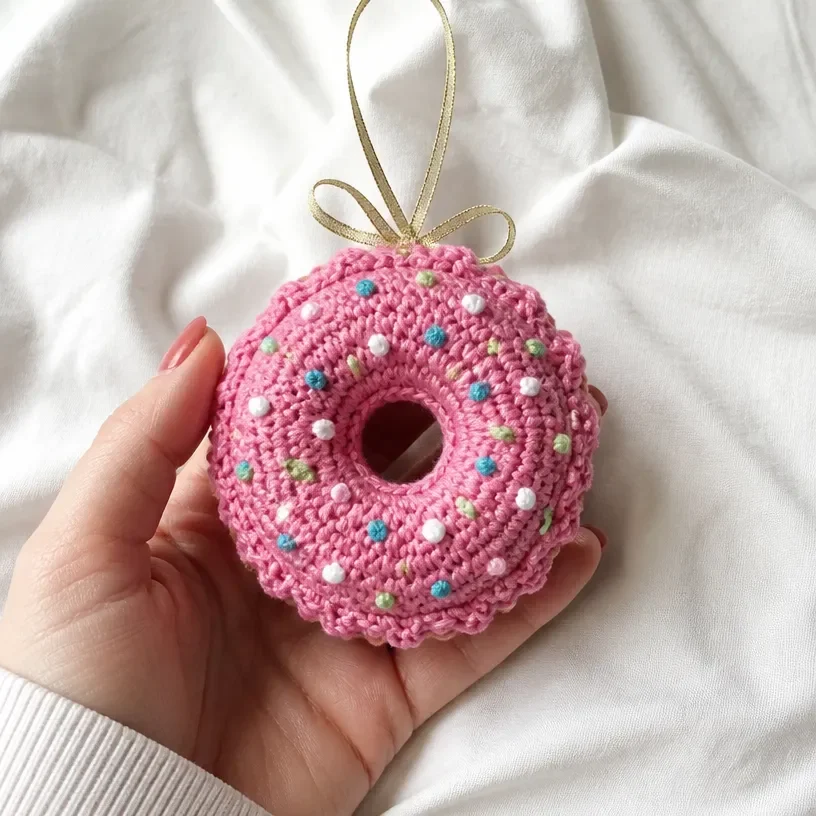
- It uses approachable techniques. The ornament is worked primarily in single crochet, with increases, decreases, continuous rounds, and a small amount of embroidery.
- The shape is instantly recognizable. A stuffed ring forms the donut, while the frosting piece adds a bright, dimensional layer.
- It makes a charming handmade gift. The completed ornament can be given as a holiday present, stocking stuffer, hostess gift, or festive package decoration.
- The color palette is easy to personalize. Pink frosting and colorful French Knots create a playful bakery-inspired look, but the same construction can suit many themes.
- It is useful for seasonal decorating. The attached ribbon makes the finished piece ready to hang from a tree, hook, cabinet knob, or ornament stand.
My Crochet Flower Tip: Keep the center opening visible while stuffing the donut so the ring retains its characteristic shape instead of becoming a solid ball.
Before You Start Crocheting
This project includes two crocheted components: one donut and one frosting piece. The donut is made first in Color A, stuffed around its center opening, and sewn closed. The frosting is crocheted separately in Color B, decorated with French Knots using Colors A, C, and D, and then sewn to the top of the donut.
Both pieces begin as chains joined into rings. The donut is worked in continuous spiral rounds, so you will not join at the end of each round. A stitch marker identifies the beginning of each round and should be moved upward as you work. The frosting begins in the same way, then finishes with taller stitches and slip stitches to create a gently scalloped edge.
The pattern uses US crochet terminology. The main special stitch is sc2tog, a single crochet decrease. Pay close attention to the stitch counts after each increase and decrease round, since those counts create the rounded donut form and the wider frosting shape.
Crochet Supplies and Tools
- RED HEART® Super Saver® yarn, 1 skein each:
- Color A: 316 Soft White
- Color B: 706 Perfect Pink
- Color C: 512 Turqua
- Color D: 672 Spring Green
- Only a small amount of each yarn color is needed.
- Susan Bates® Crochet Hook, 3.75 mm [US F-5]
- Polyester fiberfill
- 18″ [45.5 cm] thin gold ribbon for the hanger
- Stitch marker
- Yarn needle
The fiberfill gives the donut its rounded, soft form. The yarn needle is used for sewing the donut closed, attaching the frosting, embroidering the French Knots, and weaving in remaining ends.
Complete Crochet Tutorial
Special Stitch
sc2tog (single crochet 2 stitches together): Insert hook in next stitch, yarn over and pull up a loop; twice, yarn over and draw through all 3 loops on hook.
Donut Make 1
Start / Base Chain
Beginning at the center of the donut, with A, chain 12; join with slip stitch in first chain to form a ring, taking care not to twist the chain.
Round 1 Right Side
Chain 1, single crochet in same chain as joining and in each remaining chain around 12 single crochets.
Do not join; work in continuous rounds, or spirals. Place a marker for the beginning of the round. Move the marker up as each round is completed.
Round 2
Work 2 single crochets in each single crochet around 24 single crochets.
Round 3
[Single crochet in next 3 single crochets, 2 single crochets in next single crochet] 6 times 30 single crochets.
Round 4
[Single crochet in next 4 single crochets, 2 single crochets in next single crochet] 6 times 36 single crochets.
Rounds 5–8
Single crochet in each single crochet around.
Round 9
[Single crochet in next 4 single crochets, sc2tog] 6 times 30 single crochets.
Round 10
[Single crochet in next 3 single crochets, sc2tog] 6 times 24 single crochets.
Round 11
[Sc2tog] 12 times 12 stitches.
Round 12
Single crochet in each single crochet around.
Fasten Off and Assemble the Donut
Fasten off, leaving a long tail.
Stuff the donut around the center opening, keeping the opening clear.
Sew the first round to the last round.
Frosting Make 1
Start / Base Chain
With B, chain 18; join with slip stitch in first chain to form a ring, taking care not to twist the chain.
Round 1 Right Side
Chain 1, single crochet in same chain as joining and in each remaining chain around 18 single crochets.
Do not join; work in continuous rounds, or spirals. Place a marker for the beginning of the round. Move the marker up as each round is completed.
Round 2
[Single crochet in next 2 single crochets, 2 single crochets in next single crochet] 6 times 24 single crochets.
Round 3
[Single crochet in next 3 single crochets, 2 single crochets in next single crochet] 6 times 30 single crochets.
Round 4
[Single crochet in next 4 single crochets, 2 single crochets in next single crochet] 6 times 36 single crochets.
Rounds 5 and 6
Single crochet in each single crochet around.
Round 7
[Single crochet in next 5 single crochets, 2 single crochets in next single crochet] 6 times 42 single crochets.
Round 8
*Single crochet in next 2 single crochets, 2 double crochets in each of next 2 single crochets, single crochet in next single crochet, slip stitch in next single crochet; repeat from * around, join with slip stitch in first single crochet.
Fasten Off the Frosting
Fasten off, leaving a long tail.
Finishing
- With A, C, and D, embroider French Knots on the right side of the frosting. Place the French Knots randomly, as desired.
- With B, sew the frosting on top of the donut.
- Fold the gold ribbon in half. Insert the crochet hook around a few stitches at the top of the ornament, place the ribbon fold on the hook, and draw it through to form a loop. Thread the ends of the ribbon through the loop and pull to tighten. Tie the ends together with a bow or overhand knot to form the hanging loop.
- Weave in any remaining ends.
Ways to Display Your Finished Crochet
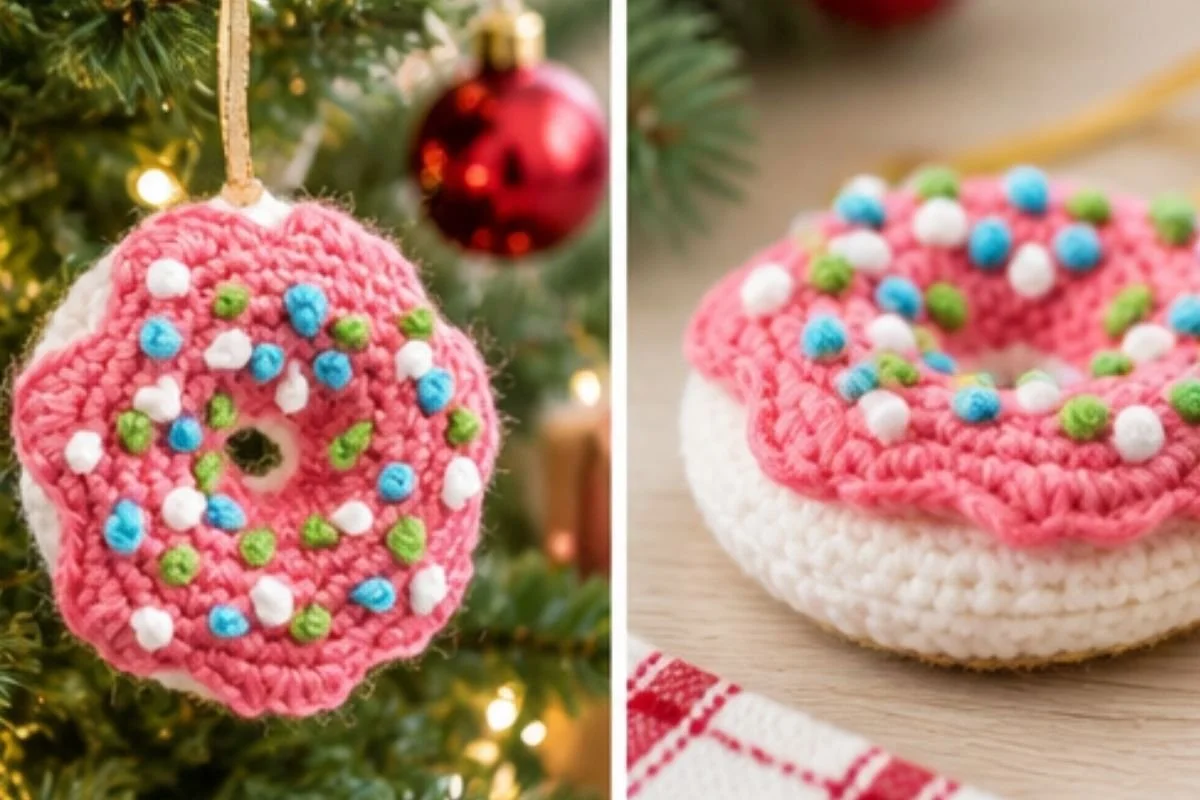
- Hang it on a holiday tree. The gold ribbon provides a simple loop for displaying the ornament among traditional baubles and handmade decorations.
- Decorate a kitchen area. Place it on a cabinet knob, wall hook, or small decorative stand to emphasize the bakery-inspired design.
- Use it as gift wrapping. Tie the ornament to a wrapped present instead of using a disposable bow. The recipient can reuse it as a decoration.
- Create a dessert-themed display. Group it with other food-inspired ornaments, pastel decorations, or crocheted flowers for a playful arrangement.
- Add it to a handmade gift basket. Pair the ornament with baking supplies, a recipe card, or colorful kitchen accessories.
- Build a seasonal handmade collection. A cheerful ornament can sit alongside floral décor, such as an April flowers crochet wreath, in a coordinated seasonal display.
Caring for Your Crochet Project
Dust the ornament gently with a soft, dry cloth or a clean, soft brush. Take care around the French Knots and the ribbon hanger so they do not catch or loosen.
For small marks, use careful spot cleaning with a barely damp cloth, then allow the ornament to air-dry completely. Avoid soaking the stuffed piece, since excess moisture can remain inside the fiberfill and may affect the shape.
Store the ornament in a clean, dry container when it is not on display. Keep it away from excessive heat, direct moisture, and sharp objects that could snag the crocheted fabric or embroidery. Before storing, check that the ribbon remains securely tied and that the frosting is still firmly attached.
Helpful Crochet Tips
- Use a stitch marker from the first spiral round. Because the donut and frosting are worked continuously, the beginning of the round is not marked by a joining slip stitch.
- Count after every increase and decrease round. The donut should progress through 12, 24, 30, and 36 stitches before decreasing to 30, 24, and 12 stitches.
- Do not overstuff the donut. Add enough fiberfill to create a rounded shape, but keep the center opening clear and avoid stretching the stitches.
- Take care not to twist either foundation chain. A twisted chain will prevent the ring from lying correctly and can distort the finished ornament.
- Leave long tails for sewing. The pattern specifically calls for long tails after fastening off both pieces, so avoid cutting the yarn too close.
- Make the French Knots varied but secure. Random placement gives the frosting a sprinkle-like appearance; wrap and secure each knot neatly on the wrong side.
- Center the frosting before sewing. Pin or hold the frosting in place and check its position from several angles before attaching it with Color B.
- Keep the hanger near the top edge. Insert the hook around a few sturdy stitches so the ribbon loop supports the ornament without pulling on a single stitch.
For another dimensional crochet decoration to explore after this project, consider the construction ideas in a 3D flower granny square crochet pattern.
Color and Styling Variations
The approved pattern uses Soft White for the donut, Perfect Pink for the frosting, Turqua and Spring Green for colorful French Knots, and gold ribbon for hanging. You may customize the appearance while keeping the construction unchanged.
- Use a pale blue, lavender, or mint shade for the frosting to create a different pastel palette.
- Replace the sprinkle colors with several bright shades for a confetti-inspired look.
- Choose warm tones such as cream, coral, mustard, and red for an autumn or bakery display.
- Use one contrasting color for all French Knots when you prefer a cleaner, more graphic appearance.
- Coordinate the ribbon with the frosting instead of using gold.
- Make several ornaments with different frosting colors and group them together in a seasonal display.
These are optional styling changes, not changes to the approved stitch instructions. Substituting yarn or changing the hook size can affect the fabric, finished proportions, stitch definition, stuffing capacity, and yarn requirements, so make a test piece if you alter the recommended materials.
Frequently Asked Questions
Is this ornament suitable for a beginner?
The project uses single crochet, increases, decreases, slip stitches, double crochet, continuous rounds, stuffing, sewing, and French Knots. A beginner who is comfortable with basic crochet and willing to practice the special stitch can work through it carefully.
What yarn and hook are recommended?
The pattern specifies RED HEART® Super Saver® yarn in the four listed colors and a Susan Bates® Crochet Hook measuring 3.75 mm [US F-5]. Only a small amount of each yarn color is needed.
How many pieces do I crochet?
You make one donut and one frosting piece. The donut is stuffed and closed before the frosting is decorated and sewn on top.
Why is the donut worked in continuous rounds?
Continuous rounds create a smooth spiral structure and avoid a visible seam across the rounded form. Use the stitch marker to track the beginning of each round.
How do I keep the center opening clear?
Add fiberfill around the outer ring rather than packing the center. Check the opening while stuffing and adjust the fiberfill so the donut remains open in the middle.
Can I change the frosting or sprinkle colors?
Yes. The colors can be changed as an optional styling choice, but keep the construction and stitch instructions the same unless you are intentionally making a different version.
How is the frosting attached?
After adding the French Knots, use Color B and the long yarn tail to sew the frosting on top of the stuffed donut.
How is the hanging loop made?
Fold the 18″ [45.5 cm] ribbon in half, draw the fold through a few stitches at the top with a crochet hook, pull the ribbon ends through the loop, and tie the ends together with a bow or overhand knot.
How should the finished ornament be stored?
Store it in a clean, dry container away from moisture, excessive heat, and snagging objects. Gentle dusting and careful spot cleaning help protect the stuffed form, embroidery, and ribbon.
Conclusion
This crochet dangling donut ornament combines simple shaping with colorful frosting details and a neat ribbon hanger. The finished piece is playful enough for a festive tree, useful as handmade gift décor, and easy to customize with new color palettes. For a related reference, you can also view the Free Easy Red Heart Dangling Donut Ornament Crochet Pattern.