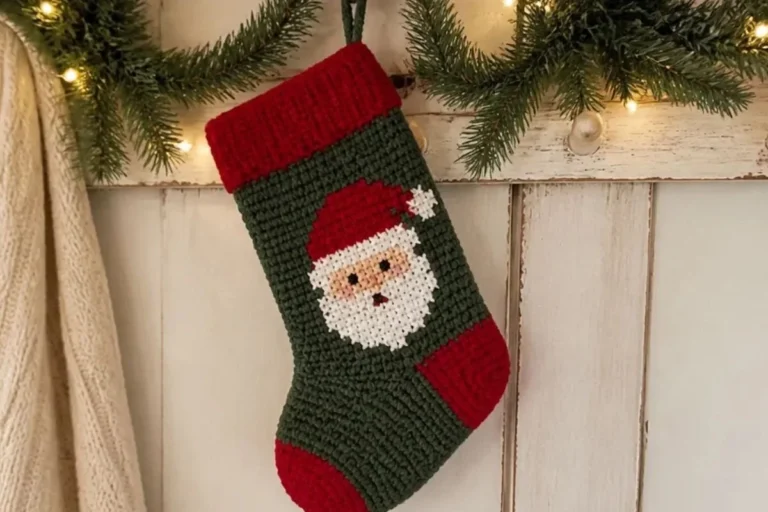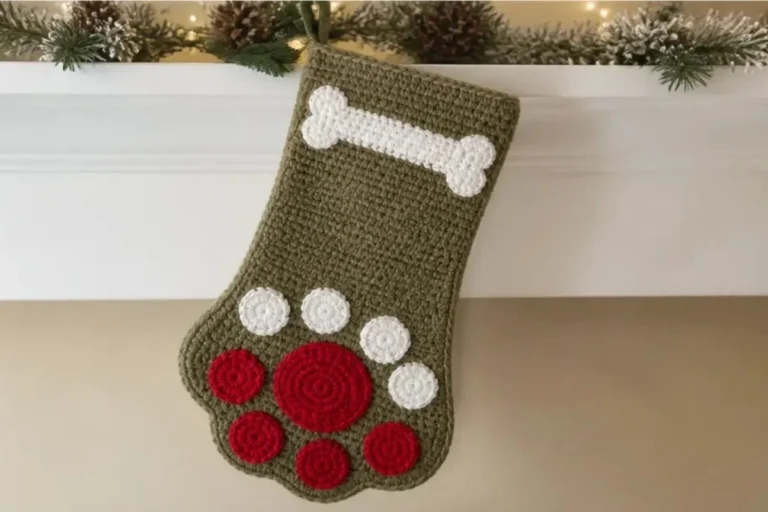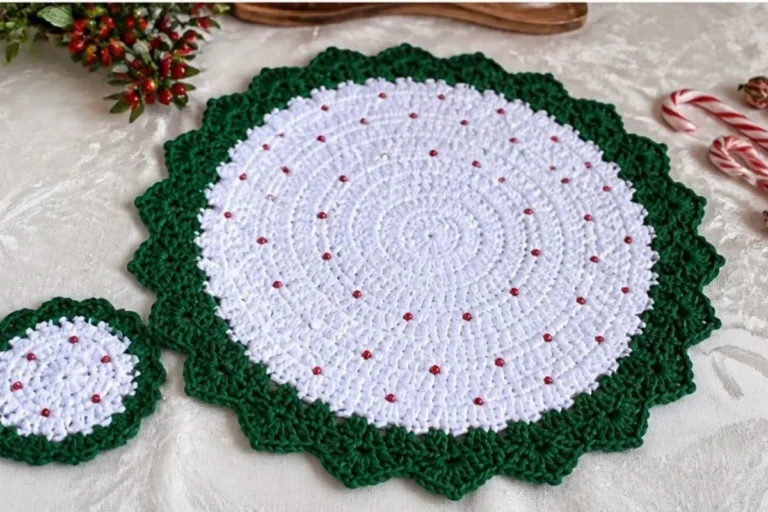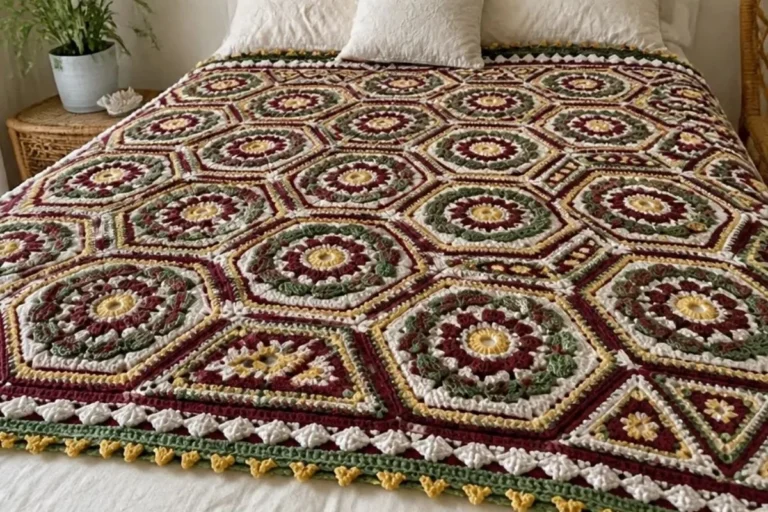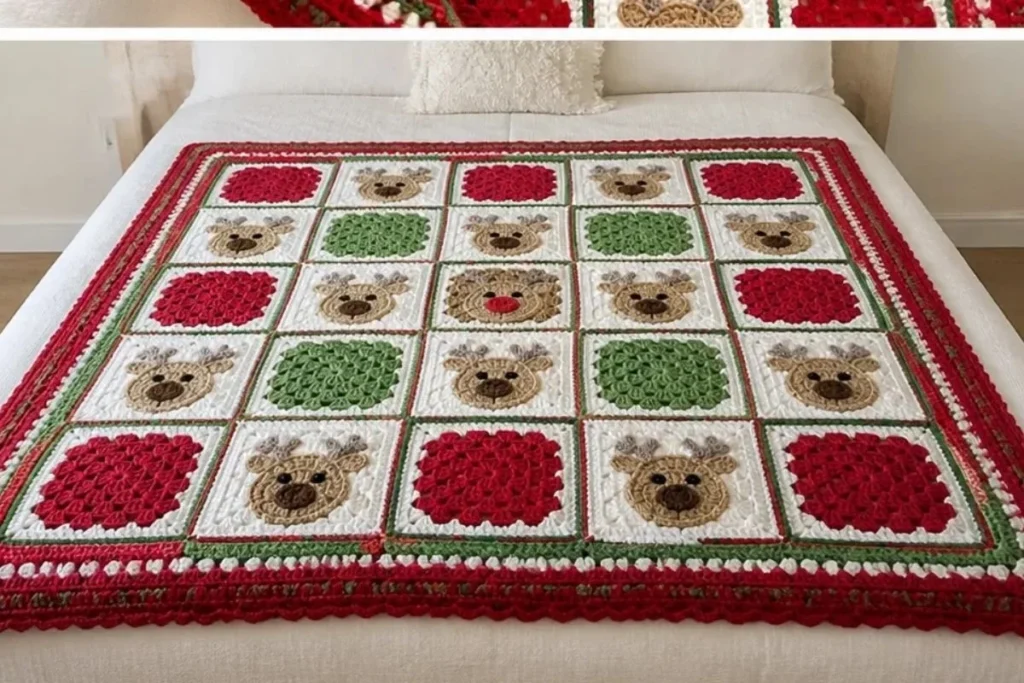
A cozy holiday blanket with nine reindeer motifs makes a cheerful Christmas project for confident beginners and experienced crocheters alike. This cozy crochet reindeer blanket pattern for Christmas combines character-centered granny squares with solid coordinating motifs, a striped border, and an optional fleece lining. The finished blanket is perfect for a seasonal sofa throw, a festive nursery accent, or a handmade gift. For another small holiday-inspired crochet idea, you can also explore these crochet blooms for hair as stocking stuffers or embellishments.
Why You’ll Love This Crochet Project
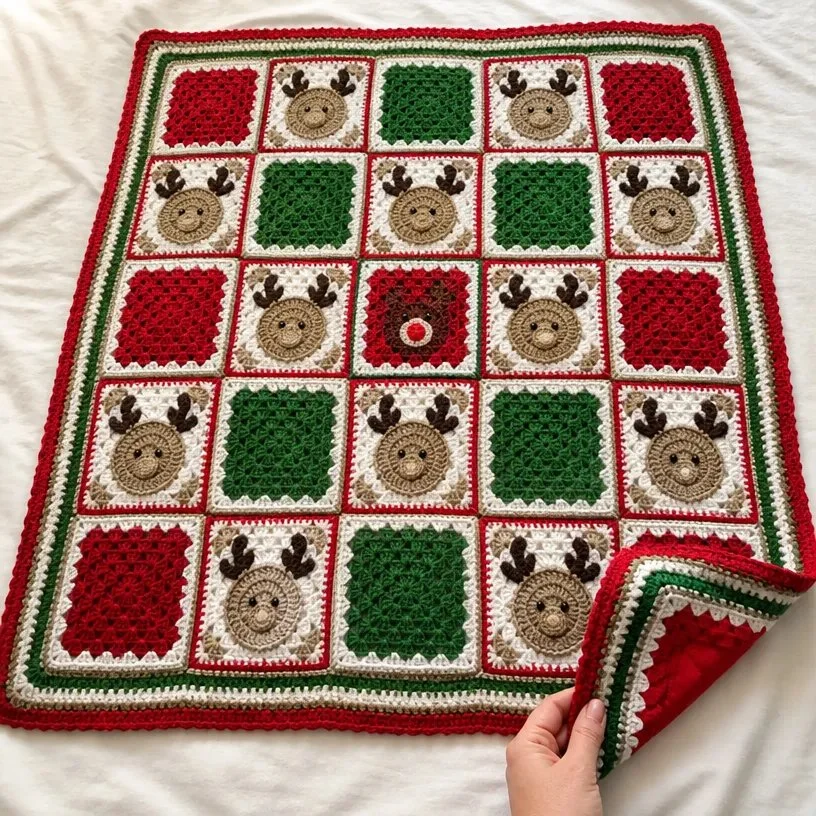
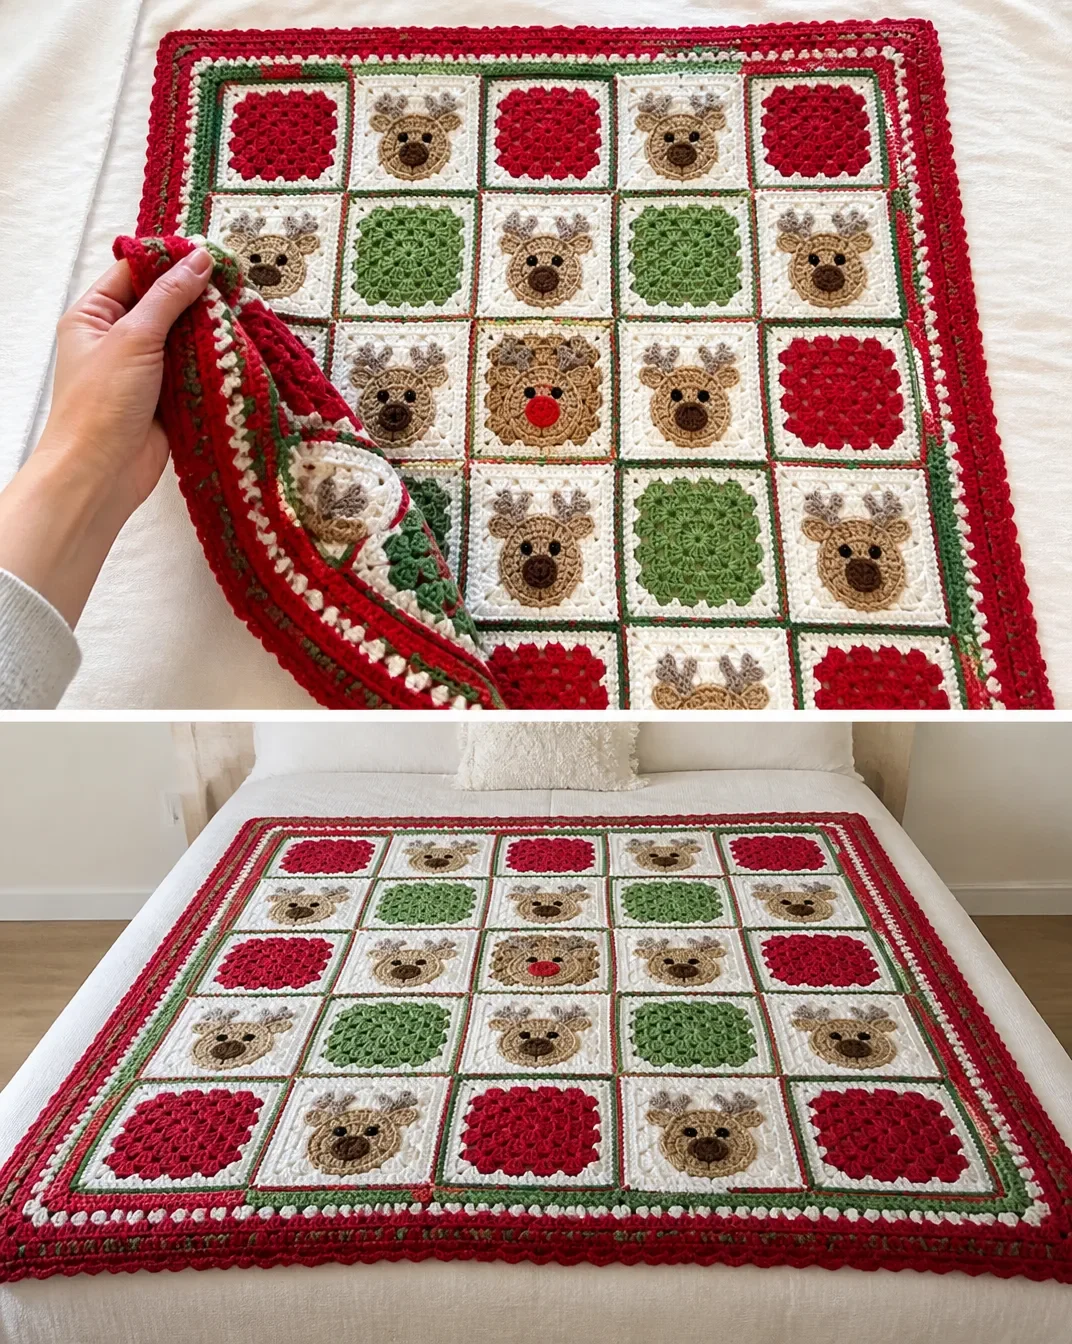
- A charming holiday centerpiece: The nine reindeer motifs form a playful 3 x 3 arrangement, with Rudolf placed in the center.
- Good motif practice: You will work both shaped reindeer motifs and traditional solid granny motifs.
- Color changes add detail: Berry, Lush, White, Taupe, and Topaz create a warm Christmas palette.
- A useful handmade gift: The completed blanket can be displayed during the holidays, given as a baby or family gift, or kept as a seasonal heirloom.
- Optional added warmth: A red fleece lining can make the blanket especially cozy while giving the edges additional structure.
My Crochet Flower Tip: Make a sample solid granny motif first to check your tension and become familiar with the corner increases before making all 16 motifs.
Before You Start Crocheting
The blanket is built from 9 Reindeer Granny Motifs and 16 Solid Granny Motifs. The solid motifs are divided into two color arrangements: 8 use Main Color as Color 1, and 8 use Contrast A as Color 1. After the motifs are crocheted, they are arranged in strips, joined into the full blanket, and finished with a seven-round border.
Each reindeer motif is made in eight rounds. The facial details are added separately with one nose per reindeer and two French-knot eyes. The reindeer noses use Contrast C for eight motifs and Main Color for one motif, creating a distinctive Rudolf center.
The pattern uses a 5 mm hook, or the size needed to obtain gauge. The supplied fleece lining is approximately 33½” x 36½” [85 x 92.5 cm]. Important techniques include working in back loops only for one round, changing colors, working corner spaces, joining motifs through both thicknesses, and making reverse single crochet for the final border round.
Abbreviations
- ch: chain
- sc: single crochet
- hdc: half double crochet
- dc: double crochet
- sl st: slip stitch
- rnd: round
- WS: wrong side
- MC: Main Color
Materials You’ll Need
- Bernat® Super Value™ (7 oz/197g; 440 yds/402 m):
- Main Color (MC) Berry (00607): 2 balls
- Contrast A Lush (53246): 2 balls
- Contrast B White (07391): 2 balls
- Contrast C Taupe (53012): 1 ball
- Contrast D Topaz (53514): 1 ball
- Small amount of Black (07421) as E for eyes
- Crochet hook: Size U.S. H/8 (5 mm) or size needed to obtain gauge
- Tapestry needle
- Optional: Red fleece fabric for lining, approximately 33½” x 36½” [85 x 92.5 cm]
- Optional tools: Rotary cutter and skip stitch blade
Step-by-Step Crochet Instructions
Reindeer Granny Motif
Make 9. With D, ch 2. See chart on page 3.
- 1st rnd: 8 sc in 2nd ch from hook. Join with sl st to first sc.
- 2nd rnd: Ch 1. 2 sc in each of next 3 sc. (1 hdc. 1 dc) in next sc. (1 dc. 1 hdc) in next sc. 2 sc in each of last 3 sc. Join with sl st to first sc.
- 3rd rnd: Ch 1. 1 sc in each of first 7 sts. (1 hdc. 1 dc) in next sc. (1 dc. 1 hdc) in next dc. 1 sc in each of last 7 sc. Join with sl st to first sc.
- 4th rnd: Ch 1. 2 sc in first sc. 1 sc in each of next 6 sc. (1 hdc. 1 dc) in next st. (2 dc in next st) twice. (1 dc. 1 hdc) in next st. 1 sc in each of next 6 sc. 2 sc in last sc. Join B with sl st to first sc.
- 5th rnd: With B, ch 1. 1 sc in each of first 2 sc. (With B, 1 dc. With C, 1 dc. Ch 2. 1 dc. With B, 1 dc) in next sc – Antler corner made. With B, 1 hdc in next sc. 1 sc in each of next 4 sc. 1 hdc in next st. (2 dc. Ch 2. 2 dc) in next st – corner made. 1 sc in each of next 4 sts. (2 dc. Ch 2. 2 dc) in next st. 1 hdc in next st. 1 sc in each of next 4 sc. 1 hdc in next sc. Antler corner in next sc. 1 sc in each of last 2 sc. Join with sl st to first sc.
- 6th rnd: Ch 3 (counts as dc). Working in back loops only, 1 dc in each st around, working (2 dc. Ch 2. 2 dc) in ch-2 sps. Join MC with sl st to top of ch 3.
- 7th rnd: With MC, ch 3 (counts as dc). Working in both loops, 1 dc in each st around, working (2 dc. Ch 2. 2 dc) in ch-2 sps. Join A with sl st to top of ch 3.
- 8th rnd: With A, ch 1. 1 sc in each dc around, working (2 sc. Ch 2. 2 sc) in ch-2 sps. Join with sl st to first sc. Fasten off.
Reindeer Nose and Eyes
Reindeer Nose: With C, make 8; with MC, make 1.
- Ch 2.
- 1st rnd: 10 sc in 2nd ch from hook. Join with sl st to first sc. Fasten off, leaving a long end to sew to reindeer head.
- Eyes: With E, make 2 eyes using French knot stitch.
Use the MC nose for the center Rudolf motif and the C noses for the remaining eight reindeer motifs.
Solid Granny Motif
Make 8. Make 8 motifs having MC as Color 1. Make 8 motifs having A as Color 1.
With Color 1, ch 4. Join with sl st to first ch to form a ring. See chart on page 3.
- 1st rnd: Ch 3 (counts as dc). 11 dc in ring. Join with sl st to top of ch 3. 12 dc.
- 2nd rnd: Ch 3. 1 dc in same sp as last sl st (counts as 2 dc). 2 dc in each dc around. Join with sl st to top of ch 3. 24 dc.
- 3rd rnd: Ch 5. 1 dc in first dc (counts as dc, ch 2, dc). *1 dc in each of next 4 dc. (1 dc. Ch 2. 1 dc) in next dc. 1 dc in each of next 6 dc. (1 dc. Ch 2. 1 dc) in next dc. Rep from * once more. Join with sl st to 3rd ch of ch 5.
- 4th rnd: Ch 3 (counts as dc). (2 dc. Ch 2. 2 dc) in same sp as sl st. *1 dc in each dc to next ch-2 sp. (2 dc. Ch 2. 2 dc) in corner ch-2 sp. Rep from * twice more. 1 dc in each dc to end of rnd. Join B with sl st to top of ch 3. Break Color 1.
- 5th rnd: With B, ch 3 (counts as dc). *1 dc in each dc to next ch-2 sp. (2 dc. Ch 2. 2 dc) in corner ch-2 sp. Rep from * 3 times more. 1 dc in each dc to end of rnd. Join A with sl st to top of ch 3.
- 6th rnd: With A, ch 1. 1 sc in same sp as sl st. *1 sc in each dc to next ch-2 sp. (2 sc. Ch 2. 2 sc) in corner ch-2 sp. Rep from * 3 times more. 1 sc in each dc to end of rnd. Join with sl st to first sc. Fasten off.
Motif Layout and Strip Assembly
Arrange 9 Reindeer Motifs 3 x 3, having Rudolf Motif in the center. Alternate MC and A Solid Granny Motifs around Reindeer Motifs.
Join Motifs into Strips
With WS of motifs tog, join A with sl st to corner ch-2 sp.
Ch 1.
Working through both thicknesses, 1 sc in each sc to next corner ch-2 sp.
Fasten off.
Join Strips into Blanket
With WS of strips tog, join A with sl st to corner ch-2 sp.
Ch 1.
Working through both thicknesses, 1 sc in each sc to end of strips.
Fasten off.
Border
Join A with sl st to corner ch-2 sp.
- 1st rnd: Ch 1. Work 1 sc in each sc, having (2 sc. Ch 2. 2 sc) in corner ch-2 sps. Join with sl st to first sc.
- 2nd rnd: As 1st rnd. Join B. Fasten off A.
- 3rd and 4th rnds: With B, as 1st rnd. Join MC at end of 3rd rnd.
- 5th and 6th rnds: With MC, as 1st rnd.
- 7th rnd: Ch 1. Working from left to right instead of right to left as usual, work 1 reverse sc in each sc around, having 3 reverse sc in corners. Join with sl st to first sc. Fasten off.
The color-blocked border frames the motifs clearly, while the reverse single crochet creates a textured outer edge.
Optional Fleece Lining
With Skip Stitch Blade and Rotary Cutter, create holes along fleece edging approximately ¼” [1 cm] away from edge of fleece.
Place crochet Blanket over fleece lining.
Working through both thicknesses, join A with sl st at corner ch-2 sp and corner of fleece.
Ch 1.
Work sc around edge of Blanket and fleece tog, having 3 sc in corners.
Tip: Work 2 sc for every hole in the fleece.
Join with sl st to first sc. Fasten off.
When using the rotary cutter and skip stitch blade, follow the tool manufacturer’s safety guidance and work on a stable cutting surface.
Finished Project Inspiration
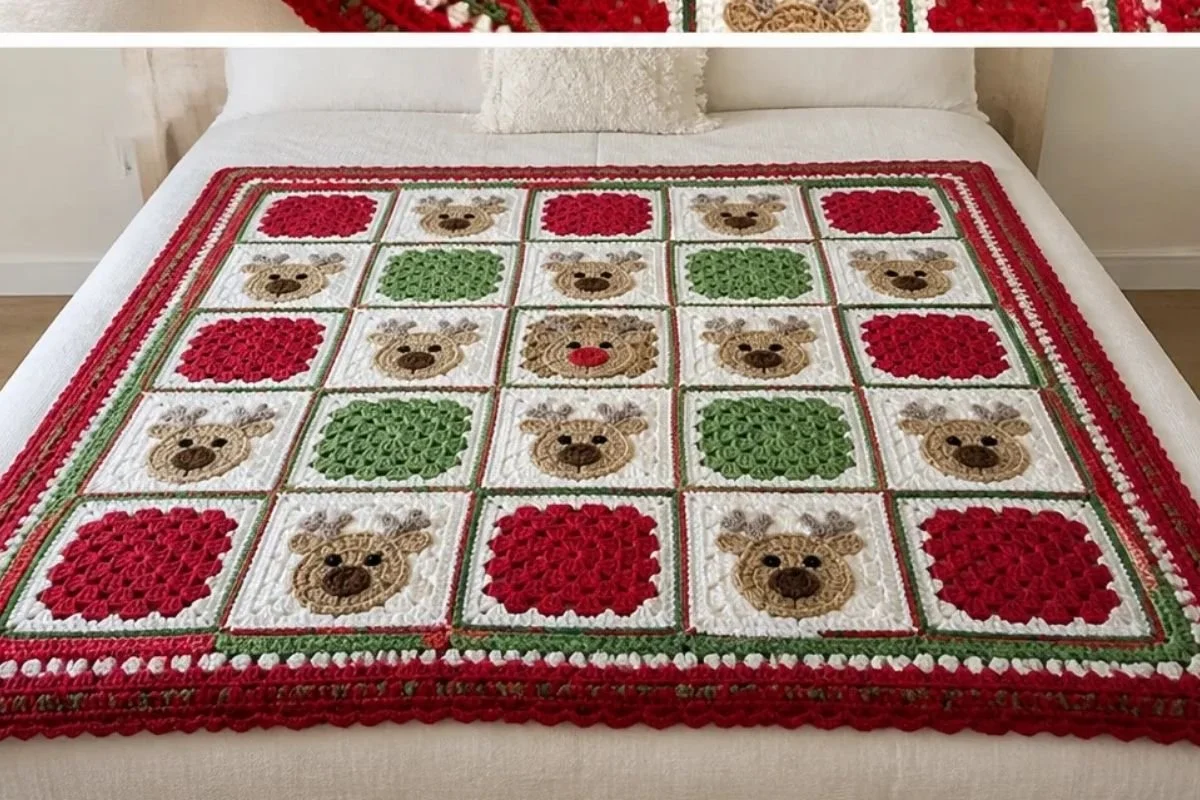
- Holiday sofa throw: Fold the blanket over the arm of a sofa or place it across a seasonal reading chair.
- Christmas guest-room accent: Layer it at the foot of a bed for a festive touch.
- Family heirloom gift: The reindeer layout and durable granny construction make it suitable for a handmade holiday gift.
- Nursery or playroom decoration: Use it as a colorful seasonal layer when the room needs a cheerful Christmas accent.
- Coordinated handmade display: Pair the blanket with a small crochet wreath, ornaments, or a handmade floral accent. A cozy crochet bouquet pattern can provide inspiration for arranging complementary handmade decorations, even though the blanket remains the main feature.
Caring for Your Crochet Project
- Follow the yarn manufacturer’s care instructions for the Bernat® Super Value™ yarn.
- Dust the blanket gently rather than pulling at the noses, eyes, or joined seams.
- If spot cleaning is needed, use a small amount of appropriate cleaner and avoid aggressive rubbing around the facial details.
- Allow the blanket to dry completely before folding or storing it.
- Keep the optional fleece-lined version away from excessive heat, which can affect the fabric or its shape.
- Store the blanket folded in a clean, dry place during the off-season.
- Avoid placing heavy objects on the reindeer noses or sharply creasing the border.
Tips for Better Results
- Track each motif type: Keep separate piles for reindeer motifs, MC-first solid motifs, and A-first solid motifs so the layout is easy to follow.
- Watch the back-loop round: The sixth round of the reindeer motif is worked in back loops only; the seventh round returns to both loops.
- Count the early rounds: The first four reindeer rounds shape the central figure, so accurate stitch placement helps the antlers and face remain balanced.
- Mark the Rudolf motif: Set aside the reindeer with the MC nose immediately after sewing it in place.
- Keep corner spaces open: The ch-2 spaces are essential for square shaping and for joining the motifs and border.
- Join with matching tension: When working through both thicknesses, avoid pulling the joining single crochet too tightly, or the blanket may pucker.
- Secure facial details carefully: Weave in the nose end securely after sewing and fasten the French-knot eyes firmly.
- Check the layout before joining: Arrange every motif on a flat surface and photograph the arrangement if needed before assembling the strips.
Color and Styling Variations
The approved pattern uses Berry, Lush, White, Taupe, Topaz, and Black to create its intended Christmas appearance. Optional color changes can personalize the blanket, but they may alter the mood and visual contrast.
- Replace Berry with a deep evergreen or burgundy for a richer traditional palette.
- Use icy blue in place of Lush for a winter-themed version.
- Choose cream instead of White if you prefer a softer contrast.
- Use a brighter red for the center Rudolf nose while keeping the other noses in Taupe.
- Coordinate the fleece lining with the dominant border color rather than using red.
If you substitute yarn or change the hook size, the gauge, motif dimensions, texture, and total yarn requirements may change. Make a sample motif before committing to a different yarn or hook. For a wedding or winter-event display, ideas from this crochet bridal bouquet wrap pattern may also suggest alternate neutral and metallic-inspired color combinations, although those styling ideas are optional and separate from the blanket instructions.
Frequently Asked Questions
How many reindeer motifs does the blanket use?
The pattern makes 9 Reindeer Granny Motifs arranged in a 3 x 3 layout, with the Rudolf motif in the center.
How many solid granny motifs are required?
Make 16 Solid Granny Motifs total: 8 with MC as Color 1 and 8 with A as Color 1.
Which yarn and hook are recommended?
The pattern specifies Bernat® Super Value™ and a U.S. H/8 (5 mm) crochet hook, or the size needed to obtain gauge.
How are the reindeer faces completed?
Each reindeer receives one crocheted nose and two eyes made with French knot stitch. Use C for 8 noses and MC for 1 nose.
Can the colors be changed?
Yes, color changes are possible as an optional variation. Make a sample first because different yarns and color arrangements can affect gauge, appearance, and yarn usage.
How are the motifs joined?
Join motifs with WS together using A and slip stitches at the corner ch-2 spaces, then work single crochet through both thicknesses. The strips are joined the same way.
Is the fleece lining required?
No. The red fleece lining is optional. If you add it, use the skip stitch blade and rotary cutter to create holes approximately ¼” [1 cm] from the fleece edge, then work single crochet through both layers.
What creates the textured outer edge?
The seventh border round is made with reverse single crochet, worked from left to right instead of right to left, with 3 reverse sc in each corner.
Conclusion
This cozy crochet reindeer blanket pattern brings together expressive reindeer motifs, classic granny squares, and a festive multicolor border for a useful Christmas keepsake. Make it in the stated palette or adapt the colors for a different winter look, then display it on a sofa, gift it to someone special, or add the optional fleece lining for extra warmth. For more seasonal crochet inspiration, browse these Christmas crochet projects.