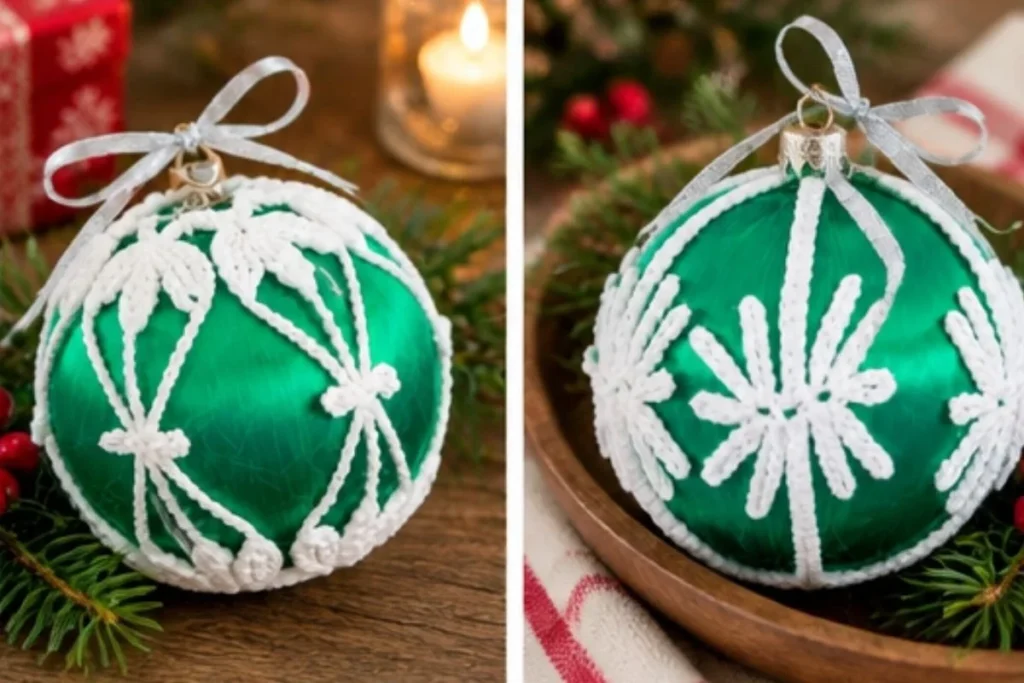
A delicate crocheted cover transforms a simple satin ball into an heirloom-style decoration with openwork spokes, crisp texture, and a polished ribbon finish. This Crochet Decorative Christmas Ornaments Pattern includes two designs: a Diamond Spoke Stitch Ornament and a Picot Spoke Stitch Ornament. They are enjoyable for crocheters who like fine threadwork and make thoughtful gifts, tree decorations, or additions to a handmade holiday display. For another dimensional crochet idea, explore this 3D flower granny square pattern for inspiration.
Why You’ll Love This Crochet Project
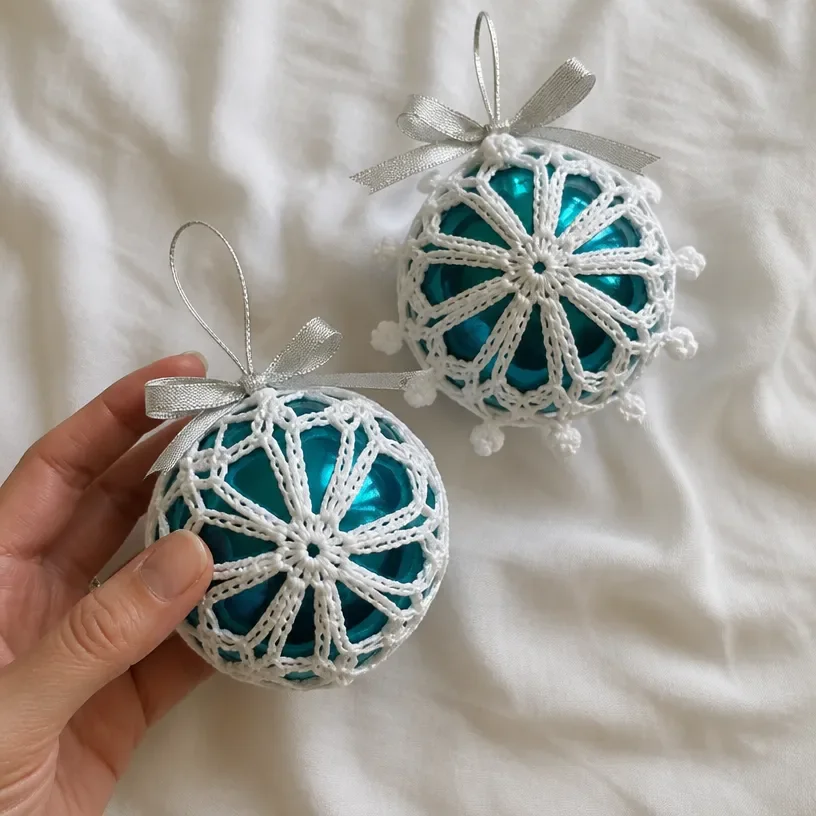
- Two ornamental designs: Make the geometric Diamond Spoke Stitch version, the decorative Picot Spoke Stitch version, or both for a coordinated set.
- Elegant openwork: Fine crochet thread creates airy spokes and lace-like spaces around the ornament.
- Reusable holiday décor: The finished covers can be placed over satin Christmas balls and displayed year after year.
- Valuable stitch practice: The pattern introduces chain spaces, tall stitches, post placement, slip-stitch joins, and picot details.
- Gift-friendly project: A finished ornament is lightweight, personal, and easy to coordinate with different holiday color schemes.
My Crochet Flower Tip: Keep the crochet piece on the covered Styrofoam ball while shaping and stiffening it. The ball provides a consistent form so the ornament dries evenly.
Before You Start Crocheting
This project includes two separate crochet ornament covers. Each design begins with a 10-chain ring, develops through three rounds, and is then stiffened over a 3” diameter Styrofoam ball. Once rigid, the Styrofoam ball is removed and replaced with a 3” satin Christmas ball.
The Diamond Spoke Stitch Ornament finishes with six spokes formed from chained and textured sections. The Picot Spoke Stitch Ornament also has six spokes, but its edges feature repeated triple-picot details. Both designs use Aunt Lydia’s® Classic Crochet Thread, Size 10 and a 1.5mm [US 7] crochet hook.
The instructions use US crochet terminology. Helpful abbreviations include:
- ch: chain
- dc: double crochet
- hdc: half double crochet
- sc: single crochet
- slip st: slip stitch
- tr: treble crochet
- trtr: triple treble crochet
The final shaping process is important because the crochet initially forms as a flat, openwork piece. Fabric stiffener gives it enough structure to hold its rounded ornament shape.
Materials You’ll Need
- Aunt Lydia’s® Classic Crochet Thread, Size 10: 1 ball White
- Crochet Hook: 1.5mm [US 7]
- 3” diameter Styrofoam ball, for forming the crochet piece
- 3” satin Christmas ball, for the final ornament
- Plastic wrap
- Fabric stiffener
- 7/8” ribbon
- Ornament hanger
- Thread needle
The Styrofoam ball is used only as a shaping form. The satin Christmas ball remains inside the finished ornament, while the plastic wrap prevents the stiffened crochet from adhering to the Styrofoam.
Step-by-Step Crochet Instructions
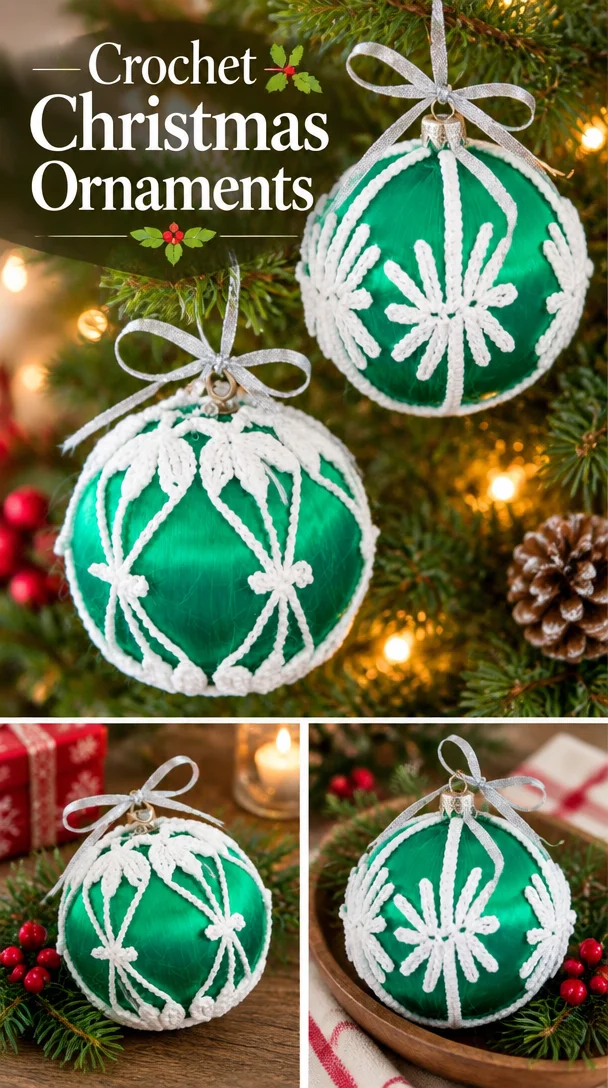
Work either ornament design below. The Diamond Spoke Stitch Ornament is shown at the lower left of the photo, and the Picot Spoke Stitch Ornament is shown at the upper right.
Diamond Spoke Stitch Ornament
Round 0 (Ring)
Ch 10; join with slip st in first ch to form a ring.
Round 1
Ch 6 (counts as first trtr),
trtr in ring,
[ch 3, tr in ring, ch 3, 2 trtr in ring] 5 times,
ch 3, tr in ring, ch 3;
join with slip st in top of beginning ch-6
12 trtr, 6 tr, and 12 ch-3 spaces.
Round 2
Ch 4 (counts as first tr),
tr through top of post (under 3 loops) of next trtr,
ch 10,
[tr through post of each of next 2 trtr, ch 10] 5 times;
join with slip st in top of beginning ch-4
12 tr and 6 ch-10 spaces.
Round 3 (Spoke Round)
*[Ch 5, slip st in 3rd ch from hook, ch 2, skip next ch, tr in next ch] 8 times,**
ch 10,
slip st in top of last tr made,
[ch 5, slip st in 3rd ch from hook, ch 2, slip st in ch under tr] 8 times,
slip st through post of next tr of Round 2 (spoke completed);
slip st in each of first 4 ch of next ch-10 space, ch 5,
slip st in 3rd ch from hook, ch 2, skip next 2 ch of same ch-10 space,
slip st in each of last 4 ch of same ch-10 space**,
slip st through post of next tr;
repeat from * around ending last repeat at **;
join with slip st in base of beginning ch
6 spokes.
Fasten Off
Fasten off and weave in ends.
Picot Spoke Stitch Ornament
Round 0 (Ring)
Ch 10; join with slip st in first ch to form a ring.
Round 1
Ch 3 (counts as first dc),
2 dc in ring,
ch 3,
[3 dc in ring, ch 3] 5 times;
join with slip st in top of beginning ch-3
18 dc, and 6 ch-3 spaces.
Round 2
Slip st in next 2 dc,
(slip st, ch 3, 2 dc) in first ch-3 space,
ch 6,
[3 dc in next ch-3 space, ch 6] 5 times;
join with slip st in top of beginning ch-3
18 dc, and 6 ch-6 spaces.
Round 3 (Spoke Round)
*Slip st in next dc,**
[ch 5, triple-picot] 5 times,
ch 14,
hdc in 12th ch from hook and in next 2 ch,
[triple-picot, hdc in next 5 ch] 5 times
(spoke completed),
(4 sc, triple-picot, 4 sc) in next ch-6 space;
repeat from * around;
join with slip st in same st as first slip st
6 spokes.
Fasten Off
Fasten off and weave in ends.
Finishing for Both Ornaments
- Cover 3” Styrofoam ball with plastic wrap.
- Saturate crochet in stiffener and shape around ball.
- Allow to dry.
- When piece is rigid, remove Styrofoam ball and insert satin ball.
- Tie or sew loops together at top.
- Using ribbon tie a bow to the top of the ornament and attach an ornament hanger.
When applying stiffener, work it thoroughly into the crochet so the chain spaces and spoke details become firm. Shape the piece carefully around the ball before leaving it to dry.
Handmade Gift and Decoration Ideas
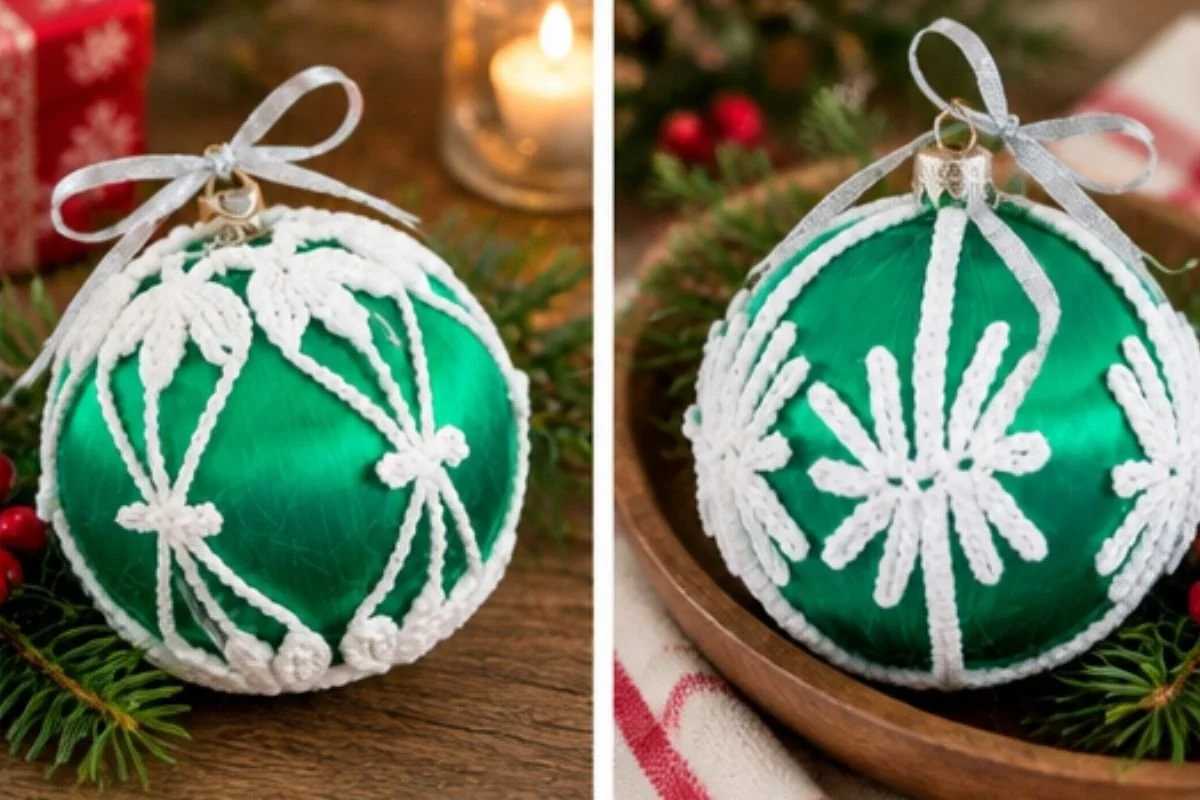
- Hang several ornaments together on a Christmas tree, using matching ribbon for a coordinated appearance.
- Combine the Diamond Spoke and Picot Spoke designs in the same display to create contrast between geometric and scalloped textures.
- Use the ornaments as thoughtful handmade gifts for crocheters, family members, teachers, or hosts.
- Place one ornament in a decorative bowl or seasonal centerpiece when it is not hanging.
- Match the ribbon to an existing holiday palette, such as traditional red and green, icy blue and silver, or white and gold.
- Add handmade ornaments to a wrapped gift as a reusable decorative accent.
For another seasonal crochet display, a crochet flower wreath pattern can provide inspiration for arranging handmade decorations around the home.
Caring for Your Crochet Project
Because the ornament is shaped with fabric stiffener and contains a satin ball, handle it gently. Dust the surface with a soft, dry brush or use gentle air to remove loose particles from the openwork.
Avoid soaking, machine washing, or vigorous rubbing. If a small area needs attention, use a barely damp cloth and dab carefully rather than saturating the crochet. Allow any spot-cleaned area to dry completely before storing.
Keep the ornament away from excessive heat and direct moisture, which may soften the stiffener or affect the satin ball. Store it in a sturdy box with tissue paper or another soft buffer. Avoid placing heavy decorations on top of it, and protect the delicate spokes from snagging.
Tips for Better Results
- Use the specified fine hook and thread. The 1.5mm [US 7] hook and Size 10 thread create the delicate openwork needed for the ornament covers.
- Count the chain spaces carefully. The first two rounds establish six evenly spaced sections, which support the six spokes in Round 3.
- Watch the stitch placement in Diamond Round 2. The treble crochet is worked through the top of the post, under 3 loops, as written.
- Keep joins neat. Join each round in the specified location so the final spoke round remains evenly arranged.
- Mark the beginning if needed. A small removable marker can help you identify the starting chain while working the detailed spoke round.
- Shape before the stiffener dries. Once the crochet is saturated, gently adjust the spokes and spaces around the plastic-wrapped ball so they sit evenly.
- Weave in ends securely. Loose ends can interfere with shaping, so fasten off and weave them in before applying stiffener.
- Let the cover become rigid before replacing the form. Removing the Styrofoam ball too early may distort the rounded shape.
For a small decorative crochet project with a different use, you can also browse these crochet shoe appliques for ideas about using fine thread and floral-inspired details.
Creative Ways to Customize Your Project
The approved pattern uses White Aunt Lydia’s® Classic Crochet Thread, Size 10, but the finished ornament can be styled in several optional ways.
- Try seasonal thread colors: Red, green, silver, gold, or icy blue can create a different holiday mood.
- Coordinate the ribbon: Choose a 7/8” ribbon that matches the thread or provides contrast.
- Make a mixed set: Create some Diamond Spoke Stitch Ornaments and some Picot Spoke Stitch Ornaments for varied texture.
- Use a two-color display: Pair white crochet with colored satin balls, or coordinate colored crochet with white or metallic satin balls.
- Create a monochromatic arrangement: White thread, a white satin ball, and a pale ribbon can produce a soft winter look.
- Experiment carefully with materials: Changing yarn weight or hook size may affect the openwork, dimensions, stiffness, and amount of thread required. Any substitution should be tested before making the full ornament, and the crochet must still fit the 3” shaping ball and satin ball.
These are optional styling choices only; keep the approved stitch sequence unchanged when following the pattern.
Frequently Asked Questions
Is this pattern suitable for beginners?
It is most approachable for beginners who are comfortable with basic chains, slip stitches, joins, and tall stitches. The spoke rounds require careful counting and precise placement, so working slowly is helpful.
What thread and hook does the pattern use?
The pattern uses Aunt Lydia’s® Classic Crochet Thread, Size 10 in White with a 1.5mm [US 7] crochet hook.
How many ornament designs are included?
Two designs are included: the Diamond Spoke Stitch Ornament and the Picot Spoke Stitch Ornament. Each design is worked through three rounds and finishes with six spokes.
What is the purpose of the Styrofoam ball?
The 3” diameter Styrofoam ball provides the temporary rounded form for shaping and stiffening the crochet. It is covered with plastic wrap, then removed after the crochet becomes rigid.
Does the satin ball stay inside the ornament?
Yes. After the stiffened crochet becomes rigid, remove the Styrofoam ball and insert the 3” satin Christmas ball.
Can I change the thread color?
Yes, color changes are an optional styling choice. Use a similar fine thread if possible, and remember that a different material or size may change the fit, texture, and stiffness.
How is the ornament finished for hanging?
After inserting the satin ball, tie or sew the loops together at the top. Then use the 7/8” ribbon to tie a bow and attach an ornament hanger.
How should I store the finished ornament?
Store it in a dry, sturdy container with soft tissue or padding. Keep it away from moisture, heat, crushing, and objects that could catch on the spokes.
Conclusion
This Crochet Decorative Christmas Ornaments Pattern combines fine threadwork with simple shaping to create two graceful holiday decorations. Choose the geometric Diamond Spoke design, the detailed Picot Spoke design, or make both for a coordinated set. With careful stiffening, ribbon, and storage, these handmade ornaments can be displayed, gifted, and enjoyed for many seasons. For more festive inspiration, browse these free crochet Christmas ornament patterns.