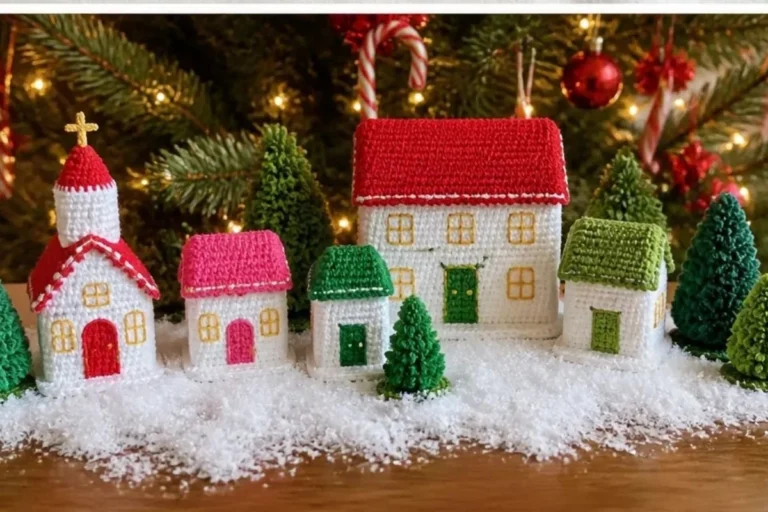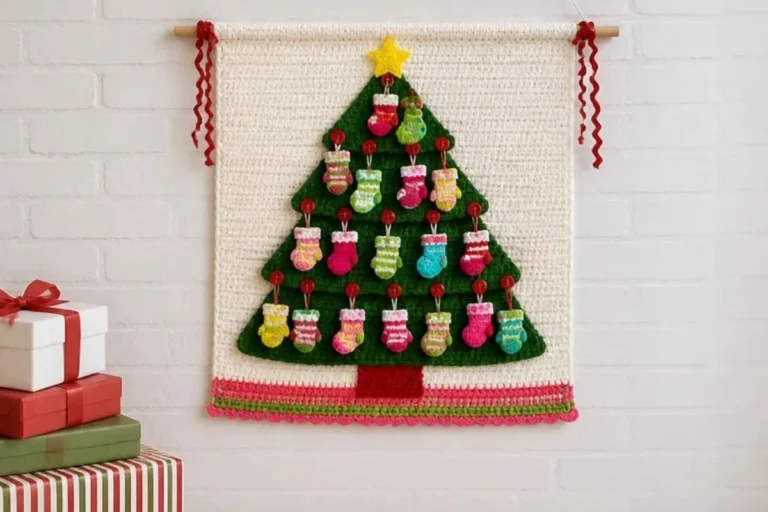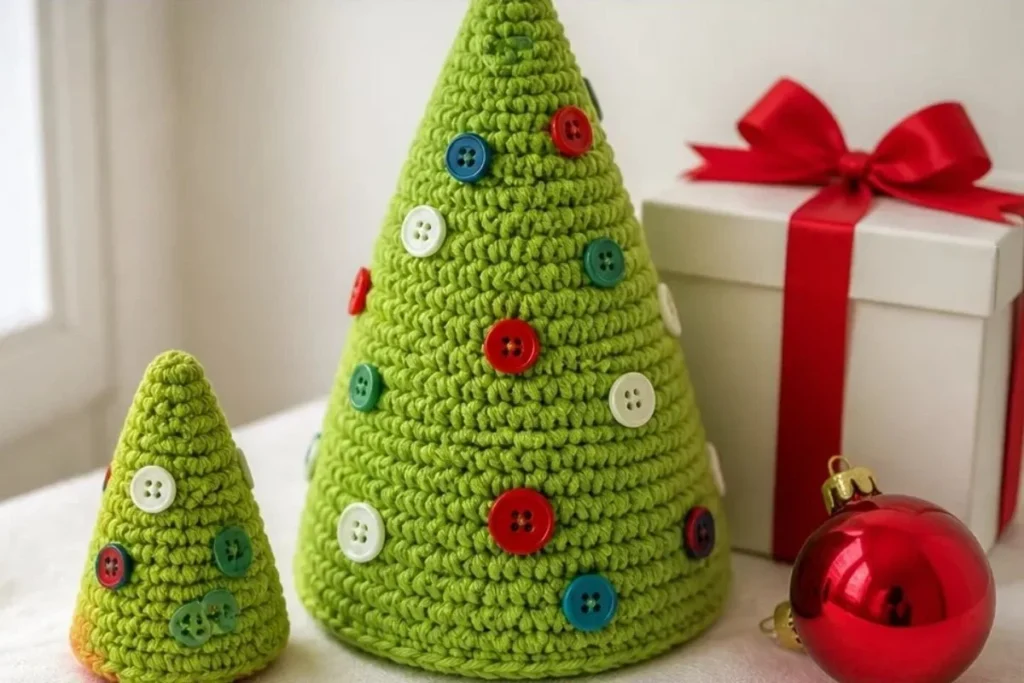
A small crocheted Christmas tree brings handmade texture and holiday color to shelves, mantels, tables, and gift baskets. This Christmas Tree Pattern for Holiday Decor and DIY Crafts includes large and small versions worked in green yarn, then finished with stuffing, a stable felt-and-cardboard base, and button decorations. The simple single crochet shaping makes it a practical project for practicing increases and joined rounds. For another festive handmade accessory, pair your tree display with these crochet Grinch hat ideas.
Why You’ll Love This Crochet Project
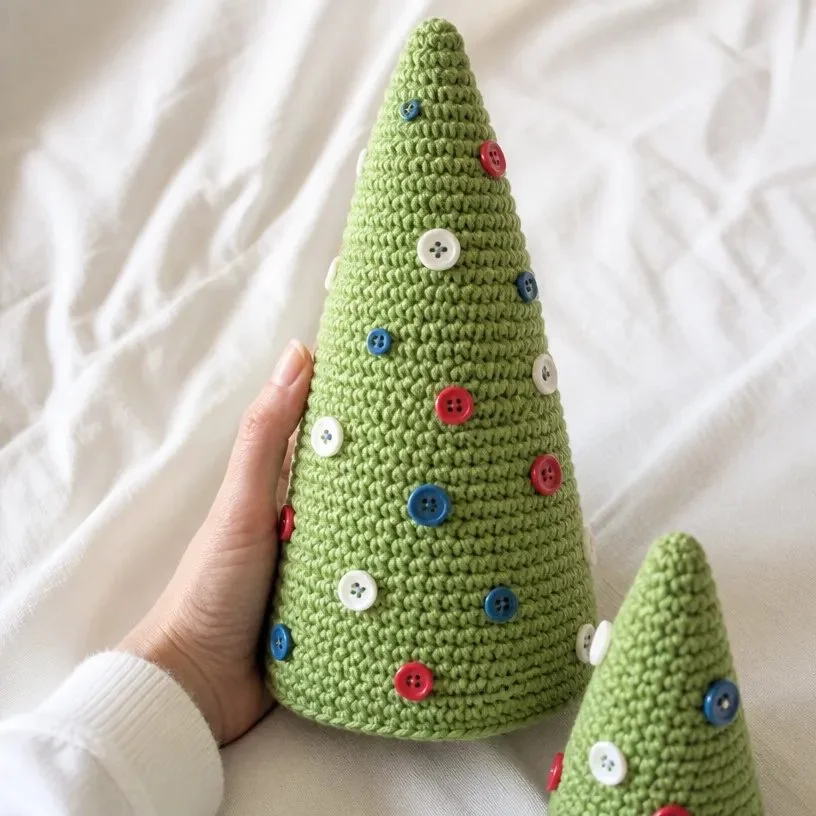
- It creates seasonal décor with a handmade feel. The shaped tree has a classic tapered silhouette that works well with traditional Christmas displays.
- It offers two size options. Make the large version for a focal decoration or the small version for a group of tabletop trees.
- It practices useful crochet skills. You will work single crochet, increases, back-loop stitches, joined rounds, stuffing, and basic sewing.
- It is easy to personalize. Buttons can become ornaments, lights, or colorful accents.
- It makes a thoughtful handmade gift. A finished tree can be given as a small holiday decoration or included in a seasonal gift basket.
My Crochet Flower Tip: Sew the buttons on after the tree is stuffed and stabilized so you can position each decoration while the tree is standing upright. You may also find Crochet Bridal Bouquet Wrap Pattern For Weddings useful.
Before You Start Crocheting
This project makes one crocheted tree in either the large or small version. The tree is worked from the top downward in joined rounds. Increases are spaced throughout the body to create the tapered, expanding shape, and the large version continues until it reaches 66 single crochet stitches.
After crocheting, stuff the tree and close the bottom with a felt piece and light cardboard. The cardboard supports the base, while the felt gives the underside a neat finish. Buttons are sewn on last as decorations.
The pattern uses US crochet terminology. The supplied yarn information is Lily® Sugar’n Cream® in Hot Green (01712), and one ball makes both the large and small trees when following the stated yardage guidance.
Abbreviations
- ch: chain
- sc: single crochet
- sl st: slip stitch
- inc: increase
- rnd: round
- rep: repeat
Materials You’ll Need
- Lily® Sugar’n Cream® (2.5 oz/70.9 g; 120 yds/109 m), Hot Green (01712): 1 ball makes Large and Small Trees
- Large Tree: 24 m / 27 yds
- Small Tree: 17 m / 19 yds
- Size U.S. G/6 (4 mm) crochet hook or size needed to obtain gauge
- Stuffing
- Buttons for decorations
- 12″ [30.5 cm] felt for Base
- Light cardboard for Base
Use the felt and cardboard to create the finished bottom support. Choose buttons that are suitable for secure sewing and that complement the green yarn.
Step-by-Step Crochet Instructions
Work the approved instructions below in the stated order. Keep track of the stitch count after each increase round, especially as the tree becomes wider.
Large Version
Ch 2.
1st rnd: 6 sc in 2nd ch from hook. Join with sl st to first sc.
Stitch count after join: 6 sc2nd rnd: Ch 1. Working in back loops, 2 sc in each sc around. Join with sl st to first sc.
12 sc3rd and 4th rnds: Ch 1. 1 sc in each sc around. Join with sl st to first sc.
5th rnd: Ch 1. *1 sc in next sc. 2 sc in next sc. Rep from * around. Join with sl st to first sc.
18 sc6th and 7th rnds: As 3rd and 4th rnds.
8th rnd: Ch 1. *1 sc in each of next 2 sc. 2 sc in next sc. Rep from * around. Join with sl st to first sc.
24 sc9th and 10th rnds: As 3rd and 4th rnds.
11th rnd: Ch 1. *1 sc in each of next 3 sc. 2 sc in next sc. Rep from * around. Join with sl st to first sc.
30 sc12th and 13th rnds: As 3rd and 4th rnds.
14th rnd: Ch 1. *1 sc in each of next 4 sc. 2 sc in next sc. Rep from * around. Join with sl st to first sc.
36 sc15th and 16th rnds: As 3rd and 4th rnds.
Cont as established: inc 6 sts on next and every following 3rd rnd, until there are 66 sc.
Next 2 rnds: Ch 1. 1 sc in each sc around. Join with sl st to first sc. Fasten off at end of last rnd.
Small Version
Work from 1st rnd to 16th rnd as given for Large Version. Fasten off.
Finishing and Assembly
- Cut 1 piece of felt and 1 piece of cardboard to fit circumference of bottom of Tree.
- Stuff Tree.
- Pin felt to bottom of Tree, placing cardboard between felt and stuffing.
- Sew felt in position.
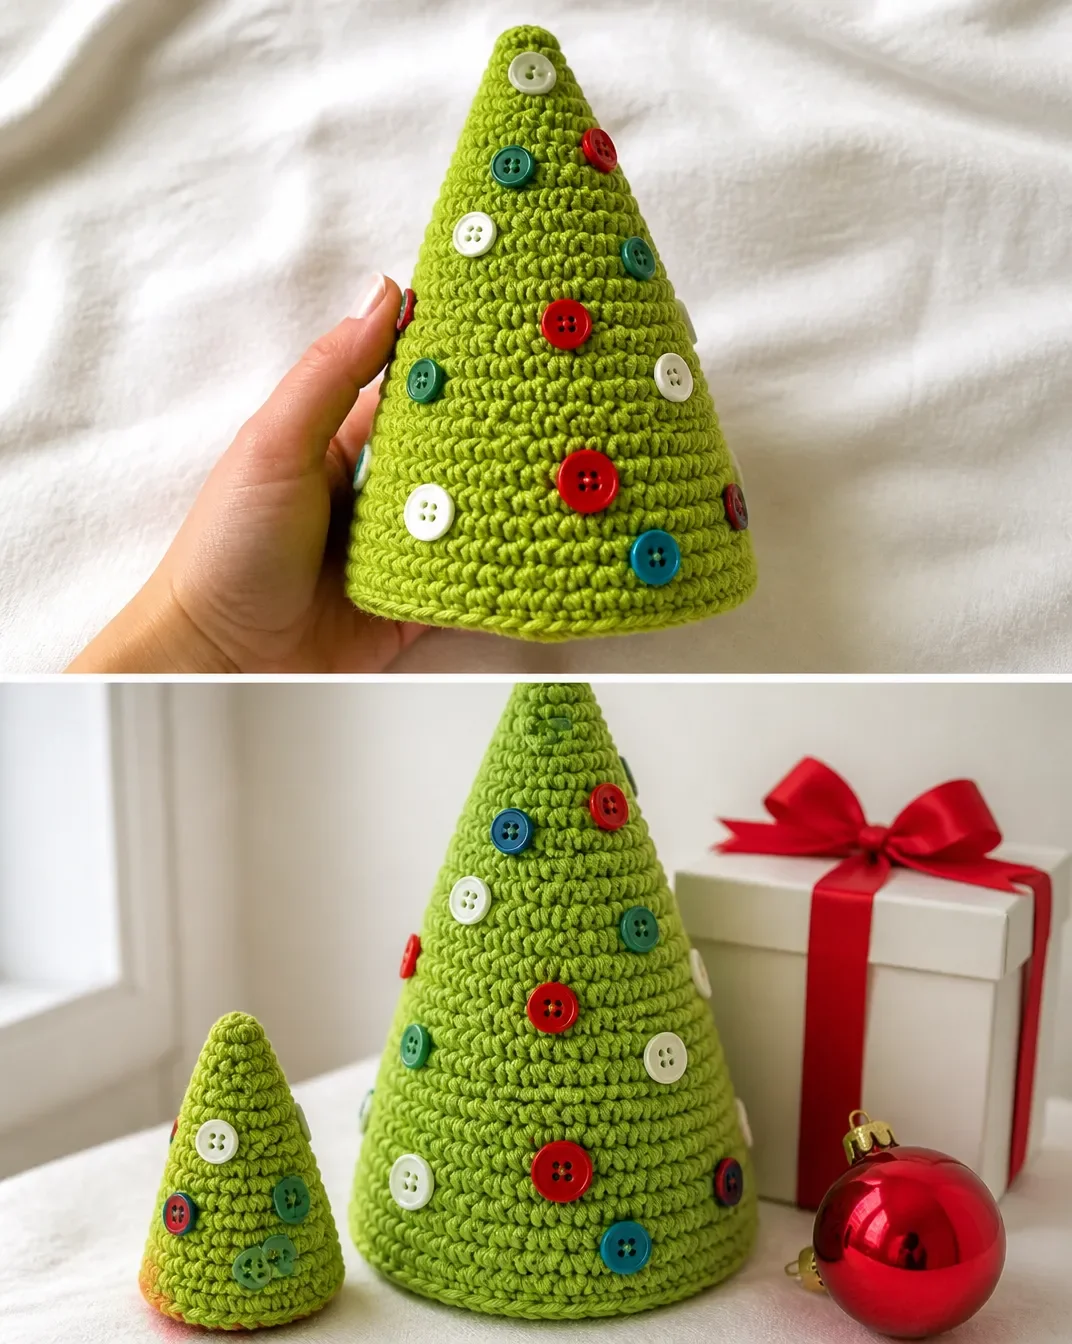
- Sew buttons on Tree as shown in picture.
When stuffing, add small amounts at a time and distribute them evenly so the tree keeps its shape without becoming lumpy. The cardboard should rest between the stuffing and felt as directed, forming the firm base.
Ways to Display Your Finished Crochet
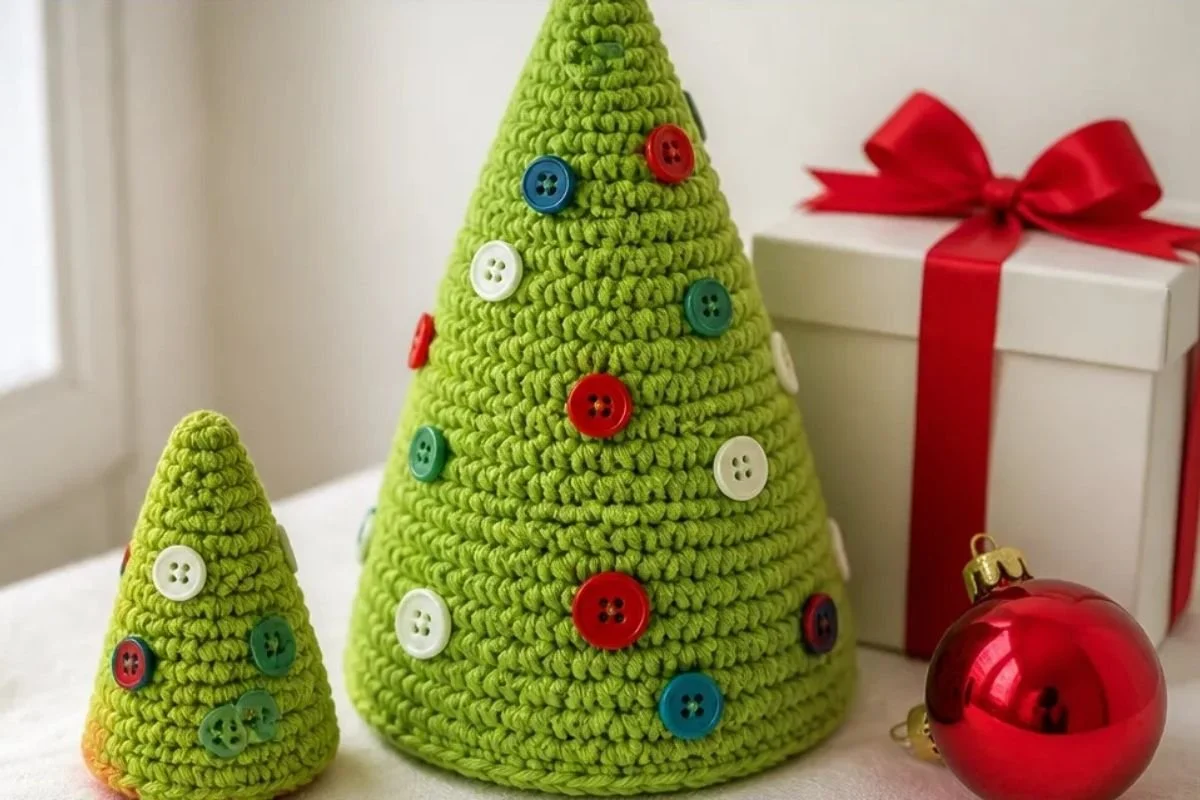
- Create a tiered tabletop grouping. Display one large tree with one or more small trees at different heights.
- Use the tree as a mantel accent. Place it among greenery, candles, or other seasonal decorations, keeping fabric and yarn away from open flames.
- Make a holiday centerpiece. Set the tree on a tray with ornaments, pinecones, or wrapped gifts.
- Give it as a handmade present. A decorated tree makes a compact seasonal gift for a host, teacher, neighbor, or family member.
- Coordinate it with handmade accessories. A festive display can include other crochet projects, such as these crochet blooms for hair used as colorful seasonal accents.
- Build a button-decorated collection. Use different button colors on several trees while keeping the same green yarn for a coordinated look.
Caring for Your Crochet Project
Dust the finished tree gently with a soft brush or use a vacuum’s lowest suction with a fabric-safe attachment held slightly away from the surface. Pay particular attention to the button decorations and the seam around the felt base.
For small marks, spot-clean carefully with a barely damp cloth and allow the tree to air-dry completely. Avoid soaking the stuffed tree, since moisture can remain inside the filling and may affect the shape of the cardboard base.
Store the tree in a dry place when the holiday season ends. Keep it away from excessive heat, direct moisture, and heavy objects that could flatten the crocheted shaping. A breathable storage container can help protect the yarn and buttons from dust.
Helpful Crochet Tips
- Count after every increase round. The stitch counts progress to 12, 18, 24, 30, and 36 sc in the listed rounds, and the large version eventually reaches 66 sc.
- Work the second round in back loops. This detail is part of the approved pattern and helps establish the beginning of the tree.
- Keep joined rounds neat. Join with a slip stitch to the first single crochet exactly as directed, then begin the next round with chain 1.
- Mark the first stitch if needed. A removable stitch marker can make it easier to locate the first sc in each joined round.
- Use consistent tension. Uneven tension can make the tree lean or create visible changes between increase sections.
- Add stuffing gradually. Small amounts are easier to distribute evenly than one large handful.
- Check the base before sewing. Trim the felt and cardboard so they fit the circumference of the bottom without extending beyond the crocheted edge.
- Sew buttons securely. Since buttons are small parts, attach them firmly and consider the intended recipient before using them on an item for a young child.
Creative Ways to Customize Your Project
The approved pattern is worked in Hot Green, but color changes can create different holiday styles without changing the construction.
- Try a traditional palette. Keep the tree green and use red, white, and gold buttons.
- Use a winter palette. Pair green yarn with silver, white, or icy-blue buttons.
- Make a modern display. Choose buttons in one color, such as matte white or metallic gold, for a simple coordinated appearance.
- Create a woodland theme. Brown, natural, or wood-look buttons can complement rustic décor.
- Mix tree sizes. Make the large and small versions together for visual variety in a tabletop arrangement.
- Coordinate the base. A felt base in a different color may add contrast, but the felt must still be cut to fit the circumference of the bottom.
Optional yarn or hook substitutions may affect gauge, dimensions, texture, stiffness, and yarn requirements. If you change materials, use the stated hook size or the size needed to obtain gauge as your starting point, and treat the result as a customized version rather than an exact match.
Frequently Asked Questions
Is this Christmas tree pattern suitable for beginners?
The project uses single crochet, increases, joined rounds, stuffing, and sewing. Beginners who are comfortable reading basic round instructions can use it to practice shaping and finishing techniques.
What yarn is recommended?
The supplied yarn is Lily® Sugar’n Cream® (2.5 oz/70.9 g; 120 yds/109 m) in Hot Green (01712). One ball makes the large and small trees, with the stated amounts of 24 m / 27 yds for the large tree and 17 m / 19 yds for the small tree.
Which crochet hook should I use?
Use a size U.S. G/6 (4 mm) crochet hook or the size needed to obtain gauge.
How are the large and small versions different?
The large version continues the established increase pattern until there are 66 sc, then works two final even rounds. The small version is worked from the 1st rnd through the 16th rnd as given for the large version, then fastened off.
How is the tree kept upright?
The tree is stuffed, and a piece of light cardboard is placed between the stuffing and a felt piece at the bottom. The felt is then sewn in position to finish the base.
Can I change the button colors?
Yes. Button colors are an optional decorative choice. You can use a coordinated palette, contrasting colors, or different buttons for each tree.
Can I use another yarn?
You can experiment with another yarn, but changing yarn type or weight may affect gauge, dimensions, texture, stiffness, and yarn requirements. Use the specified hook size or the size needed to obtain gauge as a guide.
How should I care for the finished tree?
Dust it gently and use careful spot cleaning when necessary. Avoid soaking the stuffed tree, and store it dry so the stuffing, cardboard, felt, and button decorations remain protected.
Conclusion
This crochet Christmas tree is a charming way to add handmade texture to holiday decorating. The two size options, simple single crochet construction, firm base, and button embellishments make it easy to create a coordinated seasonal display or thoughtful gift. For another DIY holiday decorating idea, compare it with these tiered tomato cage Christmas trees.