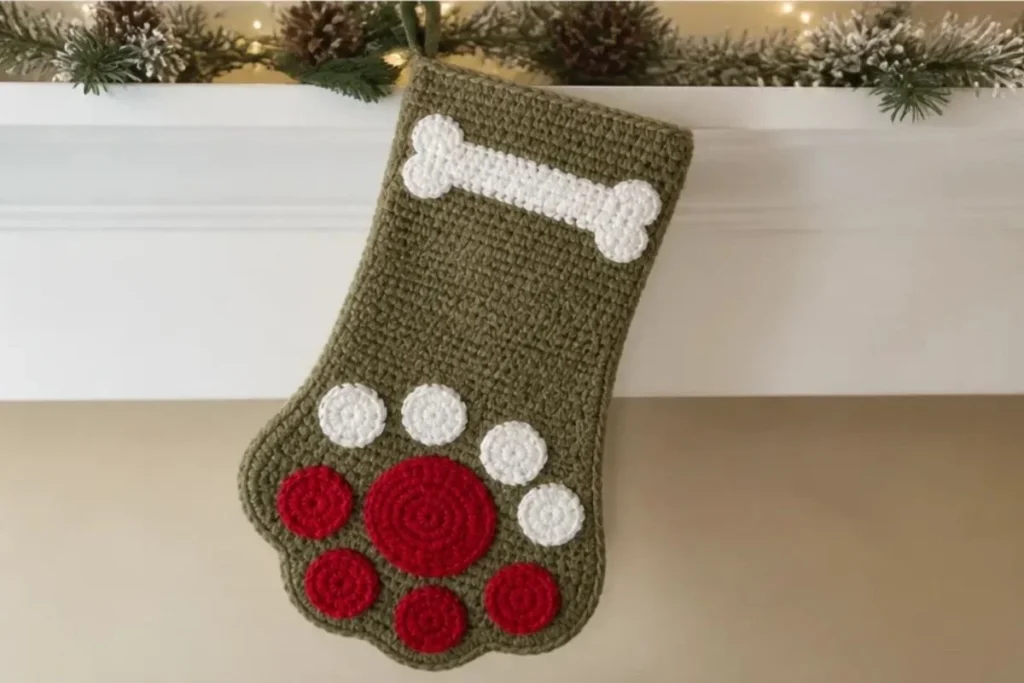
A dog paw motif makes this Dog Paw Crochet Christmas Stocking Pattern a cheerful addition to a holiday mantel, pet-themed tree, or gift display. The stocking combines a shaped crocheted base with a Cherry Red paw appliqué and a Soft White bone, creating a playful design that works especially well for dog lovers. It is also a useful project for practicing increases, decorative stitch shaping, continuous rounds, and sewn-on embellishments. For another colorful crochet project to enjoy after the holidays, explore this 3D flower granny square pattern.
Why You’ll Love This Crochet Project
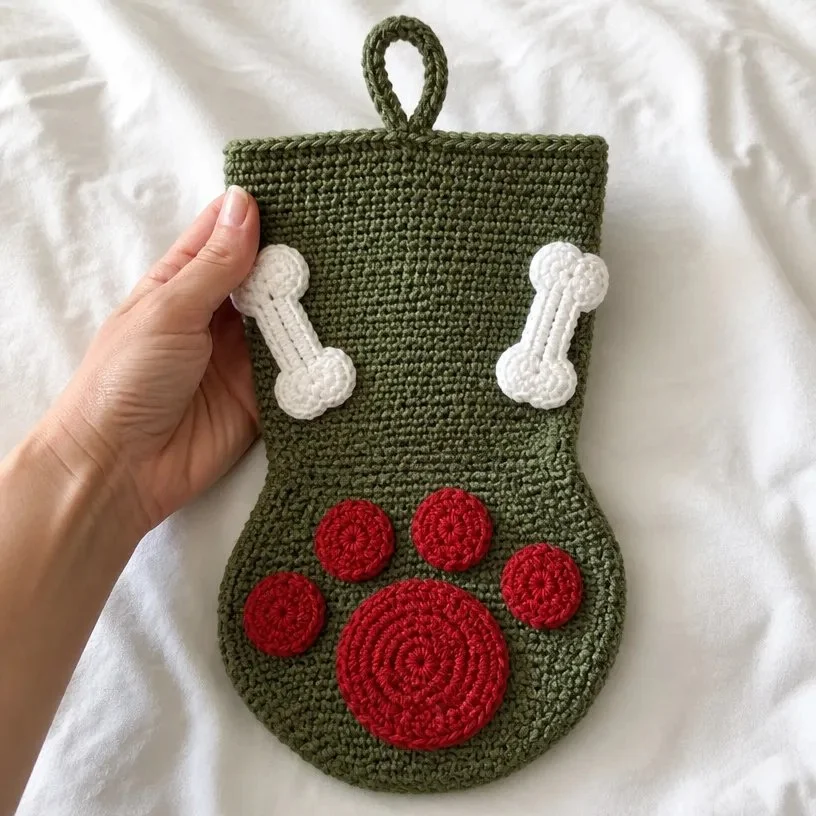
- The motif is instantly recognizable. The central paw and surrounding paw prints give the stocking a clear dog-lover theme, while the bone adds an extra decorative detail.
- It combines several useful techniques. You will work flat rows for the stocking panels, continuous rounds for the paw pieces, and simple seaming for assembly.
- It makes a thoughtful handmade gift. Personalize the color arrangement for a family member, friend, or pet-loving household.
- It suits holiday decorating. Hang the finished stocking from a mantel, staircase, wall hook, or seasonal display.
- It encourages careful stitch counting. The shaped stocking includes several increases and decorative stitches, making it good practice for following a detailed pattern.
My Crochet Flower Tip: Place a stitch marker in the first stitch of continuous rounds, and check the stitch count at the end of every stocking row before moving on.
Before You Start Crocheting
The stocking is made from two identical pieces: one front and one back. Each piece begins with a chain and is shaped through eleven rows. After the two panels are completed, the front and back are sewn together through both loops of the last row.
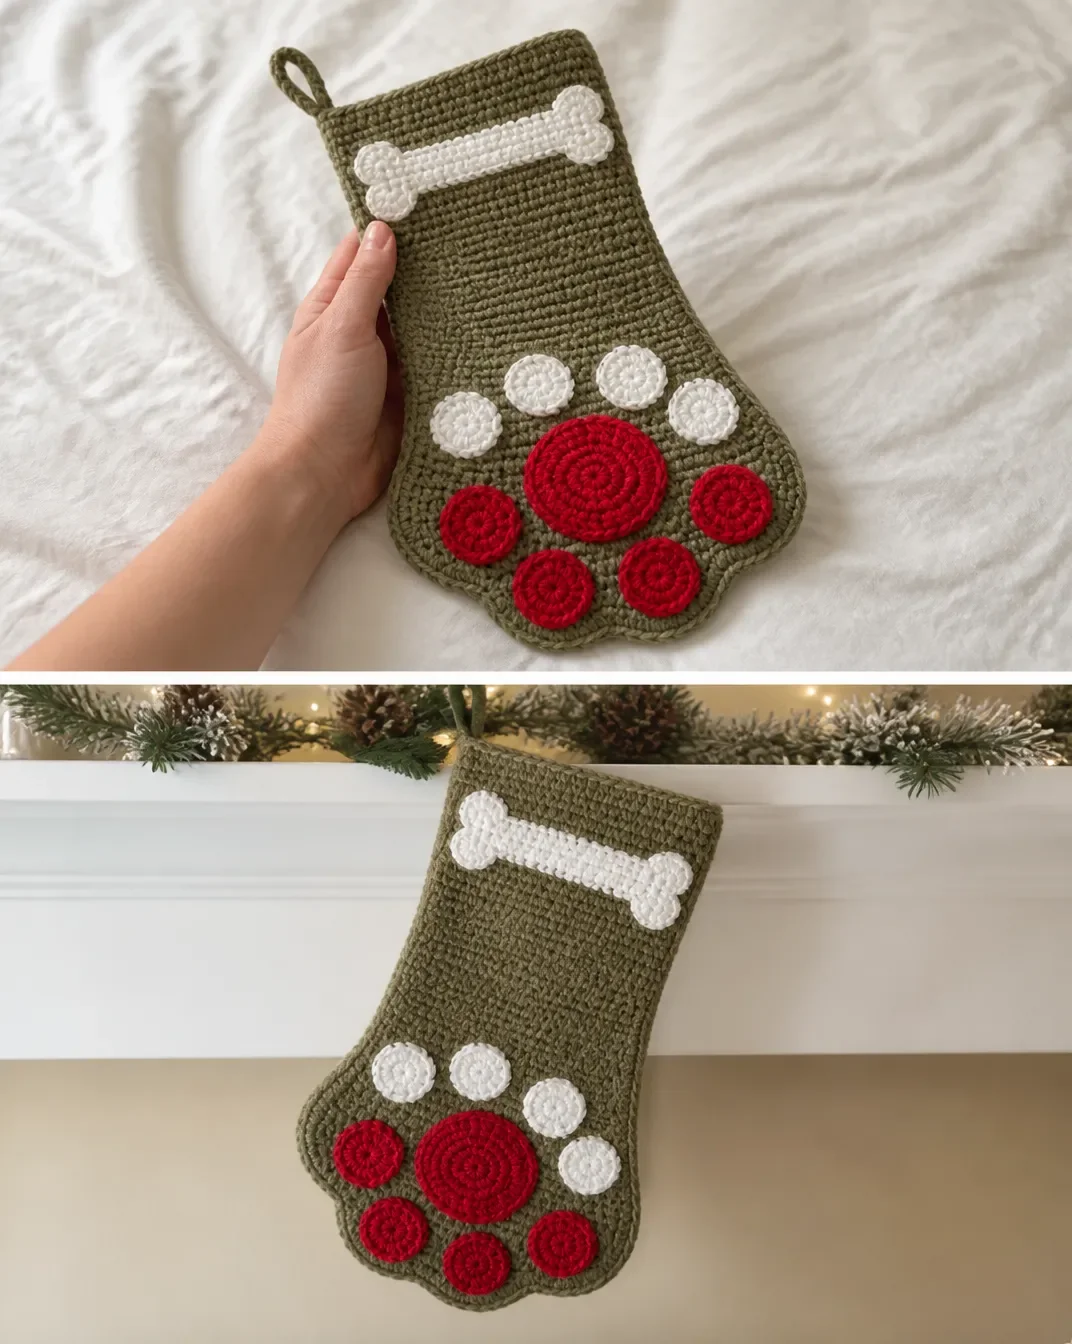
The front is decorated with one Center Paw, four Paw Prints, and one Bone with four rounded Ends. The appliqués are crocheted separately and sewn to the front side of the stocking. A final border is worked around the stocking, and a chain-10 loop is added for hanging.
The pattern uses US crochet terminology. Important abbreviations include:
- ch: chain
- sc: single crochet
- hdc: half double crochet
- dc: double crochet
- tr: treble crochet
- sl st: slip stitch
- rnd: round
- RS: right side
- PM: place marker
The continuous-round sections are not joined at the end of each round unless the instructions specifically say to join.
Materials You’ll Need
- Red Heart® Super Saver™ (7 oz/198 g; 364 yds/333 m)
- Contrast A, Tea Leaf (0624): 1 ball
- Contrast B, Cherry Red (0319): 1 ball
- Contrast C, Soft White (0316): 1 ball
- Size U.S. H/8 (5 mm) crochet hook, or size needed to obtain gauge
- Stitch marker
Contrast A forms the stocking, Contrast B creates the paw elements, and Contrast C is used for the bone. The stitch marker is particularly useful when working the Center Paw and the four Ends of the Bone in continuous rounds.
Crochet Pattern Instructions
Back and Front
Make alike.
With A, ch 34.
- 1st row: (RS) 1 sc in 2nd ch from hook and each of next 31 ch. 3 sc in last ch. Do not turn. Working on opposite side of ch, 1 sc in each of next 32 ch. Turn. 67 sc.
- 2nd row: Ch 1. 1 sc in each of next 32 sc. (2 sc in next sc) 3 times. 1 sc in each of last 32 sc. Turn. 70 sc.
- 3rd row: Ch 1. 1 sc in each of next 33 sc. 2 sc in next sc. 1 sc in each of next 2 sc. 2 sc in next sc. 1 sc in each of last 33 sc. Turn. 72 sc.
- 4th row: Ch 1. 1 sc in each of next 34 sc. (2 sc in next sc) 4 times. 1 sc in each of last 34 sc. Turn. 76 sc.
- 5th row: Ch 1. 1 sc in each of next 37 sc. (2 sc in next sc) twice. 1 sc in each of last 37 sc. Turn. 78 sc.
- 6th row: Ch 1. 1 sc in each of next 37 sc. (2 sc in next sc) 4 times. 1 sc in each of last 37 sc. Turn. 82 sc.
- 7th row: Ch 1. 1 sc in each of next 37 sc. 2 sc in next sc. 1 sc in each of next 6 sc. 2 sc in next sc. 1 sc in each of next 37 sc. Turn. 84 sc.
- 8th row: Ch 1. 1 sc in each of next 38 sc. 2 sc in next sc. 1 sc in each of next 2 sc. (2 sc in next sc) twice. 1 sc in each of next 2 sc. 2 sc in next sc. 1 sc in each of last 38 sc. Turn. 88 sc.
- 9th row: Ch 1. 1 sc in each of next 27 sc. 1 hdc in each of next 10 sc. 2 hdc in next sc. 1 hdc in each of next 2 sc. 2 hdc in next sc. 1 hdc in each of next 6 sc. 2 hdc in next sc. 1 hdc in each of next 2 sc. 2 hdc in next sc. 1 hdc in each of next 10 sc. 1 sc in each of last 27 sc. Turn. 92 sts.
- 10th row: Ch 1. 1 sc in each of next 30 sts. (Skip next 3 sts. 7 tr in next st. Skip next 3 sts. 1 sc in next st) twice. 1 sc in next st. Rep from * to * once more. 1 sc in each of last 29 sts. Turn.
- 11th row: Ch 1. 1 sc in each of next 32 sts. (2 sc in next sc) 3 times. 1 sc in each of next 5 sts. (2 sc in next sc) 3 times. 1 sc in each of next 6 sts. (2 sc in next sc) 3 times. 1 sc in each of next 5 sts. (2 sc in next sc) 3 times. 1 sc in each of last 32 sc. Fasten off.
Repeat these instructions to make the second stocking panel.
Center Paw
Note: Do not join at end of rnd. Work in continuous rnds. PM to indicate end of rnd. Move marker as work progresses.
With B, ch 6.
- 1st rnd: 1 sc in 2nd ch from hook and each of next 3 ch. 3 sc in last ch. Working on opposite side of ch, 1 sc in each of next 3 ch. 2 sc in last ch. Do not join but work in continuous rnds. 12 sc.
- 2nd rnd: 2 sc in first sc. 1 sc in each of next 3 sc. (2 sc in next sc) 3 times. 1 sc in each of next 3 sc. (2 sc in next sc) twice. 18 sc.
- 3rd rnd: (1 sc, 1 hdc) in first sc. (1 hdc, 1 dc) in next sc. 2 dc in next sc. Sl st in next sc. 2 dc in next sc. (1 dc, 1 hdc) in next sc. (1 hdc, 1 sc) in next sc. 1 sc in each of last 11 sc. Fasten off.
Sew in place at front side of Stocking.
Paw Prints
Make 4.
With B, ch 2.
- 1st rnd: 6 sc in 2nd ch from hook. Join with sl st to first sc.
- 2nd rnd: Ch 1. 2 sc in each sc around. Join with sl st in first sc. Fasten off.
Sew in place around Center Paw as shown in picture.
Bone
With C, ch 15.
- 1st row: (RS) 1 sc in 2nd ch from hook and each ch to end of chain. Turn. 14 sc.
- 2nd to 7th rows: Ch 1. 1 sc in each sc to end of row. Turn. Fasten off.
Ends of Bone
Make 4.
Note: Do not join at end of rnd. Work in continuous rnds. Move marker as work progresses.
With C, ch 2.
- 1st rnd: 6 sc in 2nd ch from hook. Do not join but work in continuous rnds. PM at end of rnd.
- 2nd rnd: 2 sc in each sc around. 12 sc.
- 3rd rnd: Ch 1. (1 sc in next sc. 2 sc in next sc) 6 times. 18 sc. Fasten off.
Sew Bone in place with 2 Ends over each short edge of Bone as shown in picture.
Finishing
Sew Front and Back
Sew Front and Back of Stocking tog through both loops of last row.
Border and Hanging Loop
- 1st rnd: Join A with sl st to top center back st of Stocking. Ch 1. Work sc evenly around. Ch 10 for hanging loop. Join with sl st to first sc.
- 2nd rnd: Sl st in each of first 3 sc. Ch 1. 1 sc in same sp as last sl st and each sc to last 2 sc. Skip last 2 sc. 16 dc in next ch-10 loop. Skip first 2 sl st. Join with sl st to first sc. Fasten off.
Handmade Gift and Decoration Ideas
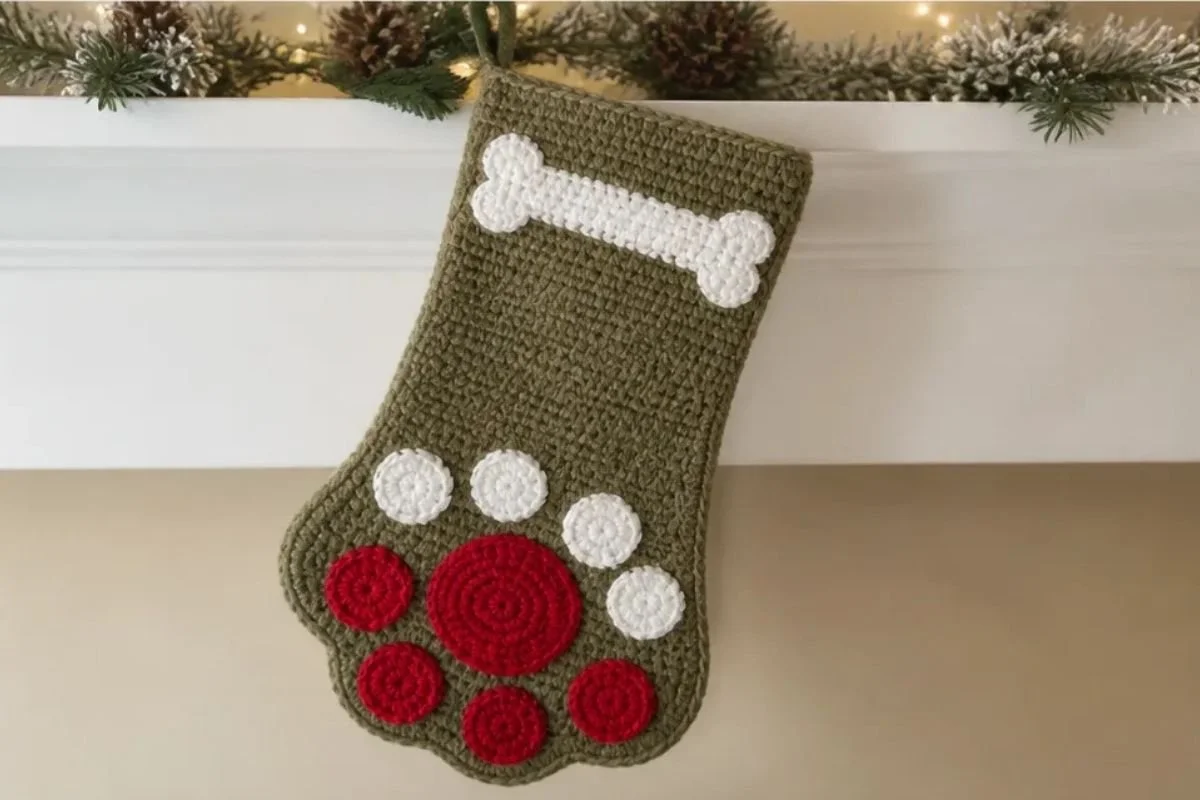
- Hang the stocking on a mantel with other family stockings for a coordinated Christmas display.
- Use it as a special pet-themed stocking for a dog owner or animal-loving family member.
- Fill it with small gifts, treats, grooming accessories, or wrapped pet-safe presents.
- Add it to a holiday entryway arrangement alongside greenery, ribbon, and other handmade decorations.
- Display it on a bedroom, office, or craft-room wall as a seasonal accent.
- Pair it with other crocheted holiday pieces for a handmade gift basket.
For a spring-focused handmade display later in the year, a crochet April flowers wreath can provide a complementary decorative project.
Caring for Your Crochet Project
Handle the sewn-on paw and bone appliqués carefully, especially when removing the stocking from a hook or mantel. Support the stocking from the body rather than pulling on the hanging loop.
Dust the surface gently with a soft brush or use careful spot cleaning when needed. Avoid excessive heat, rough scrubbing, and harsh handling that could distort the raised paw details or the border.
Store the stocking flat or lightly supported in a dry container between seasons. Keep it away from moisture, direct heat, and anything that could snag the decorative pieces. Before hanging it again, check the appliqué seams and reinforce any loose yarn tails.
Tips for Better Results
- Count every stocking row. The increases change from row to row, so compare your work with the stated stitch count before turning.
- Mark the first stitch of continuous rounds. The Center Paw and Bone Ends are worked without joining, making it easy to lose the round boundary.
- Keep the two stocking panels alike. Work with consistent tension so the front and back match in size and shape.
- Watch the stitch heights in Row 9. The transition from sc to hdc helps shape the stocking, so make each stitch in the specified location.
- Read Row 10 slowly. The groups of skipped stitches and 7 tr in one stitch create the decorative shaping; avoid treating the row as a series of ordinary sc stitches.
- Use both loops when seaming. The finishing instruction specifically calls for sewing the Front and Back together through both loops of the last row.
- Position appliqués before sewing. Place the Center Paw, Paw Prints, and Bone on the front first so you can adjust their spacing before securing them.
- Secure ends neatly. Weave in yarn tails on the wrong side and check that the appliqués lie flat before displaying the stocking.
For another way to use small crochet motifs on a finished item, consider these crochet shoe appliques as optional inspiration.
Color and Styling Variations
The approved pattern uses Tea Leaf for the stocking, Cherry Red for the paw elements, and Soft White for the bone. You can treat these color placements as a starting point for optional customization without changing the construction.
- Use a traditional red stocking with a white bone and a contrasting paw.
- Choose a neutral stocking color and reserve a bright shade for the Center Paw and Paw Prints.
- Coordinate the stocking with a dog’s collar colors for a personalized gift.
- Make several stockings with different stocking colors while keeping the paw and bone colors consistent.
- Use seasonal palettes such as forest green, cream, burgundy, or icy blue.
If you substitute yarn or change the hook size, the gauge, finished proportions, stitch definition, and yarn requirements may change. For the closest result, keep the recommended hook size and yarn specifications.
Frequently Asked Questions
Is this stocking suitable for a beginner?
It is appropriate for a crocheter who is comfortable with single crochet, half double crochet, double crochet, treble crochet, increases, slip stitches, and basic seaming. The pattern includes several shaped rows, so careful counting is important.
How many main stocking pieces are needed?
You need two identical pieces: one Back and one Front. The instructions for the Back and Front are worked alike.
How many paw pieces are included?
The design includes one Center Paw and four Paw Prints. The Center Paw is sewn to the front, and the four smaller prints are sewn around it.
How is the bone assembled?
The Bone is made as one rectangular piece, and four separate Ends are crocheted in continuous rounds. Sew the Bone in place with two Ends over each short edge.
Can the colors be changed?
Yes. Color changes are optional, and you can create a traditional, neutral, or personalized palette. Keep in mind that changing yarn can affect the finished size and texture.
Why is a stitch marker needed?
The Center Paw and Ends of the Bone are worked in continuous rounds without joining at the end of each round. A marker shows where each round begins and should be moved as the work progresses.
How are the front and back joined?
Sew the Front and Back of the Stocking together through both loops of the last row. The border and hanging loop are then added according to the finishing instructions.
How should the completed stocking be stored?
Store it in a dry place away from excessive heat and pressure. Keep the appliqués protected and avoid placing heavy items on top of the stocking during seasonal storage.
Conclusion
This Dog Paw Crochet Christmas Stocking Pattern combines a shaped stocking with playful paw and bone appliqués for a distinctive handmade holiday decoration. The project is useful for practicing increases, continuous rounds, decorative stitches, and neat seaming. Display it, gift it, or personalize its colors for a dog-loving recipient. For another paw-themed project option, compare it with this Red Heart dog paws Christmas stocking pattern.