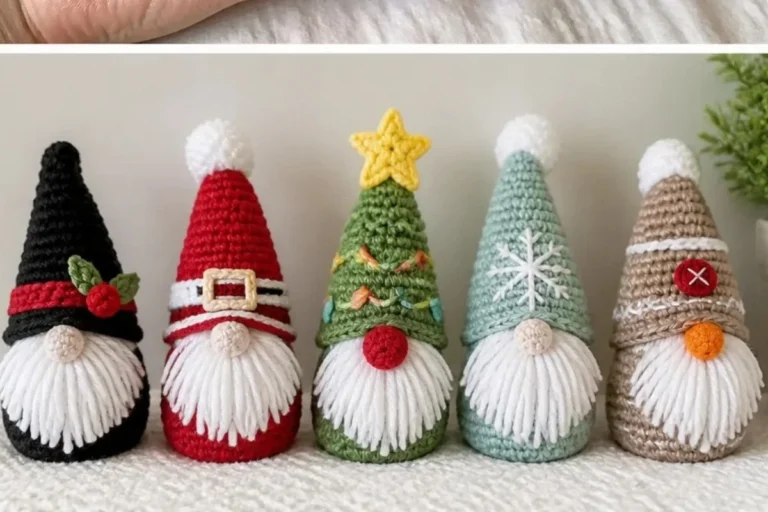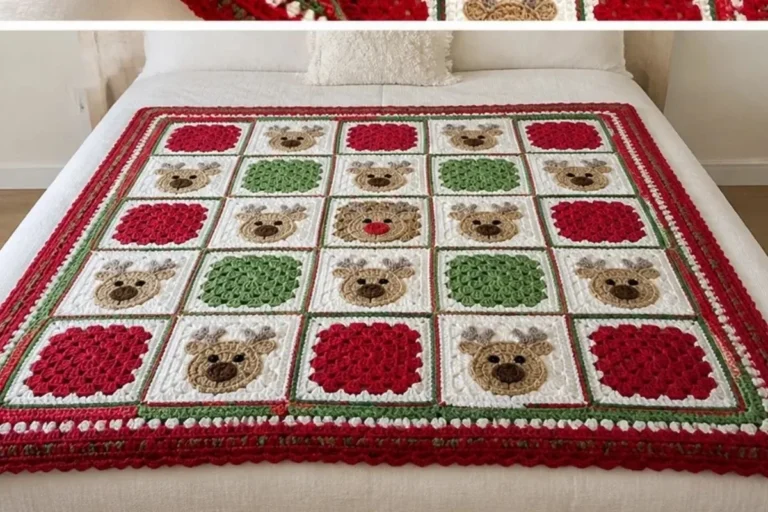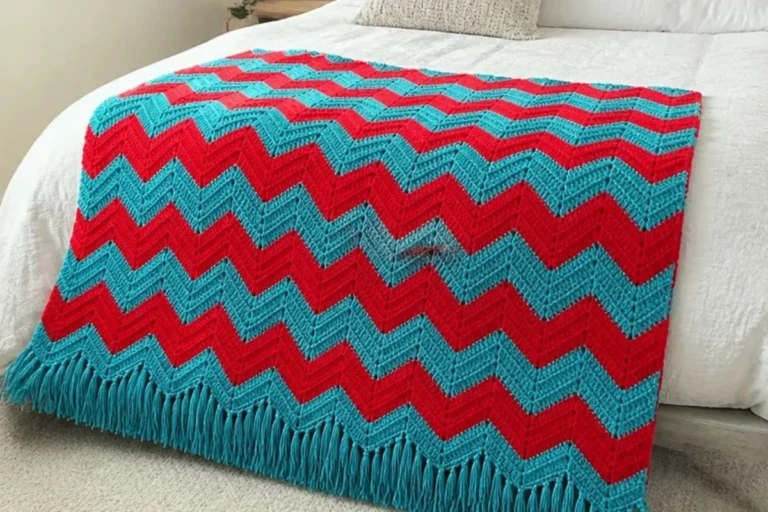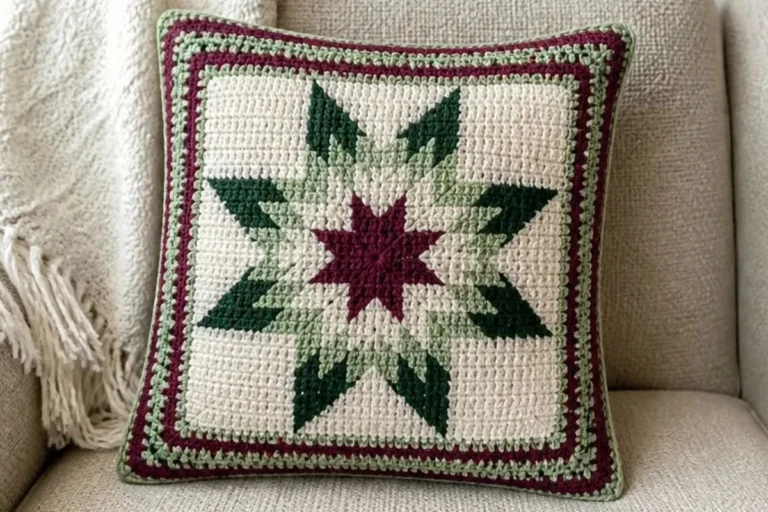
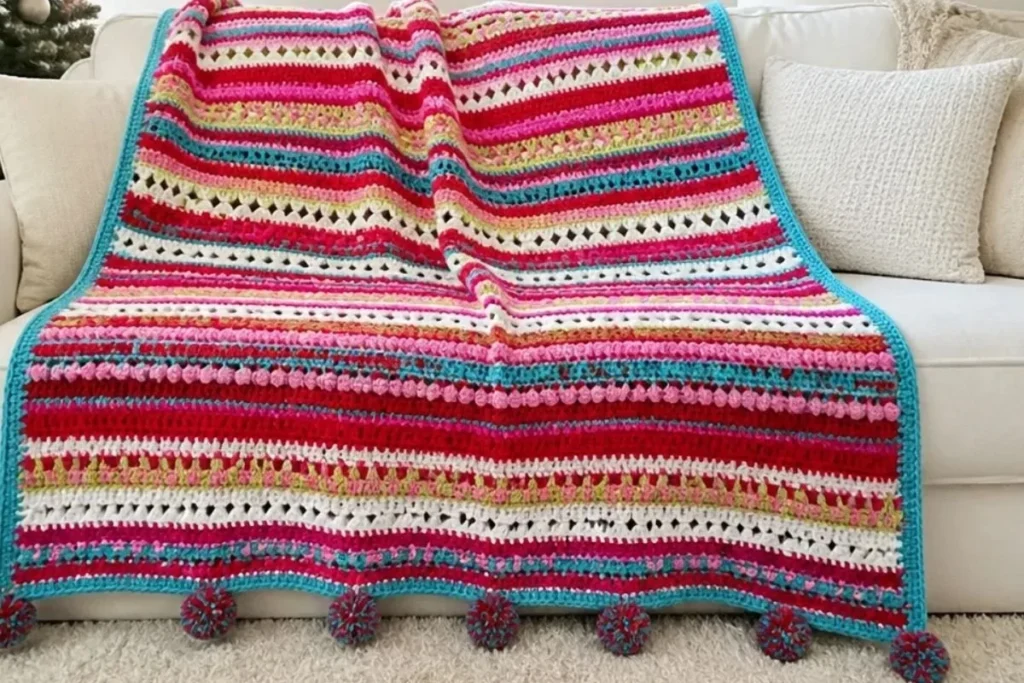
A Christmas Morning Crochet Striped Throw Pattern brings together cheerful holiday colors, textured stitch sections, bobbles, and a finished border with playful pom-poms. This generously striped throw makes a thoughtful handmade gift and adds warmth to a sofa, reading chair, or seasonal display. Crocheters who enjoy color changes and repeating stitch patterns will appreciate the rhythm of the design. For another colorful project that uses floral inspiration, explore this 3D flower granny square crochet pattern for a coordinating handmade collection.
Why You’ll Love This Crochet Project
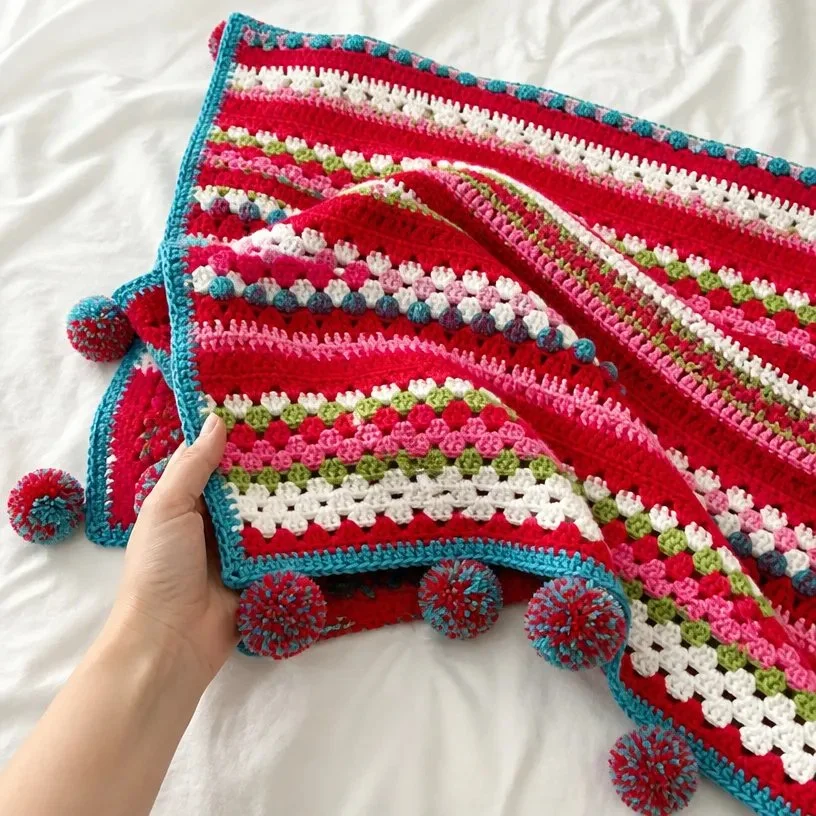
- Festive colorwork: Cherry Red, Turqua, Spring Green, Perfect Pink, Soft White, and Shocking Pink create a bright Christmas palette.
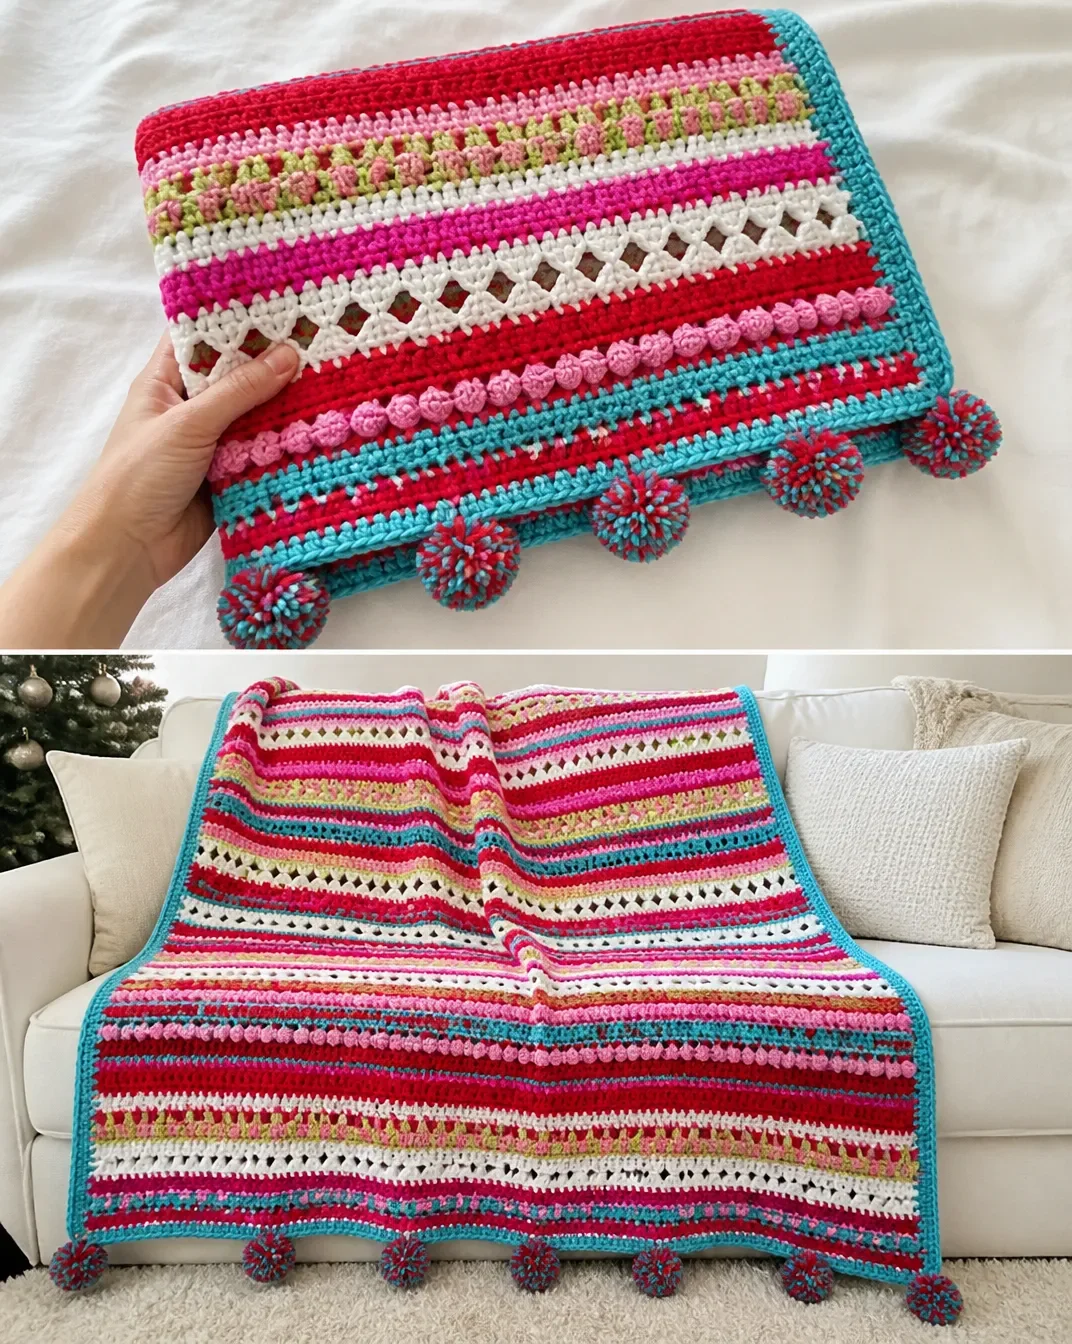
- Interesting texture: Openwork sections, V-stitches, and bobbles keep the fabric visually engaging from beginning to end.
- Structured construction: The pattern is worked in rows, making it easy to track color bands and repeat sections.
- Gift-ready finishing: A four-round border and fourteen pom-poms give the throw a polished, cheerful edge.
- Useful home décor: Drape it over a chair, fold it at the foot of a bed, or use it as a cozy seasonal accent.
My Crochet Flower Tip: Place a removable stitch marker at the beginning of every major repeat section. The marker helps you confirm your row placement before changing colors.
Before You Start Crocheting
This throw is made as one continuous rectangular piece. The body begins with a foundation chain of 141 chains and is worked across 140 stitches. The design combines single crochet, double crochet, chain spaces, V-stitches, and bobbles.
The main color sequence is built in a 41-row repeat. After the first 41 rows, the pattern directs you to repeat Rows 2–41 twice, then work Rows 2–16 once more, finishing the body with Row 137. The throw is then edged with four rounds of border stitches and finished with fourteen two-color pom-poms.
Useful abbreviations and terms:
- ch: chain
- sc: single crochet
- dc: double crochet
- sl st: slip stitch
- V-st: V-stitch
- Bobble: Work the bobble stitch according to the pattern method used in the supplied instructions.
Read each color change carefully. Several rows repeat the stitch arrangement from an earlier row but use a different color, so keeping the row numbers visible is especially helpful.
Materials You’ll Need
- RED HEART® Super Saver® (Art. 300):
- 4 skeins, 319 Cherry Red, Color A
- 2 skeins, 512 Turqua, Color B
- 1 skein, 672 Spring Green, Color C
- 1 skein, 706 Perfect Pink, Color D
- 1 skein, 316 Soft White, Color E
- 1 skein, 718 Shocking Pink, Color F
- Susan Bates® Crochet Hook: 5 mm (US H-8)
- Susan Bates® Easy Pom Pon Maker: 1¾” (4.5 cm) diameter
- Yarn needle
Keep the colors labeled A through F throughout the project. This prevents confusion when the pattern returns to earlier color sections during the long repeat.
Complete Crochet Tutorial
Foundation and Body
With B, ch 141.
Row 1 (right side): Sc in second ch from hook and each ch across, turn – 140 sc.
Row 2: With A, ch 3 (counts as 1 dc here and throughout), dc in each sc across, turn.
Row 3: Ch 3, dc in each dc across, turn.
Row 4: With C, ch 1, sc in first dc,
[ch 1, skip next dc, sc in next dc] 69 times,
sc in last dc, turn.
Row 5: With D, ch 1, sc in first sc, ch 1, skip next sc,
[sc in next ch-1 space, ch 1, skip next sc] 68 times,
sc in last ch-1 space and in last sc, turn.
Row 6: With C, repeat Row 5.
Row 7: With D, repeat Row 5.
Row 8: With C, repeat Row 5.
Row 9: With A, ch 3, dc in each sc and ch-1 space across, turn – 140 dc.
Row 10: Ch 3, dc in each dc across, turn.
Row 11: With E, ch 1, sc in each dc across, turn.
Row 12: Ch 3, skip first 2 sc, V-st in next sc, skip next sc, dc in next sc,
[skip next sc, V-st in next sc, skip next sc, dc in next sc] 33 times,
skip next sc, dc in next sc, ch 1, dc in last sc, turn.
Row 13: Ch 3, dc in next ch-1 space,
[skip next dc, V-st in next dc, dc in next ch-1 space] 34 times,
dc in each of last 2 dc, turn.
Row 14: Ch 1, sc in each dc and ch-1 space across, turn – 140 sc.
Row 15: With A, ch 3, dc in each sc across, turn.
Row 16: Ch 3, dc in each dc across, turn.
Row 17: With F, ch 1, sc in each dc across, turn.
Row 18: Ch 1, sc in each sc across, turn.
Row 19: With B, ch 1, sc in each of first 2 sc,
[bobble in next sc, sc in each of next 4 sc] 27 times,
bobble in next sc, sc in each of last 2 sc, turn.
Row 20: With F, ch 1, sc in each sc and bobble across, turn – 140 sc.
Row 21: Ch 1, sc in each sc across, turn.
First Complete Repeat
Rows 22 and 23: With A, repeat Rows 2 and 3.
Row 24: With D, repeat Row 4.
Row 25: With C, repeat Row 5.
Row 26: With D, repeat Row 5.
Row 27: With C, repeat Row 5.
Row 28: With D, repeat Row 5.
Rows 29 and 30: With A, repeat Rows 9 and 10.
Rows 31–34: With E, repeat Rows 11–14.
Rows 35 and 36: With A, repeat Rows 15 and 16.
Rows 37 and 38: With B, repeat Rows 17 and 18.
Row 39: With F, repeat Row 19.
Rows 40 and 41: With B, repeat Rows 20 and 21.
Remaining Body Repeats
Rows 42–136: Repeat Rows 2–41 twice, then repeat Rows 2–16 only once more.
Row 137: With B, ch 1, sc in each dc across, do not turn – 140 sc.
Border
Rotate throw so you are ready to work down left side edge.
Round 1 (right side): With A, ch 3, dc last sc made,
work 5 dc in each color E section and 4 dc in each other color section,
working in unused loop of foundation ch,
3 dc in first st,
dc in each of next 138 sts,
3 dc in last st,
work second side edge same as first side edge,
3 dc in first sc of Row 137,
dc in each of next 138 sc,
dc in same st as first dc of round,
join with slip st to top of beginning ch 3.
Rounds 2 and 3: Ch 3, dc in same st as joining slip st,
[dc in each dc corner dc, 3 dc in corner dc] 3 times,
dc in each dc to end,
dc in same st as first dc of round,
join with slip st to top of beginning ch-3.
Round 4: With B, ch 1,
3 sc in same st as joining slip st,
[sc in each dc to corner dc, 3 sc in corner dc] 3 times,
sc in each dc to end,
join with slip st in first sc.
Fasten off.
Pom-Poms and Final Steps
Make 14 pom pons with A and B held together. Sew 7 each, evenly spaced, to short edges of Throw.
Weave in all loose ends.
For another seasonal handmade display idea, a crochet flower wreath pattern can complement the throw when decorating a holiday or winter gathering space.
Finished Project Inspiration
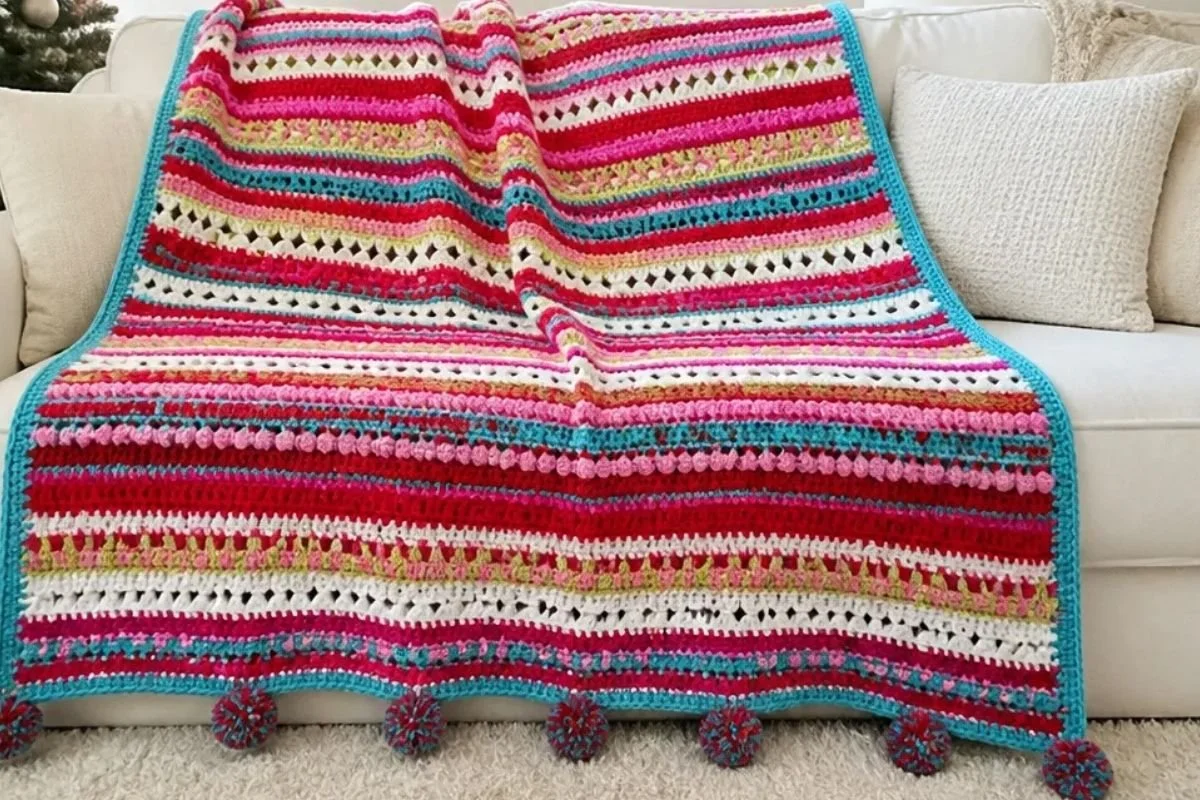
- Sofa accent: Fold the throw lengthwise over the back or arm of a sofa so the color bands and pom-poms remain visible.
- Reading-chair layer: Keep it over a chair or basket for an inviting cold-weather reading corner.
- Handmade gift: Present it as a housewarming, winter birthday, or holiday gift.
- Guest-room decoration: Place it across the foot of a bed for an extra seasonal layer.
- Celebration backdrop: Use the bright colors as part of a cheerful holiday photo or party setup.
- Coordinated accessories: Pair it with smaller handmade pieces, such as crochet floral appliques, on gift wrapping or fabric accessories.
Caring for Your Crochet Project
Handle the finished throw gently, especially around the pom-poms and border corners. Dust it by shaking it outdoors carefully or using a soft brush or low-suction vacuum attachment through a protective cloth.
For spots, use cautious spot cleaning rather than aggressive scrubbing. Follow the yarn manufacturer’s care instructions for the RED HEART® Super Saver® yarn, and avoid excessive heat that could distort the stitches or pom-poms.
Store the throw clean and completely dry. Fold it loosely instead of compressing it tightly, and keep it away from direct sunlight for long periods to help preserve the bright colors.
Tips for Better Results
- Check the foundation count: Count the 140 single crochet stitches after Row 1 before continuing. A missing foundation stitch affects every later row.
- Track color changes: Keep the six color labels nearby and mark each completed row on a printed or handwritten checklist.
- Watch the chain spaces: In Rows 4–8 and the later lace section, work into the specified chain-1 spaces rather than accidentally placing stitches into skipped stitches.
- Respect the V-stitch placement: Rows 12 and 13 are related but not identical. Follow the listed skips and spaces exactly.
- Count the bobbles: Row 19 contains the repeated bobble sequence plus the final bobble. Counting the repeated groups helps maintain the 140-stitch width.
- Keep the edges even: Work the side-edge border stitches consistently, using 5 dc in each color E section and 4 dc in each other color section as written.
- Shape the corners carefully: The groups of 3 dc at each corner help the border turn smoothly without pulling.
- Space pom-poms evenly: Divide each short edge visually before sewing so the seven pom-poms on each edge have balanced spacing.
- Secure the ends thoroughly: Weave in loose ends after the color changes and again after completing the border, taking care not to flatten the textured areas.
Color and Styling Variations
The approved pattern uses a bright, playful palette, but the color roles can be adapted as an optional design choice.
- Use deep red, cream, forest green, and gold-toned shades for a more traditional holiday look.
- Try icy blue, silver-gray, white, and pale pink for a frosty winter palette.
- Replace the bright contrast colors with soft neutrals for a year-round throw.
- Make the pom-poms in a single accent color if you prefer a quieter finish.
- Coordinate the throw with a solid-colored sofa or chair so the stripes become the focal point.
- Use contrasting yarn for the border to emphasize the rectangular shape.
If you substitute yarn or change the hook size, the stitch gauge, fabric texture, finished dimensions, drape, and yarn requirements may change. Treat any color or material substitution as optional and make a small swatch if maintaining the original proportions matters.
Frequently Asked Questions
Is this pattern suitable for a beginner?
It is approachable for crocheters who are comfortable with basic chains, single crochet, double crochet, turning rows, and color changes. The V-stitch and bobble sections require careful counting.
What yarn and hook are recommended?
The pattern specifies RED HEART® Super Saver® (Art. 300) and a Susan Bates® 5 mm (US H-8) crochet hook. The listed quantities and colors should be gathered before starting.
How many stitches are worked across the throw?
The foundation creates 140 single crochet stitches in Row 1. Several later rows also state a 140-stitch result, so checking the width throughout the project is important.
How many pom-poms are needed?
Make 14 pom-poms with Color A and Color B held together. Sew 7 pom-poms evenly spaced to each short edge of the throw.
Can the colors be changed?
Yes, color changes are an optional customization. Keep the color roles clearly labeled while following the row instructions, and remember that different yarns or hook sizes can affect the finished fabric.
How is the border constructed?
The border begins with Color A and includes one round around the edges, two additional double crochet rounds, and a final single crochet round in Color B. Corner increases are worked as specified in each round.
How should the finished throw be stored?
Store it clean and dry, folded loosely in a cool place away from prolonged direct sunlight. Avoid placing heavy objects on the pom-poms or compressing the textured sections.
Conclusion
The Christmas Morning Crochet Striped Throw Pattern combines festive stripes, openwork, bobbles, a structured border, and cheerful pom-poms in one memorable project. Make it as a seasonal home accent, a thoughtful handmade gift, or a colorful layer for a favorite chair. For the original pattern listing and project reference, see the Christmas Morning striped throw pattern.