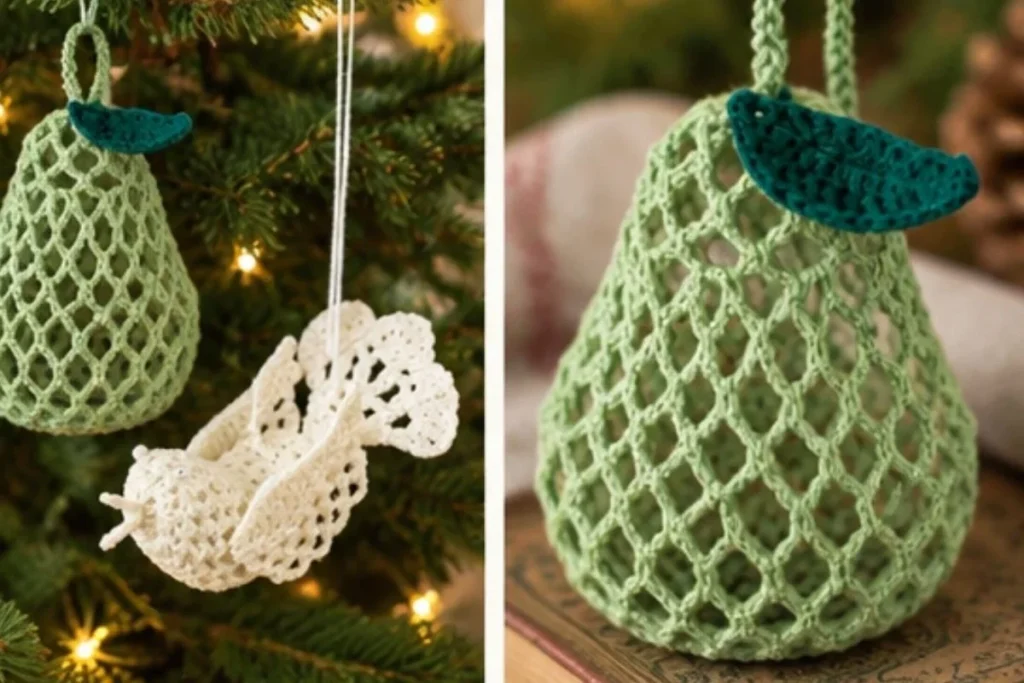
A crocheted bird and pear make a charming pair for a holiday tree, seasonal display, or thoughtful handmade gift. This Crochet Baby Partridge & Pear Ornaments Pattern combines delicate thread crochet with shaping, stiffening, and careful assembly. You will create a small antique-white partridge with lace-like wings and a coordinating green pear ornament with a stem and leaf. Crocheters who enjoy botanical details, heirloom-style decorations, and precise small projects may also enjoy exploring these three-dimensional floral crochet ideas for future makes.
Why You’ll Love This Crochet Project
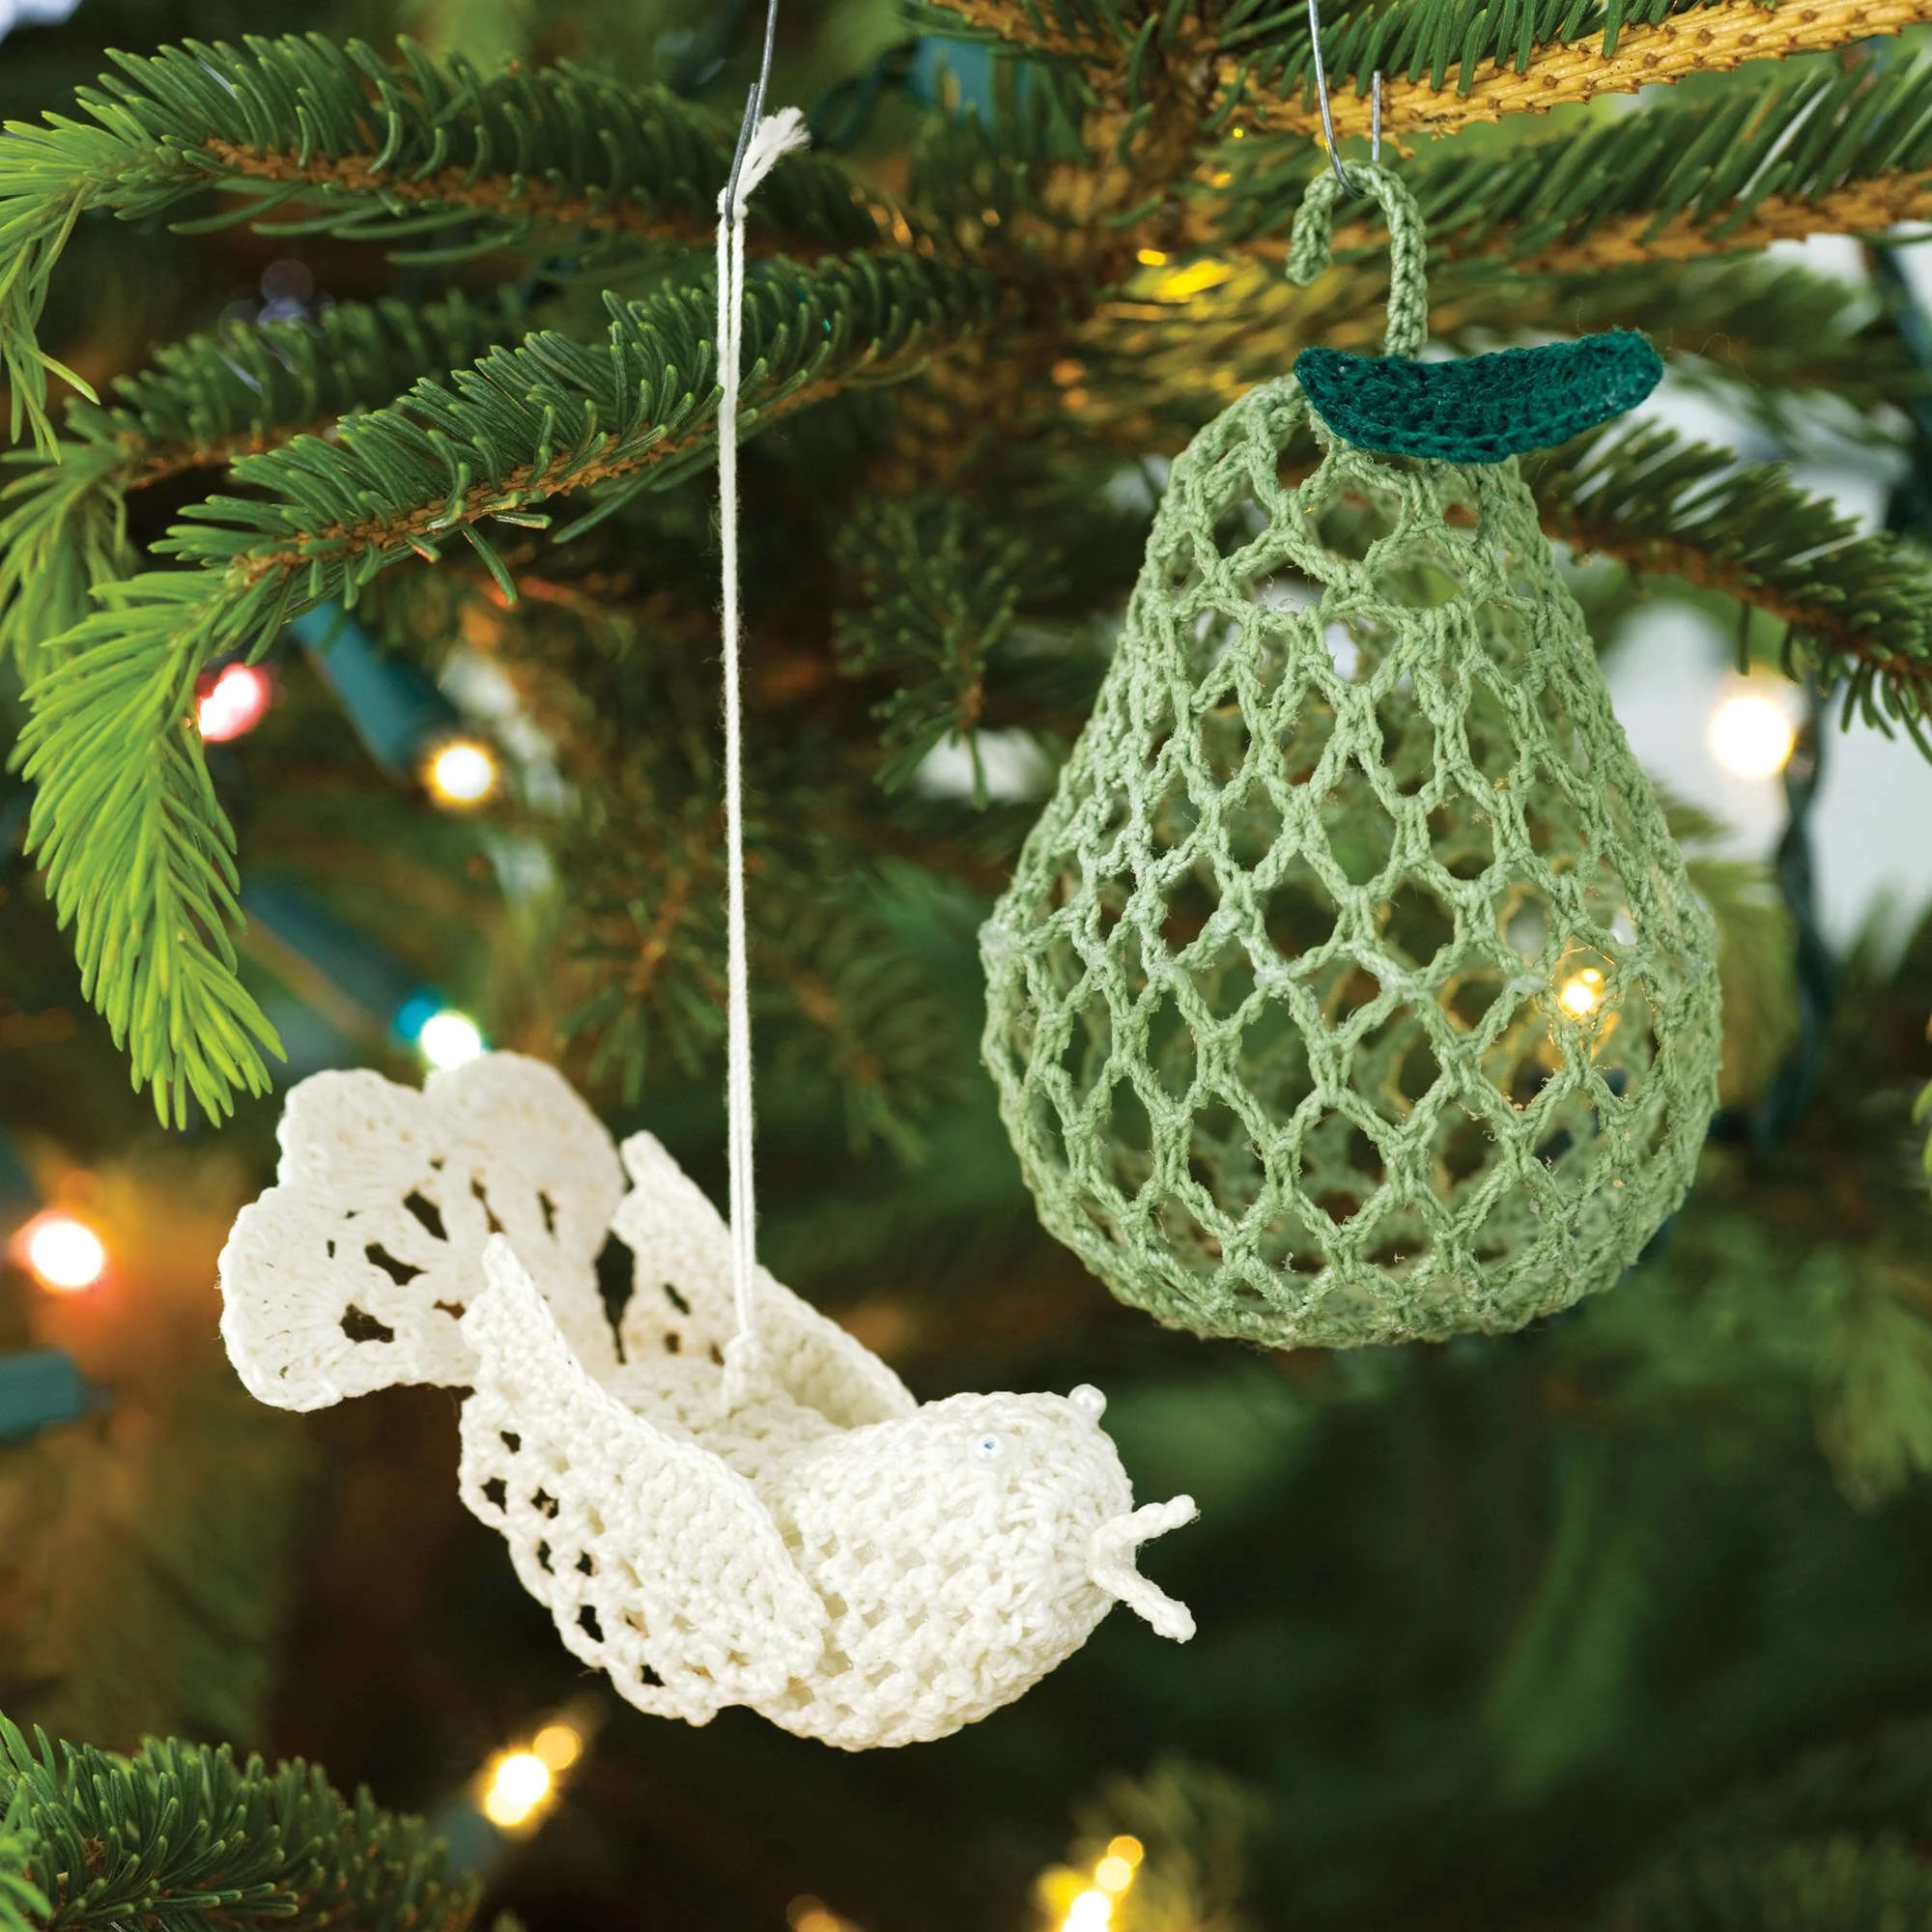
- It creates a coordinated ornament set. The partridge and pear are designed to be displayed together, making them especially attractive for seasonal decorating.
- It practices shaping techniques. The partridge is formed over a plastic foam body, while the pear is shaped over a real pear before the crochet pieces are joined.
- It uses delicate thread crochet. The 1.5mm steel hook and Size 10 thread create refined openwork suitable for a vintage-inspired decoration.
- It includes useful finishing skills. You will practice blocking, stiffening, pinning, gluing, and adding hanging loops.
- It makes a thoughtful handmade gift. The finished pair can be wrapped as a small decorative present or used as part of a larger ornament collection.
My Crochet Flower Tip: Work on a clean, well-lit surface because the small loops, fine thread, pins, and stiffening process all benefit from careful handling.
Before You Start Crocheting
This project includes one baby partridge and one pear ornament. The partridge consists of a body, tail, hanger loop, two wings, and a beak. The pear includes a bottom, a top with an attached stem, and one leaf.
The construction sequence matters. Crochet the partridge body first, ease it over the plastic foam body, then form and finish the tail. Make the wings and beak separately. For the pear, crochet the bottom and top, add the stem before working the top rounds, and crochet the leaf separately. The pieces are stiffened and shaped over a real pear before they are glued together.
The pattern uses US crochet terminology. Helpful abbreviations include:
- ch: chain
- sc: single crochet
- hdc: half double crochet
- dc: double crochet
- tr: treble crochet
- dtr: double treble crochet
- sl st: slip stitch
- yo: yarn over
- sc2tog: single crochet two together
The pear form measures about 2¾ inches high by 7 inches around. The pattern also specifies a 4-inch hanging loop made from a 9-inch length of thread.
Materials You’ll Need
Baby Partridge
- AUNT LYDIA’S® “Classic Crochet Thread,” Size 10: 1 ball, 210 Antique White
- Steel crochet hook: 1.5mm [US 7]
- Tapestry needle
- Commercial fabric stiffener
- White craft glue
- Rust-proof pins
- Plastic wrap
- Small 3mm pearl beads for eyes
- Small sheet of ¾-inch plastic foam
Pear
- AUNT LYDIA’S® “Classic Crochet Thread,” Size 10:
- 1 ball 661 Frosty Green A
- 1 ball 449 Forest Green B
- Steel crochet hook: 1.5mm [US 7]
- Very small real pear, about 2¾ inches high by 7 inches around
- Tapestry needle
- Commercial fabric stiffener
- White craft glue
- Rust-proof pins
- Plastic wrap
- Fine-line permanent marker
Other
- Plastic foam body: see the plastic foam body instructions under the Baby Partridge section
The plastic foam body supports the bird while the crochet shell is being shaped. The real pear acts as a temporary mold for the two pear halves, so cover it carefully with plastic wrap before applying the stiffened crochet.
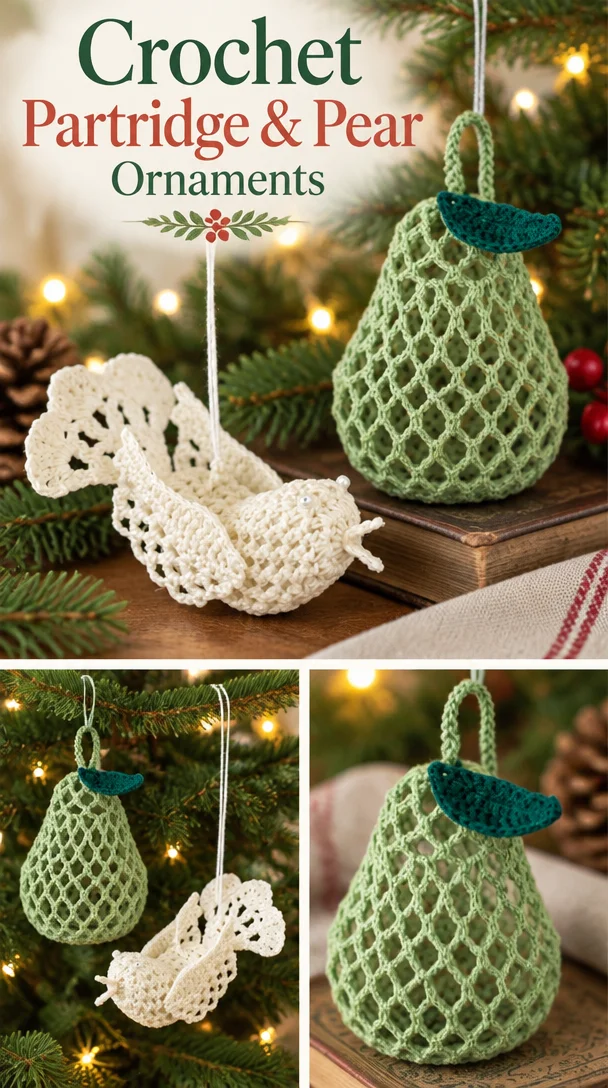
Complete Crochet Instructions
Baby Partridge
Body
Ch 5; join with a slip st to form ring.
Rnd 1: Ch 3 (counts as first hdc and ch 1), [hdc in ring, ch 1] 7 times; join with a slip st in 2nd ch of ch-3 – 8 ch-1 spaces.
Rnd 2: Slip st to first ch-1 space, ch 3, hdc in same space, ch 1, *[hdc, ch 1] twice all in next ch-1 space; repeat from around; join in 2nd ch of ch-3 – 16 ch-1 spaces.
Rnds 3–12: Ch 3, *hdc in next hdc, ch 1; repeat from * around; join.
Rnd 13: Starting at front of head, ease crochet piece over plastic foam body with beginning of Rnds at one side edge. Ch 2 (counts as first hdc), hdc in each hdc around; join with a slip st in top of ch-2 – 16 hdc.
Rnd 14: Ch 2, work 9 hdc evenly spaced around; join – 10 hdc.
Tail
Row 15: Ch 1, holding work flat and working through both layers at the same time, close opening: *draw up a loop in each of next 2 sc, yo and draw through all 3 loops on hook – sc2tog made; repeat from * across; turn – 5 sc.
Row 16: Ch 3, dc in first sc, [ch 2, skip next sc, 2 dc in next sc] twice; turn.
Row 17: Ch 3, dc in first dc, dc in next dc, [ch 2, 2 dc in next dc, dc in next dc] twice, working last dc in top of ch-3; turn.
Row 18: Ch 3, dc in first dc, ch 3, dc in next 2 dc, [ch 2, 2 dc in next dc, ch 3, dc in next 2 dc] twice, working last dc in top of ch-3; turn.
Row 19: Ch 1, [dc, ch 1] 6 times all in next ch-3 space, sc in ch-2 space;* repeat from * to last 2 sts, end at **; skip next dc, slip st in top of ch-3; turn.
Row 20: *Ch 1, sc in ch-1 space; repeat from * across. Fasten off.
Hanger Loop
Ch 7. Fasten off.
Sew ends of chain in center of back near tail.
Wings Make 2
Ch 18.
Row 1: Sc in 2nd ch from hook, sc in next 4 ch, hdc in next 2 ch, dc in next 2 ch, tr in next 2 ch, dtr in next 2 ch, tr in next ch, dc in next ch, hdc in next ch, sc in last ch; turn.
Row 2: Ch 1, sc in first 15 sts; turn.
Row 3: Ch 1, slip st in first 2 sc, sc in next sc, [ch 3, skip next sc, sc in next sc] 6 times; turn.
Row 4: Ch 1, slip st in first ch-3 loop, sc in same loop, [ch 3, sc in next loop] 5 times; turn.
Row 5: Ch 1, slip st in first ch-3 loop, sc in same loop, [ch 3, sc in next loop] 4 times. Fasten off.
Beak
Using 2 strands, ch 7. Fasten off.
Blocking and Finishing
Blocking: Dip all pieces in stiffening solution; squeeze out excess. Lay head side up on pinning board and pin tail flat. Open hanger loop on back. Shape wings and pin flat. Fold beak in half and pin to hold shape.
Finishing: When dry, add thread for hanging. For a 4-inch hanger, tie ends of a 9-inch length of thread together to form a loop. Slip one end of loop through hanger on bird’s back, then slip other end of loop through this. Pull tight to secure. Glue wings, beak, and eyes in place.
Pear
Pear Bottom
With A, ch 6; join with a slip st to form ring.
Rnd 1: Ch 1, sc in ring, [ch 4, sc in ring] 8 times, ch 1, dc in first sc to join and form last ch-4 loop – 9 ch-4 loops.
Rnd 2: Sc over dc, [ch 4, sc in next loop] 8 times, ch 1, dc in first sc to join and form last ch-4 loop.
Rnd 3: (Sc, ch 4, sc) all over dc, *[ch 4, sc] twice all in next loop; repeat from * 7 more times; ch 1, dc in first sc to join – 18 ch-4 loops.
Rnds 4–6: Sc over dc, [ch 4, sc in next loop] 17 times, ch 1, dc in first sc to join.
Rnd 7: Sc over dc, ch 4, *sc in next loop, ch 4; repeat from * around; join with a slip st in first sc. Fasten off.
Pear Top
With A, ch 6; join with a slip st to form ring.
Stem, before round work: Ch 16, slip st in 2nd ch from hook and in each ch across; slip st in ring.
Rnd 1: Repeat Rnd 1 of Bottom.
Rnds 2–4: Repeat Rnd 2 of Bottom 3 times.
Rnd 5: Repeat Rnd 3 of Bottom.
Rnds 6 and 7: Repeat Rnds 4 and 5 of Bottom.
Rnd 8: Repeat Rnd 7 of Bottom. Fasten off.
Leaf Make 1
With B, ch 15.
Row 1: Sc in 2nd ch from hook, sc in next ch, hdc in next 2 ch, dc in next 2 ch, tr in next 5 ch, dc in next ch, hdc in next ch, 3 sc in last ch; pivot to work on opposite side of ch; hdc in next ch, dc in next ch, tr in next 5 ch, dc in next 2 ch, hdc in next 2 ch, sc in next 2 ch, slip st in last ch. Fasten off.
Pear Blocking and Assembly
Blocking: Draw a line evenly around center of real pear with marker. Cover pear with plastic wrap, making sure line is visible. Dip crochet pieces in stiffening solution, squeeze out excess. Shape Pear Top and Pear Bottom over real pear. Pin each loop from last Row of Pear Top along center line of real pear. Pin corresponding loops from Pear Bottom to real pear so they touch loops from Pear Top. Do not overlap loops. Open all loops. Shape stem and hold in place with pins. Shape leaf with fingers, lay aside, and let all pieces dry.
Assembly: When thoroughly dry, mark any loop from Pear Top and corresponding loop from Pear Bottom with pins. Remove all other pins. Remove crochet pieces from pear. If necessary, run a thin, dull dinner knife carefully between the plastic wrap and pear when crochet pieces are dry to help loosen them. Pin loops of Pear Top to corresponding loops of Pear Bottom. Place a drop of white craft glue on each loop of one half, then fit pieces together using marker pins as a guide. Pieces must be glued in the same position as when on pear. When dry, glue leaf in position on finished pear.
Creative Ways to Use Your Project
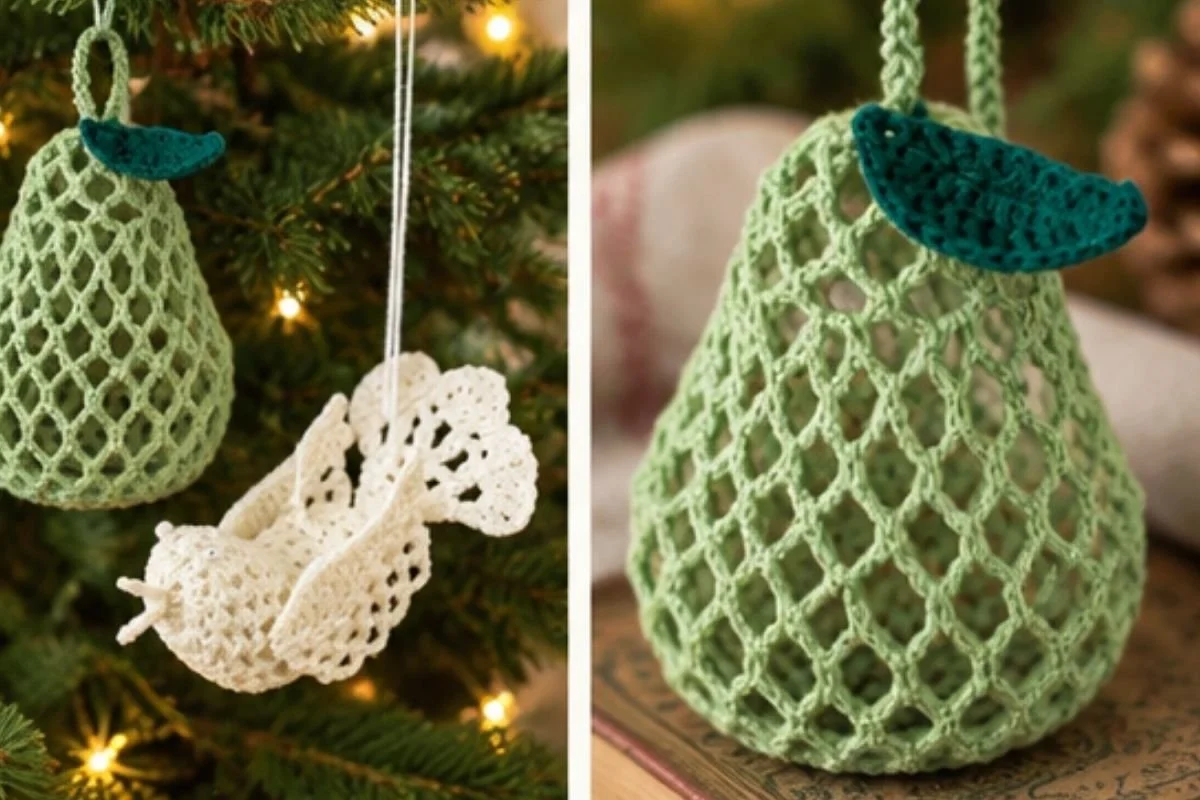
- Hang the partridge and pear together on a holiday tree as a coordinated ornament pair.
- Display them from a decorative branch in a seasonal arrangement.
- Place them in a small bowl or basket as part of a handmade tabletop vignette.
- Tie the pair to a wrapped gift for a reusable decorative accent.
- Combine the ornaments with other delicate crochet decorations for a larger heirloom-style display.
- Use the pear’s green palette as inspiration for a botanical arrangement, such as the seasonal styling shown in this crochet flower wreath project.
Caring for Your Crochet Project
These ornaments contain stiffened thread, glued components, pearl beads, and shaped forms, so treat them as decorative objects rather than washable crochet.
- Dust gently with a soft, dry brush or a careful puff of air.
- Avoid soaking, machine washing, or rubbing the stiffened pieces.
- If a small spot needs attention, use minimal moisture on a soft cloth and keep it away from glued areas.
- Store the ornaments in a dry box with tissue paper or soft padding around the wings, tail, leaf, and beak.
- Keep them away from excessive heat and direct moisture, which may soften the stiffener or weaken the glue.
- Before storing, check that the hanger loop and glued components remain secure.
Tips for Better Results
- Use the specified fine hook and thread. The openwork depends on the 1.5mm hook and Size 10 thread. A different yarn or hook can change the proportions and may make the finished pieces difficult to shape over the forms.
- Count the ch-1 spaces carefully. The first round of the body ends with 8 ch-1 spaces, and the second round increases that number to 16.
- Position the body before continuing. In Round 13, start at the front of the head and place the beginning of the rounds at one side edge of the foam body.
- Work through both layers for the tail closure. Row 15 closes the opening while the crochet is held flat; do not treat it as an ordinary one-layer row.
- Shape the wings while they are damp with stiffener. Pin them flat and arrange the open loops evenly before the stiffener dries.
- Keep the pear’s center line visible. The marker line helps align the loops from the Pear Top and Pear Bottom without overlapping them.
- Let the pieces dry completely before gluing. Moving them too soon can distort the lacework and make the final seam uneven.
- Use the marker pins as assembly guides. Marking one corresponding pair of loops makes it easier to return the two pear halves to their original position.
Color and Styling Variations
The approved pattern uses Antique White for the partridge, Frosty Green for the pear, and Forest Green for the leaf. These colors create a soft, natural look, but the following changes are optional:
- Use another light neutral for the partridge if you want a warmer cream or pale gray appearance.
- Try a deeper green for the pear and keep the leaf in a contrasting darker shade.
- Make several pear ornaments in different green tones for a coordinated tree display.
- Pair the original colors with natural wood, burlap, or white ceramic decorations.
- Display the partridge and pear beside other small crochet accents, such as small crochet floral appliqué designs, in a gift or seasonal arrangement.
Changing thread or hook size will affect the finished dimensions, stitch texture, and the way the pieces fit over the plastic foam body or real pear. If you substitute materials, make a separate test piece and expect to adjust the forms or shaping process.
Frequently Asked Questions
Is this pattern suitable for a beginner?
It is best suited to a crocheter who is comfortable with basic stitches, joined rounds, increases, taller stitches, and small thread-crochet pieces. The blocking and assembly require patience and careful pinning.
What yarn and hook does the pattern use?
The pattern uses AUNT LYDIA’S® “Classic Crochet Thread,” Size 10, with a 1.5mm [US 7] steel crochet hook. The partridge uses 210 Antique White. The pear uses 661 Frosty Green A, and the leaf uses 449 Forest Green B.
How many wings and leaves are made?
Make 2 wings for the partridge and 1 leaf for the pear. The partridge also includes one body, tail, hanger loop, and beak, while the pear has a bottom and a top with a stem.
Why is a plastic foam body used for the partridge?
The plastic foam body gives the crocheted shell its bird shape while the body is being fitted and stiffened. It remains an internal support for the ornament.
Why is a real pear used during assembly?
The real pear provides the curved form needed to shape the Pear Top and Pear Bottom. It is covered with plastic wrap so the dried crochet can be loosened and removed before the two halves are glued together.
Can the colors be changed?
Yes, color changes are optional. Keep the same thread size and hook when possible, because changing yarn weight or hook size can alter the shape and dimensions.
How should the pear halves be aligned?
Draw the center line around the plastic-wrapped pear, then pin the loops from the Pear Top along that line. Pin the corresponding Pear Bottom loops so they touch but do not overlap. Use marker pins to preserve the alignment during gluing.
Can the finished ornaments be washed?
No washing method is specified for these stiffened, glued ornaments. Clean them with gentle dry dusting and store them in a dry, protected container.
Conclusion
This Crochet Baby Partridge & Pear Ornaments Pattern brings together delicate thread crochet, shaped lacework, and thoughtful finishing. The pair is small enough for a tree or tabletop display yet detailed enough to feel special as a handmade gift. For another version of this classic ornament idea, you can also view the Aunt Lydia’s Baby Partridge and Pear ornament pattern resource.