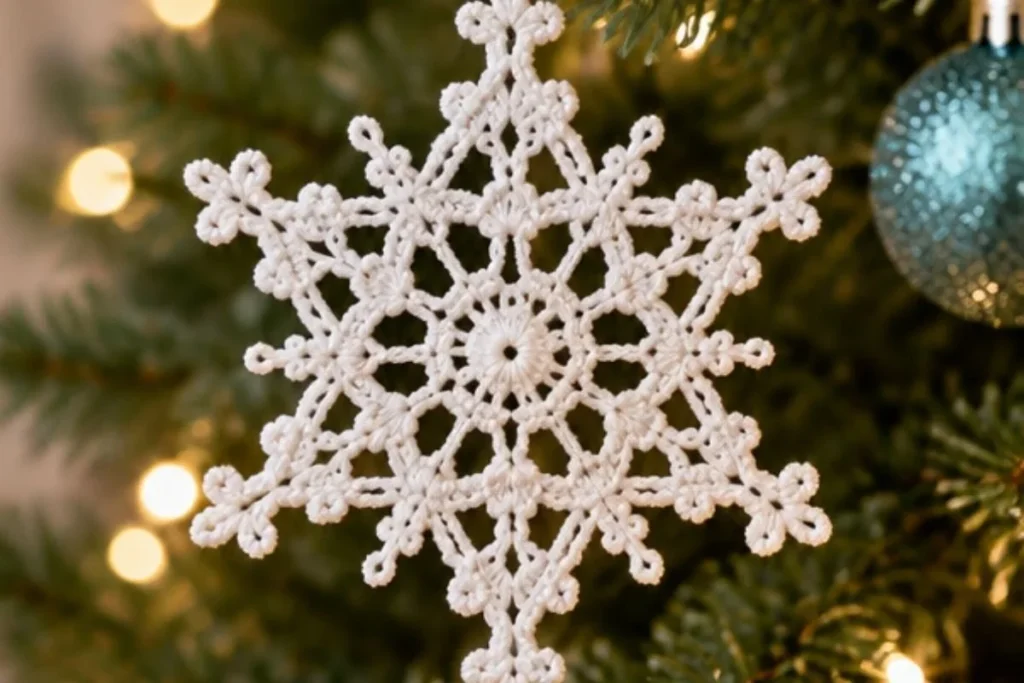
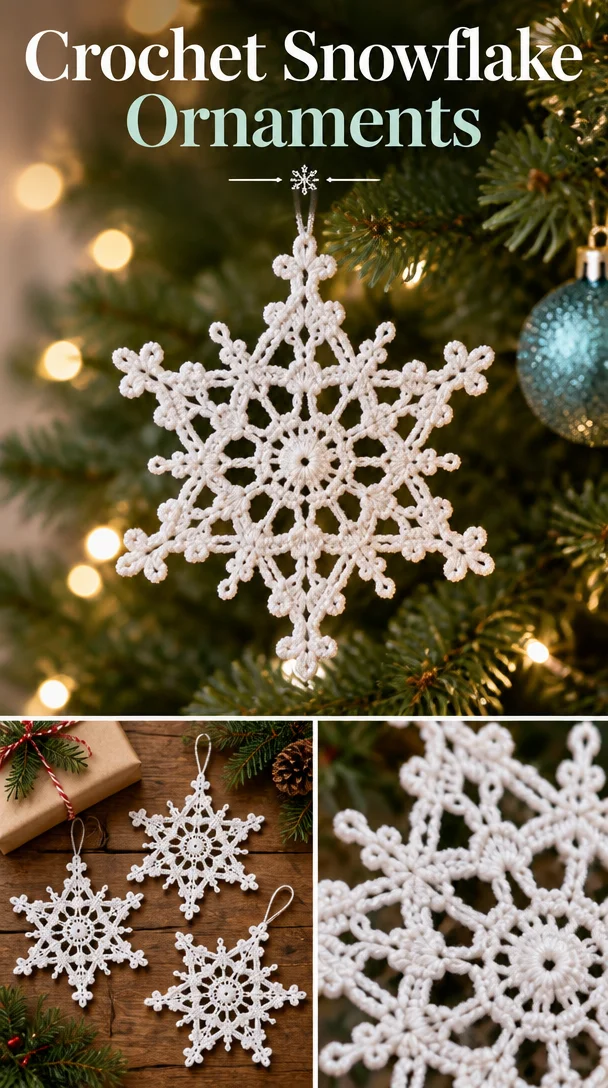
A delicate thread snowflake is a lovely way to bring handmade detail to a Christmas tree, window, mantel, or wrapped gift. This Crochet Beautiful Lacy Snowflake Ornaments Pattern creates an openwork design with six pointed sections, picots, and a decorative hanging loop. Three thread options let you choose among different finished sizes, while the construction remains the same. Crafters who enjoy intricate motifs may also like this 3D floral granny square pattern for another detailed project.
Why You’ll Love This Crochet Project
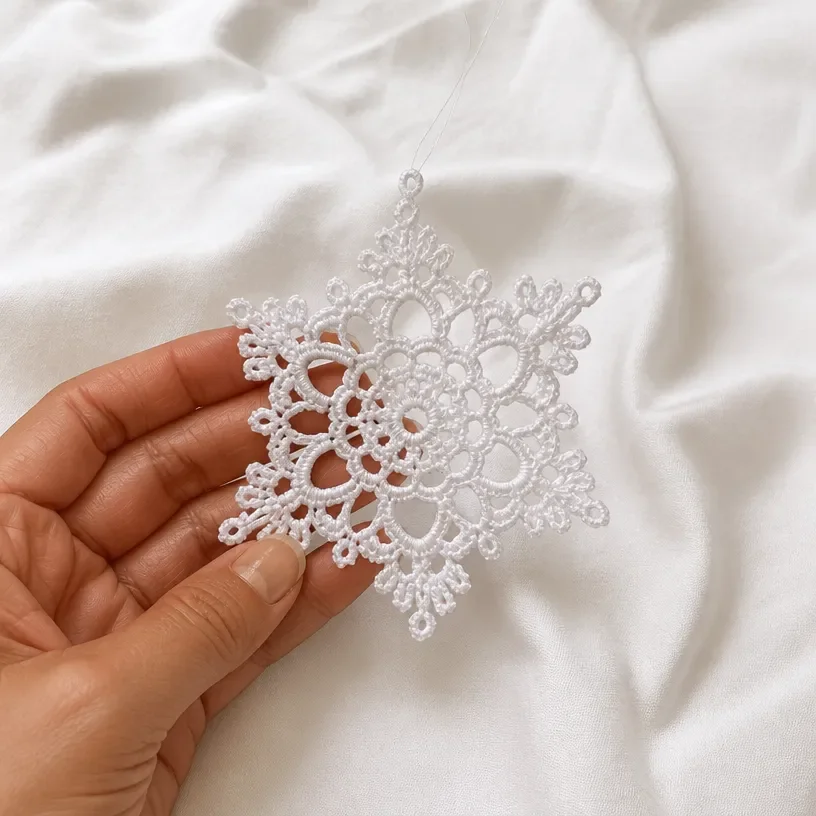
- Elegant openwork: Chains, treble stitches, clusters, and picots create a lacy snowflake with plenty of air between the motifs.
- Three size options: Size 20, Size 10, and Size 3 thread produce different finished dimensions while using the same instructions.
- A useful practice piece: The pattern helps you practice working into chain spaces, joining rounds, forming picots, and shaping pointed details.
- Easy to display: Once blocked and stiffened, the snowflake can hang from a tree, ornament stand, window, wreath, or gift package.
- Gift-friendly: Lightweight thread ornaments are practical handmade gifts and can be made in batches for seasonal decorating.
My Crochet Flower Tip: Keep the finished snowflake pinned in its final shape while it dries completely. Careful blocking makes the points and picots much more distinct.
Before You Start Crocheting
This pattern makes one lacy snowflake ornament, including a decorative hanging loop formed during the final round. It begins with a small chain ring, expands through four rounds of increases and chain spaces, and finishes with a detailed fifth round of picots, a 3-tr cluster, and pointed edging.
The finished size depends on the selected thread:
- Set A, Size 20 thread: 3.5 inches (8 cm), not including the hanger
- Set B, Size 10 thread: 5.25 inches (14 cm), not including the hanger
- Set C, Size 3 thread: 3.75 inches (9.5 cm), not including the hanger
Check your gauge and use any size hook to obtain the finished size. The pattern uses US crochet terminology.
Abbreviations and Special Stitches
- ch: chain
- sc: single crochet
- dc: double crochet
- tr: treble crochet
- slip st: slip stitch
The supplied instructions refer to a Ch-3 picot and a Triple picot as special stitches. Follow their placement exactly as written in Round 5.
Materials You’ll Need
Choose one thread and hook set:
Set A: Size 20 Thread
- AUNT LYDIA’S® Fine Crochet Thread, Size 20: 1 ball, Art 181 White
- Susan Bates® Steel Crochet Hook: 1.40 mm [US 8]
- Finished size: 3.5 inches (8 cm), not including hanger
Set B: Size 10 Thread
- AUNT LYDIA’S® Classic Crochet Thread, Size 10: 1 ball, 001 White
- Susan Bates® Steel Crochet Hook: 1.50 mm [US 7]
- Finished size: 5.25 inches (14 cm), not including hanger
Set C: Size 3 Thread
- AUNT LYDIA’S® Fashion Crochet Size 3: 1 ball, 201 White
- Susan Bates® Steel Crochet Hook: 1.50 mm [US 7]
- Finished size: 3.75 inches (9.5 cm), not including hanger
Other Supplies
- Tapestry needle
- Fabric stiffener or Epsom® salts
- Decorative ornament hanger, optional
Check your gauge. Use any size hook to obtain the finished size.
Step-by-Step Crochet Instructions
Starting
With selected thread and hook:
- Ch 5.
- Slip st in first ch to form ring.
Round 1 Right Side
- Ch 1. This does not count as a stitch now and throughout.
- Work 12 sc in ring.
- Slip st in first sc of round 12 sc.
Round 2
- Ch 3. This counts as the first dc and ch-1 space.
- *(Dc in next sc, ch 1; repeat from * around; slip st in 2nd ch of beginning ch-3) 12 dc, 12 ch-1 spaces.
Round 3
- Slip st in first ch-1 space.
- Ch 2. This counts as the first dc.
- Work (dc, ch 3, 2 dc) in the same ch-1 space.
- Ch 3.
- Skip next ch-1 space, (2 dc, ch 3, 2 dc) in next ch-1 space, ch 3; repeat from * around*.
- Slip st in top of beginning ch-2 24 dc, 12 ch-3 loops.
Round 4
- Slip st in next dc and first ch-3 space.
- Ch 3. This counts as the first tr.
- Work (tr, ch 3, 2 tr) in the same ch-3 space.
- Ch 3.
- Sc in next ch-3 space.
- Ch 3.
- *(2 tr, ch 3, 2 tr) in next ch-3 space, ch 3, sc in next ch-3 space, ch 3; repeat from * around.
- Slip st in top of beginning ch-3 24 tr, 18 ch-3 spaces.
Round 5
- Ch 1.
- Sc in 2 tr*.
- Slip st in next ch-3 space.
- Ch 5.
- Slip st in 4th ch from hook (picot made).
- Work a 3-tr cluster in the same ch-3 space (see Special Stitches).
- Work a Triple picot (see Special Stitches) in the top of the cluster just made.
- Slip st around the base of the Triple picot.
- Ch 5.
- Slip st in 4th ch from hook.
- Ch 1.
- Slip st in the same ch-3 space.
- Sc in next 2 tr.
- [(2 sc, Ch-3 picot in last sc made (see Special Stitches), sc) in next ch-3 space] 2 times.
- Repeat from * 4 times, then from * to ** once.
- Turn, ch 7.
- Slip st in 7th ch from hook to form ring.
- (Turn, ch 1, 11 sc) in ring just made.
- Slip st around base of ring.
- Ch 5.
- Slip st in 4th ch from hook.
- Ch 1.
- Slip st in the same ch-3 space.
- Sc in next 2 tr.
- [(2 sc, Ch-3 picot in last sc made, sc) in next ch-3 space] 2 times.
- Slip st in first sc of round.
- Fasten off and weave in ends.
- Block and stiffen with stiffener of choice (see Note).
Note: “Ch-3 picot” and “Triple picot” refer to the Special Stitches definitions above.
Blocking, Stiffening, and Finishing
Block and stiffen with stiffener of choice (see Note).
Fasten off and weave in ends.
Add a decorative ornament hanger, if desired.
Ways to Display Your Finished Crochet
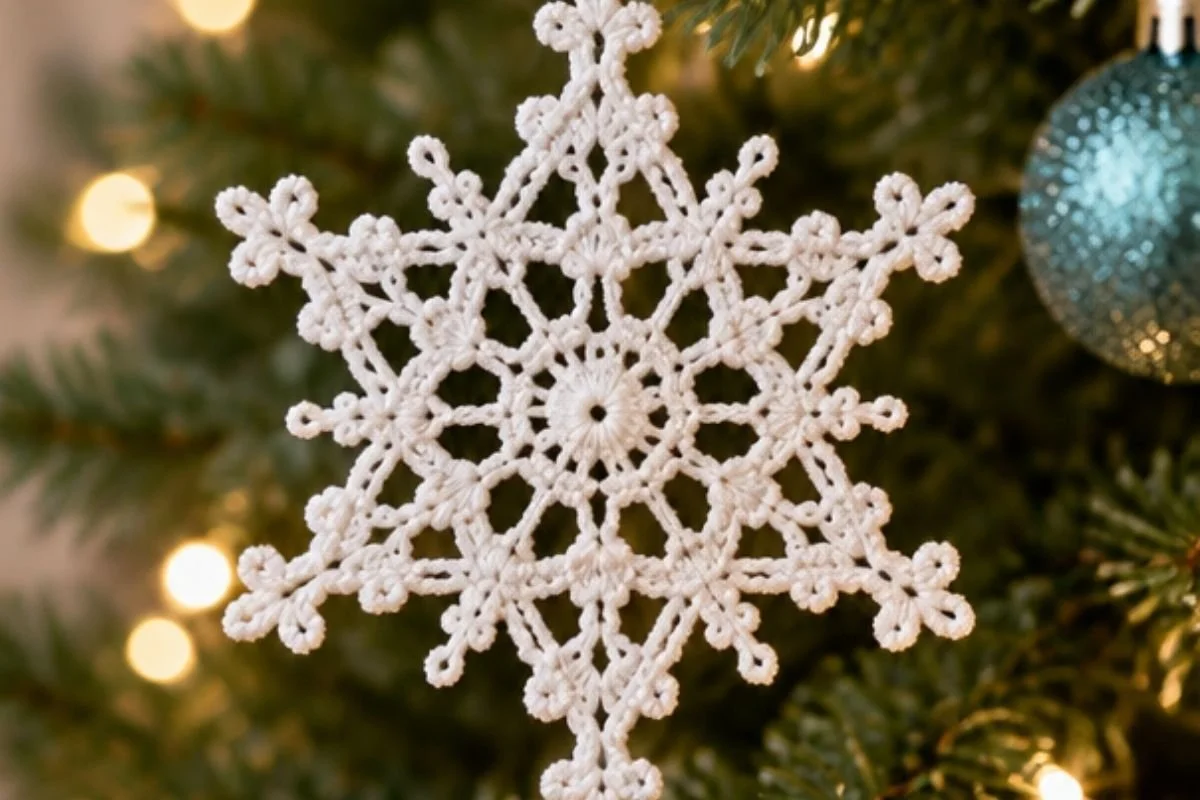
- Christmas tree ornament: Add a decorative hanger and place the snowflake among metallic, white, or natural ornaments.
- Window decoration: Hang several snowflakes at different heights for a light, airy winter display.
- Gift embellishment: Tie one to ribbon or twine on a wrapped present so the decoration becomes part of the gift.
- Seasonal centerpiece: Arrange stiffened snowflakes around candles, a vase, or a bowl of ornaments.
- Wreath accent: Attach several finished snowflakes to a seasonal wreath for extra texture. For another handmade seasonal display, consider this crochet flowers wreath project.
- Coordinated handmade set: Make snowflakes in more than one size and group them together on a mantel or tabletop.
Caring for Your Crochet Project
Handle the ornament gently because fine thread, picots, and pointed edges can catch easily. Dust it with a soft, dry brush or use brief, gentle puffs of air rather than rubbing the surface.
If a spot needs attention, use minimal moisture on a clean cloth and avoid soaking the stiffened ornament. Let it dry fully and reshape it carefully if necessary. Do not expose the piece to excessive heat, which may soften or distort the stiffening treatment.
Store the snowflake flat in a clean, dry container or hang it where it will not be crushed. If storing several ornaments together, separate delicate pieces with acid-free tissue or soft fabric.
Tips for Better Results
- Choose the thread before the hook. The three sets use different thread types and specified hook sizes, so select the finished size you want before beginning.
- Maintain consistent tension. Tight, even stitches help the snowflake hold its openwork structure and make the picots easier to recognize.
- Count the Round 1 stitches. The starting round must contain 12 sc so the later chain spaces and increases align correctly.
- Watch the beginning chains. In Round 2, the ch-3 counts as the first dc and ch-1 space; in Round 3, the ch-2 counts as the first dc; in Round 4, the ch-3 counts as the first tr.
- Work carefully into chain spaces. Rounds 3 and 4 depend on placing groups into the correct ch-1 and ch-3 spaces rather than into the stitches beside them.
- Keep the picots open. When making a picot, insert the hook into the stated chain and avoid pulling the slip stitch excessively tight.
- Use the turn instructions exactly. Round 5 includes turning before the ch-7 hanging ring and turning again while working the 11 sc into that ring.
- Secure the center and outer points during blocking. Pin the snowflake symmetrically so its six sections spread evenly.
- Weave in ends before stiffening. Tidy the thread ends first so the completed ornament has a clean back.
- Use a hanger only after the piece is dry. This helps prevent the hanging loop or outer points from being pulled out of shape.
Color and Styling Variations
The approved pattern is written in white thread, which gives the snowflake a traditional frosted appearance. Optional styling changes can personalize the finished ornament without altering the stitch instructions:
- Try icy pale blue, silver, soft gray, or cream thread for a different winter palette.
- Use one color for a coordinated tree or combine white with a few pastel versions for a softer display.
- Make the Set B size for a more noticeable tree ornament and use the smaller Set A size as gift accents.
- Group the three finished sizes together in a window or on a mantel.
- Add the snowflakes to a floral-themed seasonal arrangement alongside white, silver, or pale blue accents. Crochet appliqué projects, such as these crochet flower shoe appliqués, can also inspire other ways to use small botanical motifs.
- If substituting another thread, remember that fiber, thread thickness, and hook size can change the finished dimensions, drape, stitch definition, and amount of thread required. Check your gauge and use any size hook to obtain the finished size.
Frequently Asked Questions
Is this pattern suitable for a beginner?
It is a focused project for a crocheter who is comfortable with chain stitches, single crochet, double crochet, treble crochet, slip stitches, and working into chain spaces. The detailed final round requires careful counting and attention to the picot instructions.
Which thread should I use?
Choose among the three supplied sets: Size 20 thread for a 3.5-inch snowflake, Size 10 thread for a 5.25-inch snowflake, or Size 3 thread for a 3.75-inch snowflake. Each set includes its specified AUNT LYDIA’S® thread and Susan Bates® steel hook.
What hook size is recommended?
Use a 1.40 mm [US 8] Susan Bates® steel crochet hook with Set A. Use a 1.50 mm [US 7] hook with Set B or Set C. Check your gauge and use any size hook to obtain the finished size.
How many snowflakes does the pattern make?
The instructions make one snowflake ornament. Repeat the complete pattern to create a set or a larger display.
Can I change the color?
Yes. Changing the color is an optional styling choice. A different thread color may affect the appearance of the picots and openwork, but the approved stitch instructions remain unchanged.
How do I create the hanger?
The hanging ring is made during Round 5 with ch 7, followed by a slip stitch in the 7th ch from the hook. Then turn, ch 1, and work 11 sc in the ring just made before slipping around its base.
How do I keep the snowflake’s shape?
Block and stiffen the completed snowflake with your chosen stiffener. Pin the points evenly while it dries, and do not remove it until the stiffening treatment is fully dry.
Can I use a different thread?
A different thread may be used as an optional substitution, but it can change gauge, finished dimensions, texture, stitch definition, and yarn requirements. Check your gauge and adjust the hook only as needed to obtain the desired finished size.
Conclusion
This lacy crochet snowflake ornament combines delicate threadwork with satisfying shaping, making it a thoughtful seasonal decoration or handmade gift. Choose the thread set that suits your display, follow the round counts carefully, and give the finished piece time to block and stiffen. For another source of winter ornament inspiration, explore this beautiful and easy lace crochet snowflake ornament pattern.