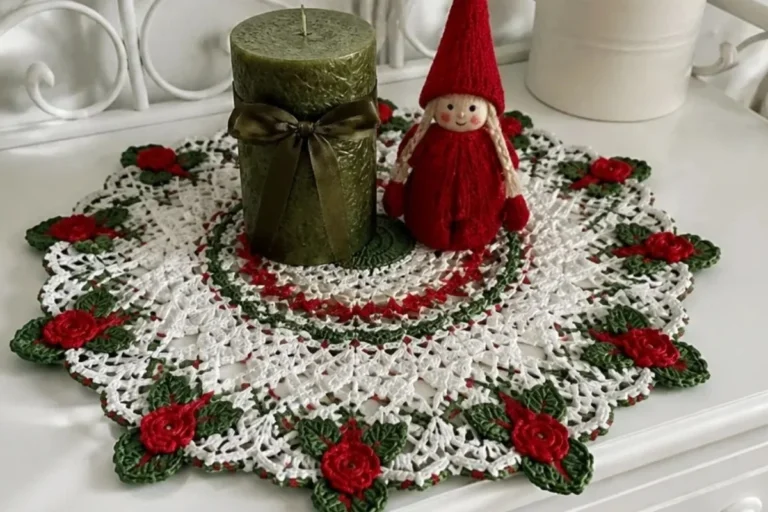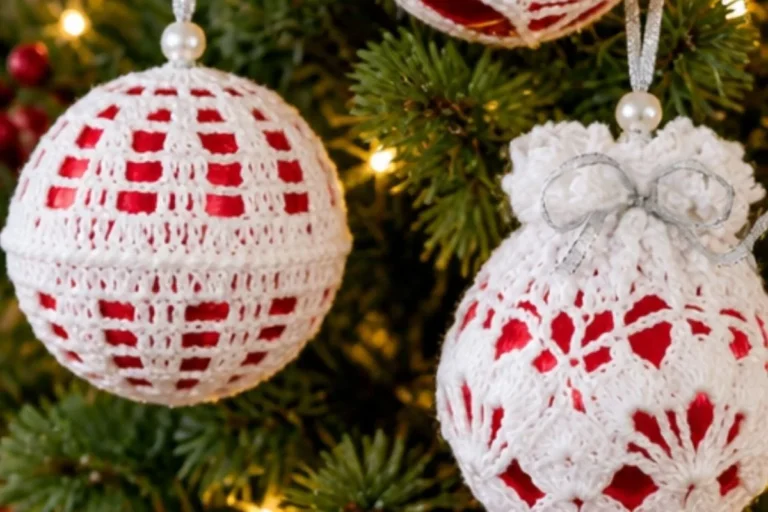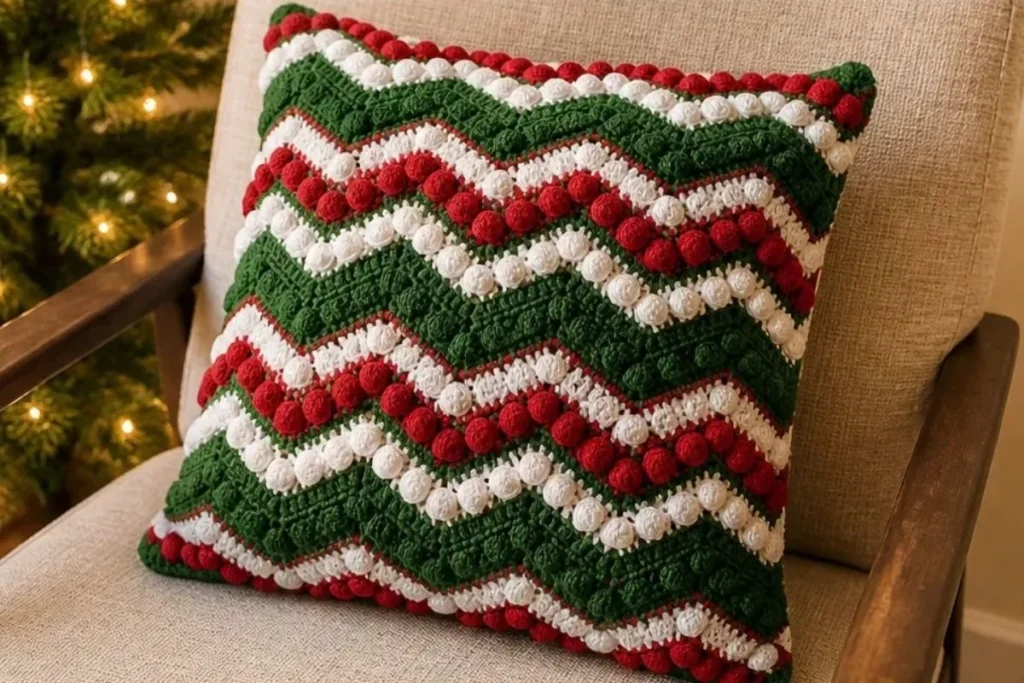
A DIY Crochet Christmas Ripple Pillow Pattern brings classic holiday color and lively chevron texture together in a handmade cushion cover. The design uses green, red, and white yarn, with popcorn details adding a raised decorative band between the ripples. Make two matching covers for a coordinated seasonal set, or use them as festive accents on a sofa, reading chair, or guest bed. Crocheters who enjoy colorful home décor may also like this three-dimensional floral granny square pattern for another textured project.
Why You’ll Love This Crochet Project
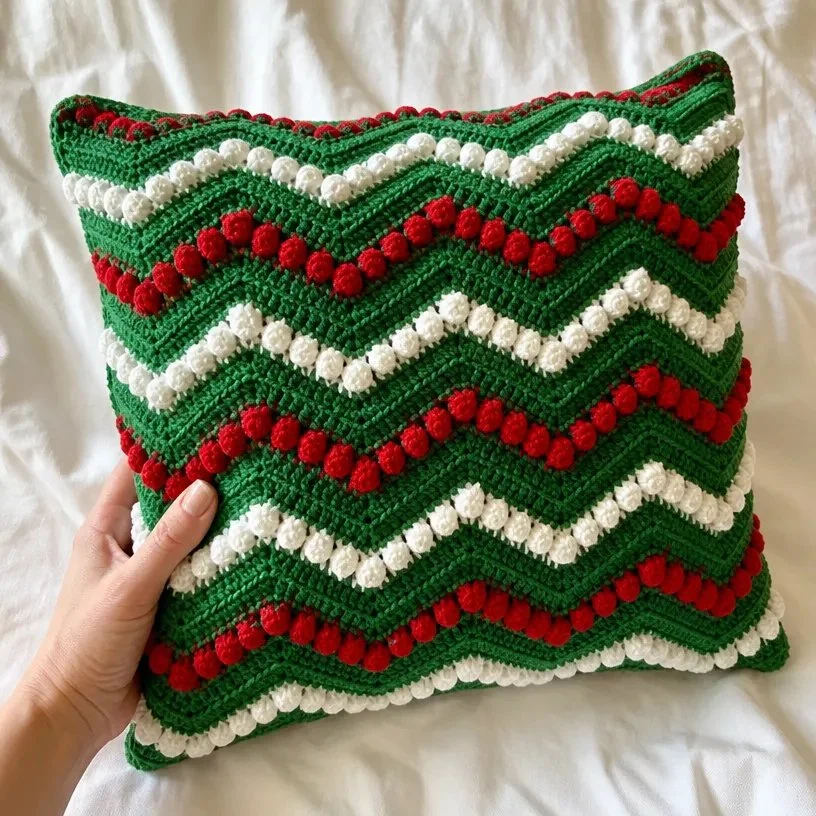
This Christmas ripple pillow has several features that make it especially enjoyable to crochet:
- Festive colorwork: Green, red, and white create a traditional Christmas palette that works well with many holiday decorating styles.
- Textured stitch detail: The popcorn rows form raised accents across the cover, giving the otherwise flowing ripple pattern extra dimension.
- Useful home décor: Each finished cover fits an 18-inch square pillow form, making the project both decorative and practical.
- A satisfying repeat: Once the main row sequence is established, repeating Rows 2–13 creates a steady rhythm that is easy to follow with careful counting.
- A handmade gift option: Two matching pillow covers can be given as a coordinated seasonal gift or used to refresh a holiday room.
My Crochet Flower Tip: Keep the three yarn colors in separate, clearly labeled bags while working. The frequent color changes are easier to manage when each strand can be found quickly without tangling.
What to Know Before You Begin
The project consists of two identical pillow covers. Each cover is crocheted flat in rows, beginning with a three-ripple foundation. The first section establishes the green ripple texture, followed by a red popcorn row and a return to green. The next color section uses white and green before the repeating sequence continues through Row 84.
After crocheting, each cover is folded with the right sides together. The first and last rows are whipstitched together, one side is closed, the pillow form is inserted, and the final side is sewn shut.
The pattern uses US crochet terminology and includes single crochet, double crochet, chain stitches, skipped stitches, increases made by working three single crochets into one stitch, and popcorn stitches.
Helpful Abbreviations
- ch: chain
- sc: single crochet
- dc: double crochet
- st: stitch
- yo: yarn over
Materials You’ll Need
- RED HEART® “Holiday Yarn”:
- 4 balls, 6060 Green/Green Color A
- 1 ball, 9090 Red/Red Color B
- 2 balls, 0140 White/Silver Color C
- Crochet hook: 6mm [US J-10]
- Yarn needle
- Two 18” x 18” pillow forms
Use the pillow forms listed above so the completed covers have the intended filled shape. The yarn needle is needed for whipstitching the cover seams and weaving in the ends.
Crochet Pattern Instructions
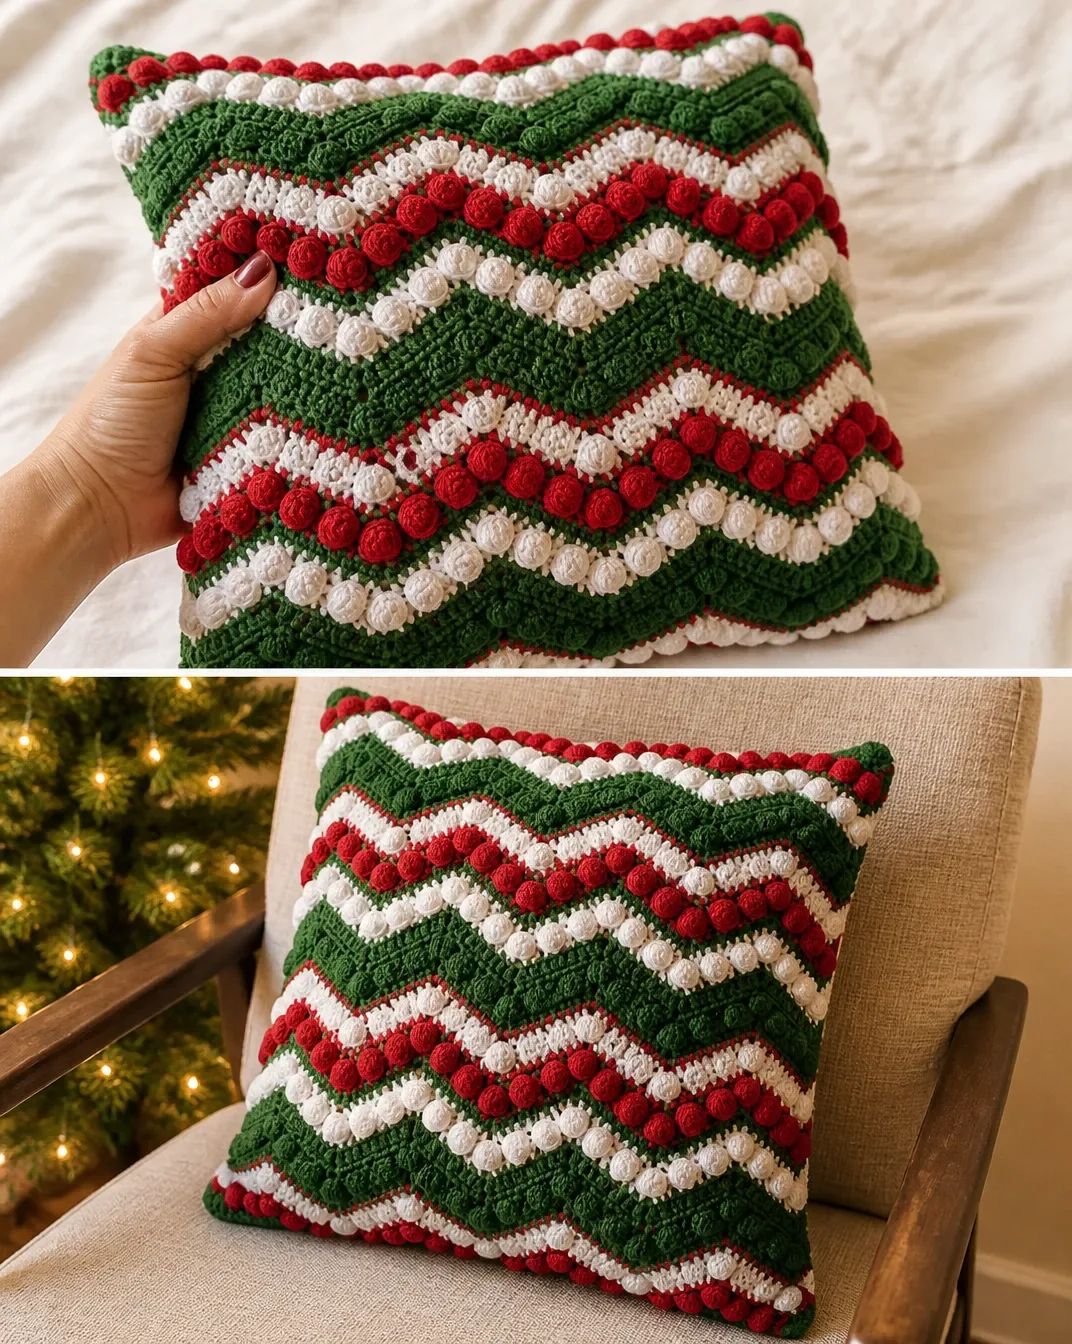
Special Stitch: Popcorn
Work the popcorn as follows:
- Make 3 dc in the indicated stitch.
- Remove the hook and insert it from front to back in the top of the first dc.
- Pick up the loop and draw it through.
Color Change Note
To change color, work the last stitch of the row until 2 loops remain on the hook, drop the old color, yarn over with the new color, and complete the stitch. Fasten off the old color.
Pillow Cover Make 2
Make two pillow covers using the complete instructions below.
Row 1 Wrong Side
With A:
- ch 72
- sc in 2nd ch from hook
- skip next ch
- [sc in next 10 ch, 3 sc in next ch, sc in next 10 ch, skip next 2 ch] 2 times
- sc in next 10 ch
- 3 sc in next ch
- sc in next 10 ch
- skip next ch
- sc in last ch
- turn 3 ripples
Rows 2–5
- Ch 1
- sc in first sc
- skip next sc
- [sc in next 10 sc, 3 sc in next sc, sc in next 10 sc, skip next 2 sc] 2 times
- sc in next 10 sc
- 3 sc in next sc
- sc in next 10 sc
- skip next sc
- sc in last sc
- changing to B at end of Row 5
- turn
Fasten off A.
Row 6
- Ch 3
- skip first 2 sc
- popcorn in next sc, ch 1, [skip next sc, popcorn in next sc, ch 1] 4 times, skip next sc, (popcorn, ch 1, popcorn) in next sc, ch 1, [skip next sc, popcorn in next sc, ch 1] 4 times, skip next sc, popcorn in next sc, skip next 2 sc
- repeat from * 2 more times
- end at *
- skip next sc
- dc in last sc
- changing to A
- turn
Fasten off B.
Row 7
- Ch 1
- sc in first dc
- [sc in next ch-1 space, sc in next popcorn] 5 times, 3 sc in next ch-1 space, [sc in next popcorn, sc in next ch-1 space] 5 times, skip next 2 popcorn
- repeat from * 2 times
- end at **
- skip next popcorn
- sc in top of beginning ch-3
- turn
Rows 8–11
Repeat Rows 2–5, changing to C at the end of Row 11.
Fasten off A.
Row 12
Repeat Row 6, changing to A at the end of the row.
- turn
Fasten off C.
Row 13
Repeat Row 7.
Rows 14–84
Repeat Rows 2–13 five times, then repeat Rows 2–12.
Fasten off C.
Assembly
- Fold the pillow cover in half, with right sides together, bringing the first row up to meet the last row.
- With A, whipstitch the first row to the last row.
- Flatten the pillow so the seam is centered on the back.
- Whipstitch one side seam.
- Turn the pillow cover right side out.
- Insert the pillow form.
- Whipstitch the remaining side seam.
- Weave in the ends.
The popcorn rows should remain visible on the outside after turning the cover right side out. Take care not to catch the pillow form in the final seam while closing it.
Finished Project Inspiration
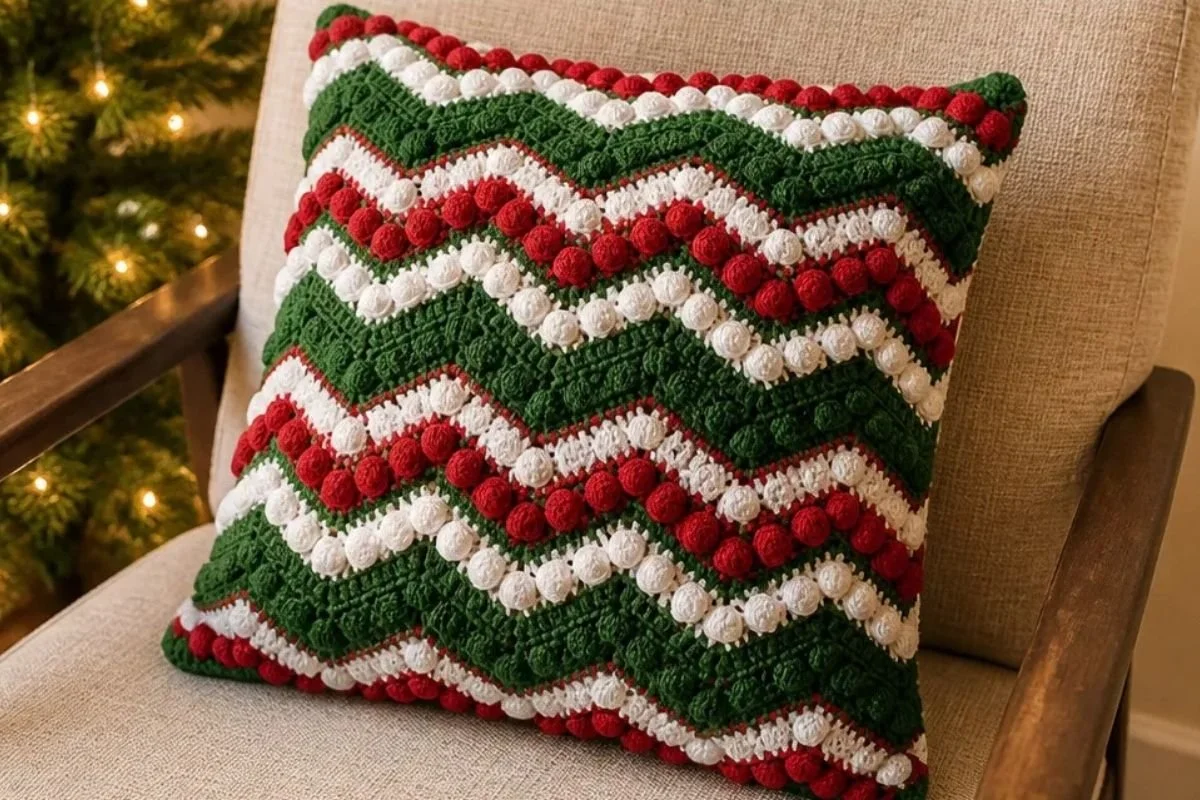
- Style a holiday sofa: Place one or two finished pillows on a sofa with solid green, red, or cream cushions.
- Create a seasonal reading corner: Add the pillow to a chair or window seat alongside a warm throw.
- Use it as a guest-room accent: A Christmas ripple pillow can bring a subtle handmade detail to a guest bed during the holidays.
- Give a coordinated pair: Since the pattern makes two covers, use them as a matching gift set for a family member or friend.
- Build a layered display: Combine the ripple pillow with textured blankets and simple seasonal décor, keeping the patterned cushion as the focal point.
- Try a floral holiday arrangement nearby: A wreath or botanical centerpiece can complement the crochet texture; this crochet flower wreath pattern offers a related handmade decorating idea.
Cleaning and Storing Your Crochet
Keep the completed pillow away from excessive heat, open flames, and prolonged direct sunlight, which can affect the yarn colors and pillow form. For routine care, gently dust the surface with a soft brush or use a vacuum attachment on a low setting without pressing heavily on the popcorn stitches.
For small marks, spot-clean carefully with a lightly damp cloth and avoid saturating the cover. Allow it to dry completely before storing or using it again. Because the cover is assembled with whipstitched seams, handle the sewn edges gently when removing or repositioning the pillow form.
For seasonal storage, remove the pillow form if convenient, fold the cover loosely, and place it in a clean, dry container. Avoid compressing the popcorn texture under heavy objects.
Tips for Better Results
- Count the ripple sections: Row 1 creates 3 ripples. Use the repeated groups as landmarks so the increases and skipped chains stay aligned.
- Mark the color-change rows: Place a removable marker or note beside Rows 5, 11, and the later repeats so you know when to change colors.
- Keep the skipped stitches visible: Ripple shaping depends on the skipped stitches. If one is accidentally worked, the following row may no longer lie flat.
- Form popcorn stitches consistently: Work each popcorn with the same tension and pull the final loop through securely, but not so tightly that the stitch becomes difficult to identify on Row 7.
- Check the chain-1 spaces: Row 7 works into both the chain-1 spaces and popcorn stitches. Make sure each space is easy to locate before beginning that row.
- Secure color changes neatly: Complete the color change with two loops remaining on the hook as specified, then fasten off the old color so it does not loosen.
- Align the cover before sewing: Match the first and last rows carefully and center the joined seam on the back before closing the side seam.
- Insert the form before the final seam: Turning the cover right side out and adding the pillow form first makes the last whipstitched seam easier to position.
For another small way to use colorful crochet details, consider these crochet shoe appliques as an optional related project.
Creative Ways to Customize Your Project
The approved pattern uses green, red, and white, but the color arrangement can be adapted as an optional design choice.
- Use a softer holiday palette: Substitute coordinating shades such as cream, muted green, and dusty red. Changing the yarn may affect the finished size, texture, and amount required.
- Create a winter look: A combination of white, silver, and deep blue can emphasize the popcorn texture while keeping the ripple structure visible.
- Make a nonseasonal version: Choose three colors that match your room décor and use the pillow year-round.
- Highlight the popcorn bands: Use a strongly contrasting color for Color B so the raised rows stand out more clearly.
- Coordinate a pair: Make both covers in the same colors for a balanced set, or reverse the dominant colors between covers while keeping the construction the same.
- Change the hook only with care: A different hook size can alter stitch tension, fabric density, and the final fit around the 18-inch pillow forms. It may also change yarn requirements, so use the specified 6mm [US J-10] hook for the approved construction.
Frequently Asked Questions
Is this pattern made as one large piece?
No. The pattern instructs you to make two pillow covers, with each cover worked in rows and assembled around an 18-inch square pillow form.
What hook size is required?
Use a 6mm [US J-10] crochet hook.
Which colors are used?
The specified colors are 6060 Green/Green for Color A, 9090 Red/Red for Color B, and 0140 White/Silver for Color C in RED HEART® “Holiday Yarn.”
When does the red yarn appear?
Color B is introduced at the end of Row 5 and is used for Row 6, the popcorn row. The instructions then change back to Color A at the end of Row 6.
What stitch creates the raised texture?
The popcorn stitch creates the raised texture. It is made with 3 dc in the indicated stitch, followed by removing and reinserting the hook to draw the loop through the top of the first dc.
How are the pillow covers closed?
First, fold each cover with right sides together and whipstitch the first row to the last row. Center that seam on the back, close one side seam, turn the cover right side out, insert the pillow form, and whipstitch the remaining side seam.
Can the colors be changed?
Yes, color changes are an optional customization. However, use yarn with suitable crochet characteristics and understand that a different yarn or color arrangement may affect texture, dimensions, and yarn requirements.
How should the finished pillow be maintained?
Dust it gently, spot-clean carefully when needed, avoid excessive heat, and store it in a clean, dry place when not in use. Handle the popcorn stitches and whipstitched seams with care.
Conclusion
This DIY Crochet Christmas Ripple Pillow Pattern combines bold seasonal color, flowing ripple shaping, and dimensional popcorn stitches in a useful home décor project. Make the two covers as a matching set, personalize the palette, or give them as a handmade holiday gift. For another version of this seasonal cushion idea, compare it with the Red Heart Christmas ripple pillows pattern.