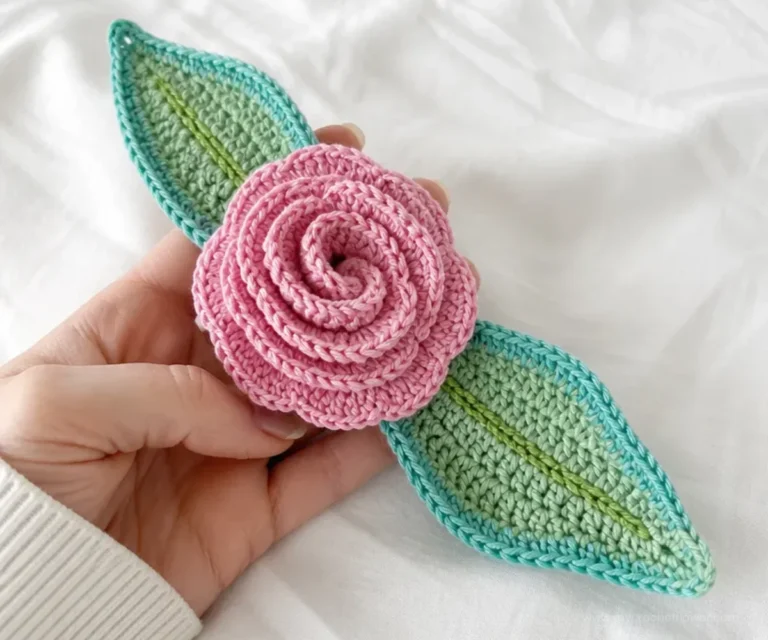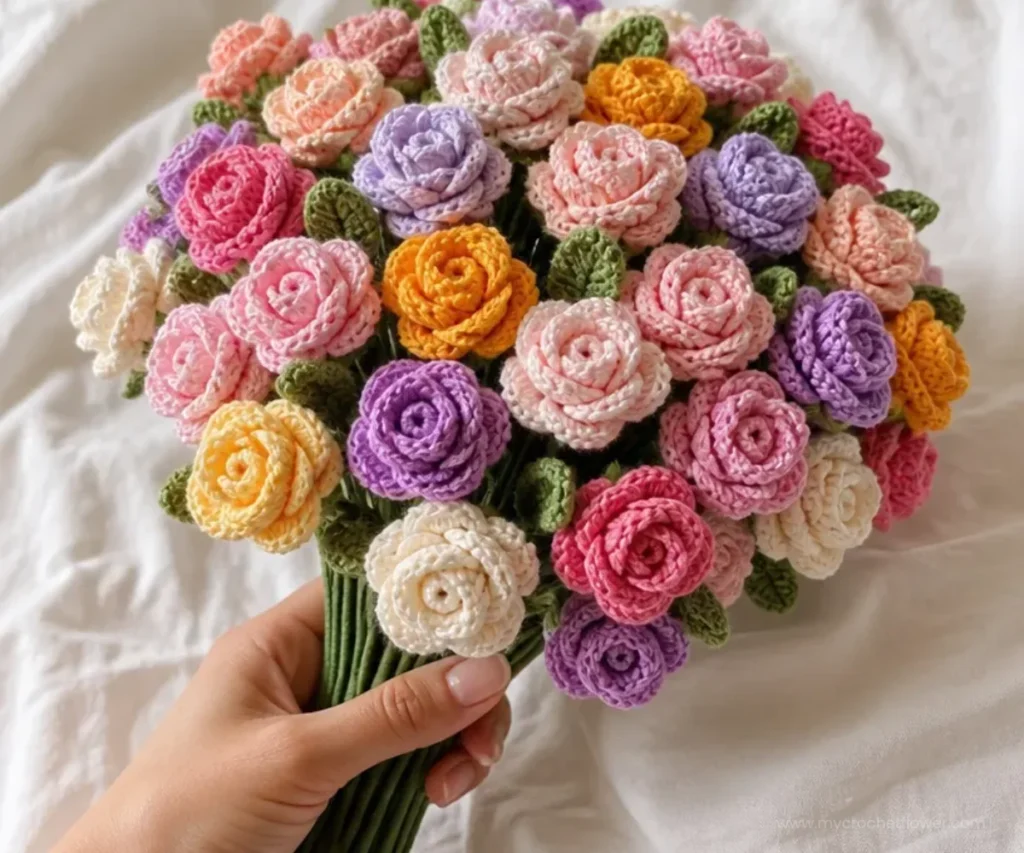
A small rose is a lovely way to practice crochet shaping while creating something useful for gifts, bouquets, and home décor. This Small Rose Crochet Pattern uses simple chains, double crochet, and slip stitches to form flexible petals around a crocheted center. Add leaves, wire, and floral tape to turn the flower into a stemmed decoration, or use the finished rose as part of a handmade arrangement. For another small rose-inspired project, you can also explore this crochet felted rose pin pattern.
Why You’ll Love This Crochet Project
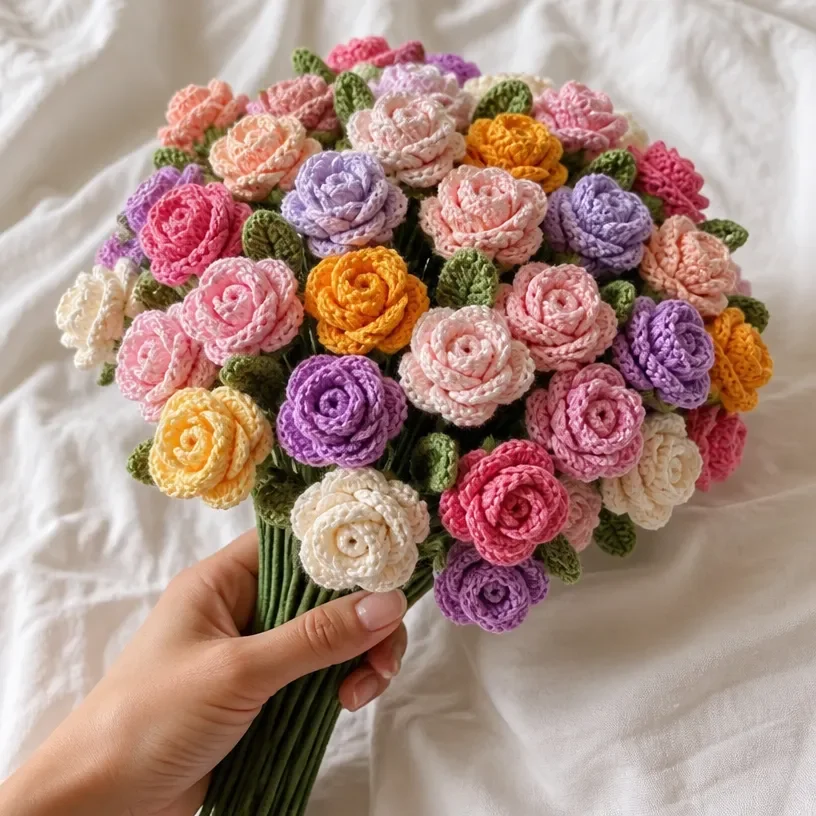
This small rose crochet pattern is especially useful when you want a floral project that can be customized without changing its basic construction.
- It practices essential stitches. Chains, double crochet, and slip stitches are used together to create a textured, layered flower.
- The petals can vary in size. Slight changes in your chained stitches allow you to create a tighter bud or a more open rose shape.
- It makes a versatile handmade gift. A finished rose can be given alone, added to a bouquet, or used in a decorative arrangement.
- It includes leaves and a stem. Wire and floral tape help transform the crocheted pieces into a flower that can stand in a vase.
- It supports creative color choices. Make a traditional red rose, a soft pastel bloom, or a mixed bouquet with several shades.
My Crochet Flower Tip: Before stitching the petals together, arrange them loosely around the center so you can check the overall fullness and balance of the rose.
How This Crochet Project Comes Together
The project is made in a clear sequence: crochet the petals, form a tighter crocheted center, make leaves, prepare the stems, and then assemble the flower.
The petals are created with a series of chained stitches followed by double crochet and slip stitches. Because the pattern allows variation in petal size, you can adjust the appearance of the rose while keeping the same general technique. The center is worked more tightly so it blends naturally into the surrounding petals.
Leaves are crocheted separately using different stitches. Long lengths of yarn are used with wire to create stems, and floral tape covers the raw edges during finishing. The completed flower is assembled by positioning the petals around the center and stitching them securely in place.
Useful US crochet terms in this pattern include:
- Chain (ch): A loop made by pulling yarn through the active loop.
- Double crochet (dc): A taller stitch worked with one yarn-over before inserting the hook.
- Slip stitch (sl st): A short joining stitch made without adding height.
Materials You’ll Need
- Yarn
- Crochet hook, 3.5 mm to 5 mm
- Wire
- Floral tape
- Yarn needle
- Scissors
- Stuffing, optional
The yarn forms the petals, flower center, leaves, and the yarn portions of the stems. Choose a crochet hook between 3.5 mm and 5 mm according to the yarn and the firmness you want. Wire provides structure for the stems, while floral tape conceals the secured yarn and raw edges. Stuffing is optional and may be used if you want additional fullness in the flower center.
Step-by-Step Crochet Instructions

Follow the construction order below so the individual pieces are ready for assembly at the right stage.
Crochet the Petals
Create the petals by making a series of chained stitches. Work a combination of double crochet and slip stitches into the chain sequence to shape each petal.
Allow variation in petal size as you work. Some petals may be smaller and tighter, while others can be larger and more open. This variation helps create the natural layered look of a rose rather than a perfectly uniform flower.
As you form each petal, pay attention to the direction of the stitches and keep the base secure. Avoid pulling the stitches so tightly that the petal cannot curve or overlap during assembly.
Form the Flower Center
Form the center of the flower by crocheting a tighter circle. The compact center should blend with the petals and provide a stable area around which the outer pieces can be arranged.
Keep the center firm enough to hold its shape, but do not make it so dense that the petals cannot be stitched into place. Stuffing may be used optionally if you want the center to have extra body.
Crochet the Leaves
Crochet the leaves separately using different stitches. The stitch changes help create a leaf shape with texture and definition.
Keep the leaf edges neat, and leave enough yarn available to secure each leaf during assembly. The number and placement of leaves can be adjusted visually when you begin attaching them to the stem.
Create the Stems
Create stems with long lengths of yarn secured with wire. Position the wire so the stem has enough support to hold the flower upright.
Handle the wire carefully, especially at the ends. Make sure exposed ends are covered or turned safely before continuing with assembly. The yarn should remain attached securely so the stem does not loosen as it is wrapped.
Assemble the Rose
Position the petals around the center piece and stitch them in place. Begin by arranging the smallest or tightest petals near the center, then place the larger petals around them so they overlap naturally.
Stitch through the bases of the petals rather than through their visible outer edges. This keeps the stitches concealed and allows the petals to remain dimensional.
Check the shape from several angles as you work. If one side looks fuller, reposition the next petal slightly to balance the rose.
Attach Leaves and Finish the Stem
Attach the leaves and stems after the flower head is secure. Position the leaves where they support the shape of the rose without covering too much of the petal detail.
Cover raw edges with floral tape. Wrap the tape firmly around the lower flower area and along the stem, keeping the layers smooth and secure. Trim or conceal loose yarn ends with the yarn needle before completing the final wrap.
Ways to Display Your Finished Crochet
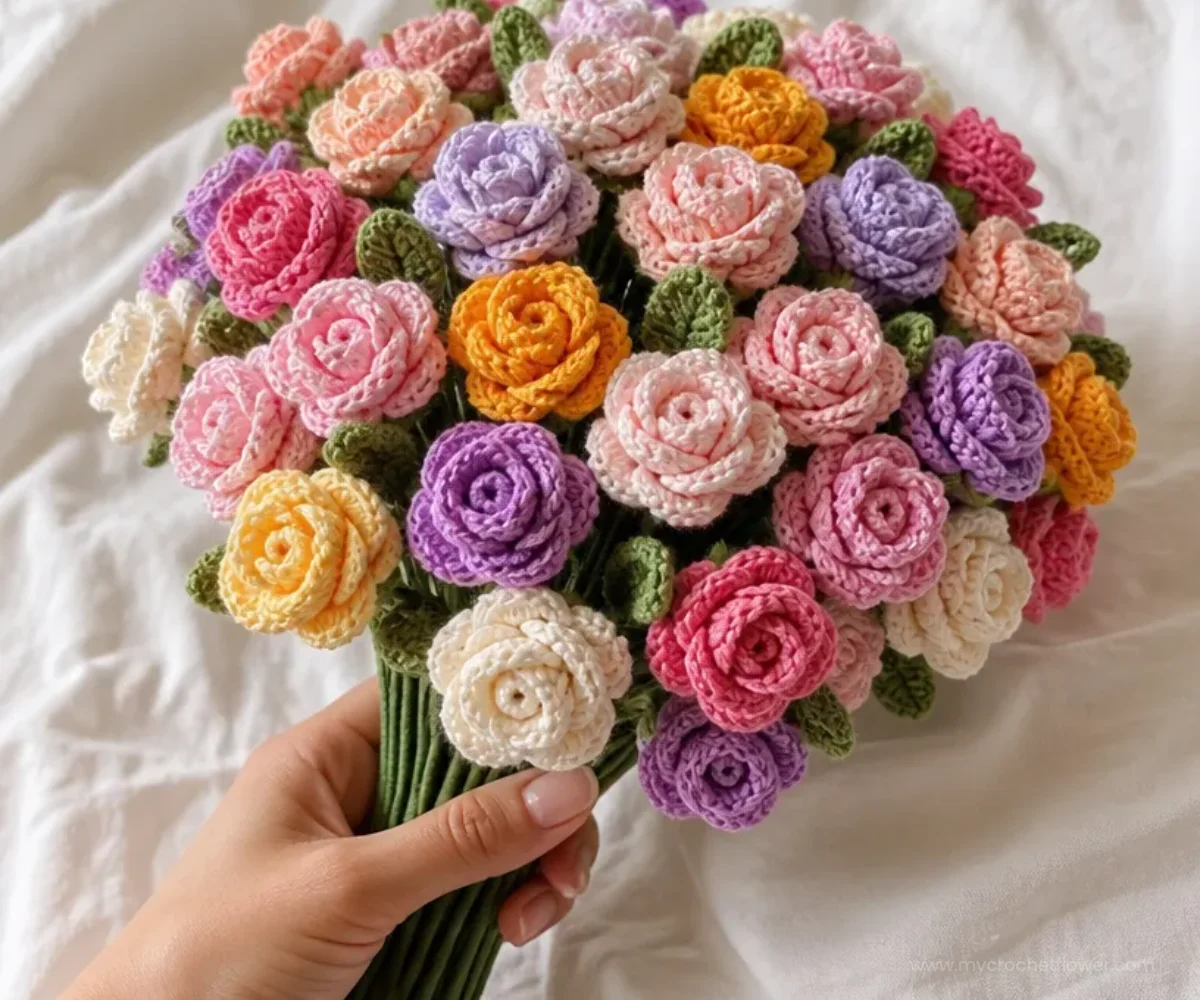
- Small vase arrangement: Place one or several stemmed roses in a narrow vase for a simple tabletop accent.
- Handmade bouquet: Combine roses in different colors and add the crocheted leaves for a fuller arrangement.
- Gift decoration: Attach a finished rose to wrapped gifts or a handmade card instead of using a disposable bow.
- Seasonal display: Use deep red and burgundy roses for autumn or winter décor, or choose pink, cream, and yellow for spring.
- Wedding-inspired arrangement: Soft-colored roses can be grouped into a small keepsake bouquet or displayed in a decorative container.
- Floral centerpiece: Arrange several stemmed flowers in a low vase so the rose shape remains visible from across the table.
For a different way to use crocheted roses in home décor, a crochet rose garland pattern can provide inspiration for arranging flowers beyond a traditional vase.
Caring for Your Crochet Project
Because this rose includes wire and floral tape, avoid machine washing, soaking, or placing it in water. Instead, dust the petals and leaves gently with a soft, dry cloth or a clean, soft brush.
If a small area becomes marked, use careful spot cleaning with very little moisture, then allow the piece to dry completely away from direct heat. Do not use a hot dryer, iron, or high-heat source, since heat may affect the yarn, tape, and flower shape.
Store the rose in a dry place where the petals will not be crushed. If the flower becomes compressed, reshape the petals gently with your fingers and adjust the stem before displaying it again.
Helpful Crochet Tips
- Keep the petals flexible. Maintain even tension, but avoid pulling the chains and slip stitches too tightly.
- Vary petal sizes intentionally. Smaller petals work well near the center, while larger petals can create the outer layer.
- Arrange before stitching. Lay the petals around the center first so you can identify gaps or areas that need overlap.
- Secure the bases thoroughly. Stitch through the lower portion of each petal several times so the flower remains stable.
- Check the center as you work. A tighter center should blend into the petals without disappearing completely.
- Protect yourself from the wire. Cover or bend sharp wire ends before attaching the yarn and floral tape.
- Wrap floral tape smoothly. Stretch the tape slightly as you wrap so it adheres and covers raw edges neatly.
- Use a yarn needle for finishing. Weave in loose ends carefully instead of leaving them beneath the floral tape where they may loosen later.
For a smaller wearable idea using similar rose imagery, you might also enjoy these crochet rose earrings as a separate project.
Color and Styling Variations
The approved instructions can be customized through color and arrangement choices without changing the construction sequence.
- Classic rose: Use one traditional flower color for the petals and a coordinating green for the leaves.
- Soft romantic palette: Combine blush, cream, pale pink, and muted green in one bouquet.
- Bright seasonal arrangement: Choose vivid yellow, coral, orange, or pink flowers for a cheerful display.
- Two-tone petals: Use one color for the inner petals and another for the outer petals, changing yarn only where you want the color division.
- Mixed bouquet: Make several roses with different petal colors while keeping the leaves and stems consistent.
- Minimalist décor: Use cream or white roses with green leaves in a simple glass or neutral-colored vase.
Changing yarn or hook size is optional. A different yarn or hook may affect the size, firmness, texture, and amount of yarn needed, so make any changes consistently across the flower components.
Frequently Asked Questions
Is this small rose crochet pattern suitable for beginners?
It can be a helpful beginner project for someone familiar with chains, double crochet, and slip stitches. The main challenge is arranging and securing the petals so the finished flower has a balanced shape.
What crochet hook size should I use?
Use a crochet hook between 3.5 mm and 5 mm. Choose the size that works comfortably with your yarn and produces petals with enough structure to hold their shape.
Can I change the rose color?
Yes. The pattern supports creative color choices. You can make a single-color rose, use different colors for separate flowers, or create a two-tone arrangement.
How are the petals attached to the flower?
Position the petals around the crocheted center and stitch them in place. Arrange them before sewing so the petals overlap naturally and the flower looks full.
Are leaves included in the construction?
Yes. Leaves are crocheted separately using different stitches, then attached during the assembly stage.
Why is wire used in the project?
Wire provides structure for the stem. Long lengths of yarn are secured with wire, and floral tape is used to cover raw edges and finish the stem.
Is stuffing required?
No. Stuffing is optional. It may be used to add fullness to the flower center, but the center can also be formed as a tighter crocheted circle without it.
How should I clean the finished rose?
Dust it gently and use careful spot cleaning only when necessary. Since the project contains wire and floral tape, do not machine wash or soak it.
Can I make the petals different sizes?
Yes. The instructions specifically allow variation in petal size. Smaller petals can be placed closer to the center, with larger petals forming the outer layers.
Conclusion
This Small Rose Crochet Pattern creates a flexible handmade flower with layered petals, a compact center, leaves, and a supported stem. It can become a thoughtful gift, a lasting bouquet component, or a simple home decoration. Adjust the colors and petal arrangement to suit your style, and compare it with this rose crochet flower tutorial in two sizes for additional inspiration.