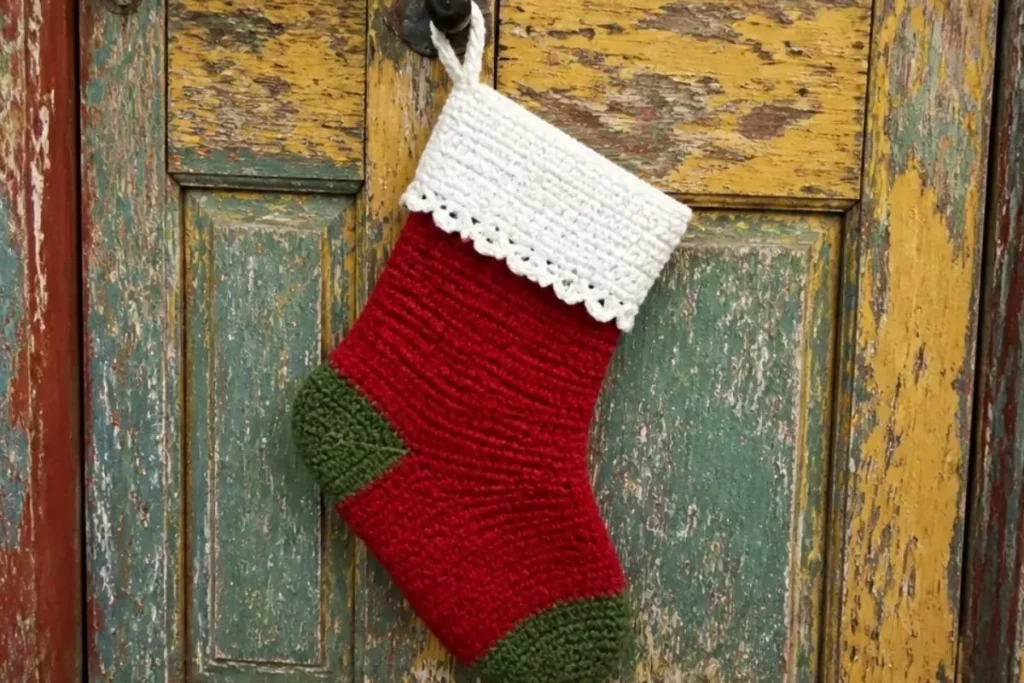
An easy crochet Christmas stocking is a practical seasonal project that combines simple rows, short-row shaping, seaming, and decorative edging. This beginner-friendly design uses classic Ranch Red, Dark Sage, and Soft White to create a traditional holiday look for mantels, stair rails, gift displays, or thoughtful handmade presents. The construction also offers useful practice before trying projects such as simple crochet blooms for hair accessories.
Why You’ll Love This Crochet Project
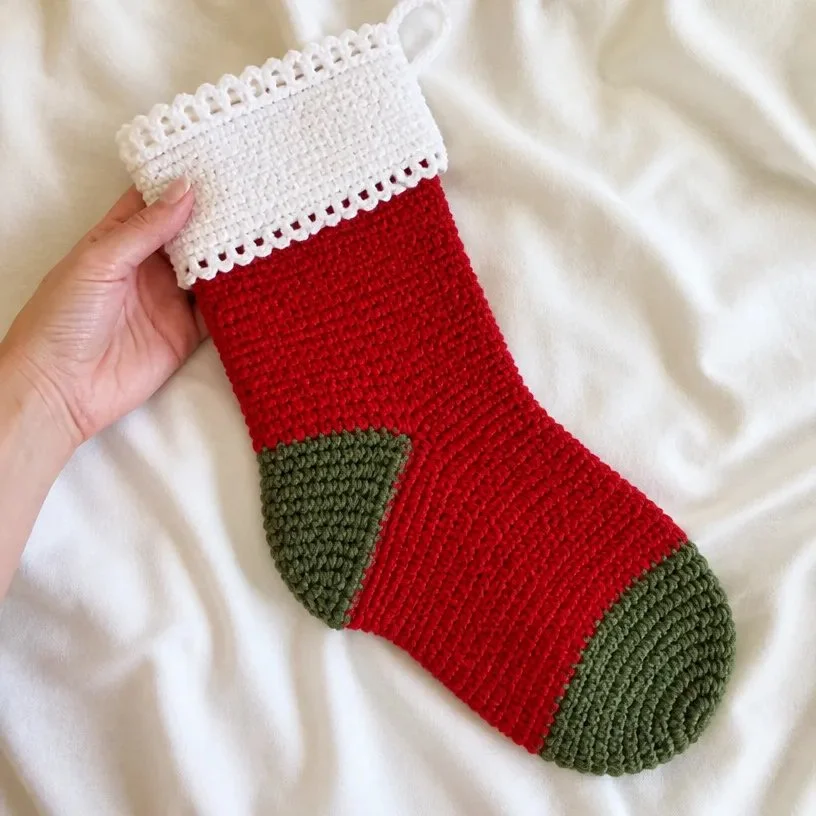
This Christmas stocking is approachable while still introducing several useful crochet techniques:
- It uses familiar stitches. Single crochet and double crochet create the main fabric, making the project suitable for crocheters building confidence.
- The shaping is practical. The heel and toe use short rows and decreases, giving you experience with three-dimensional construction.
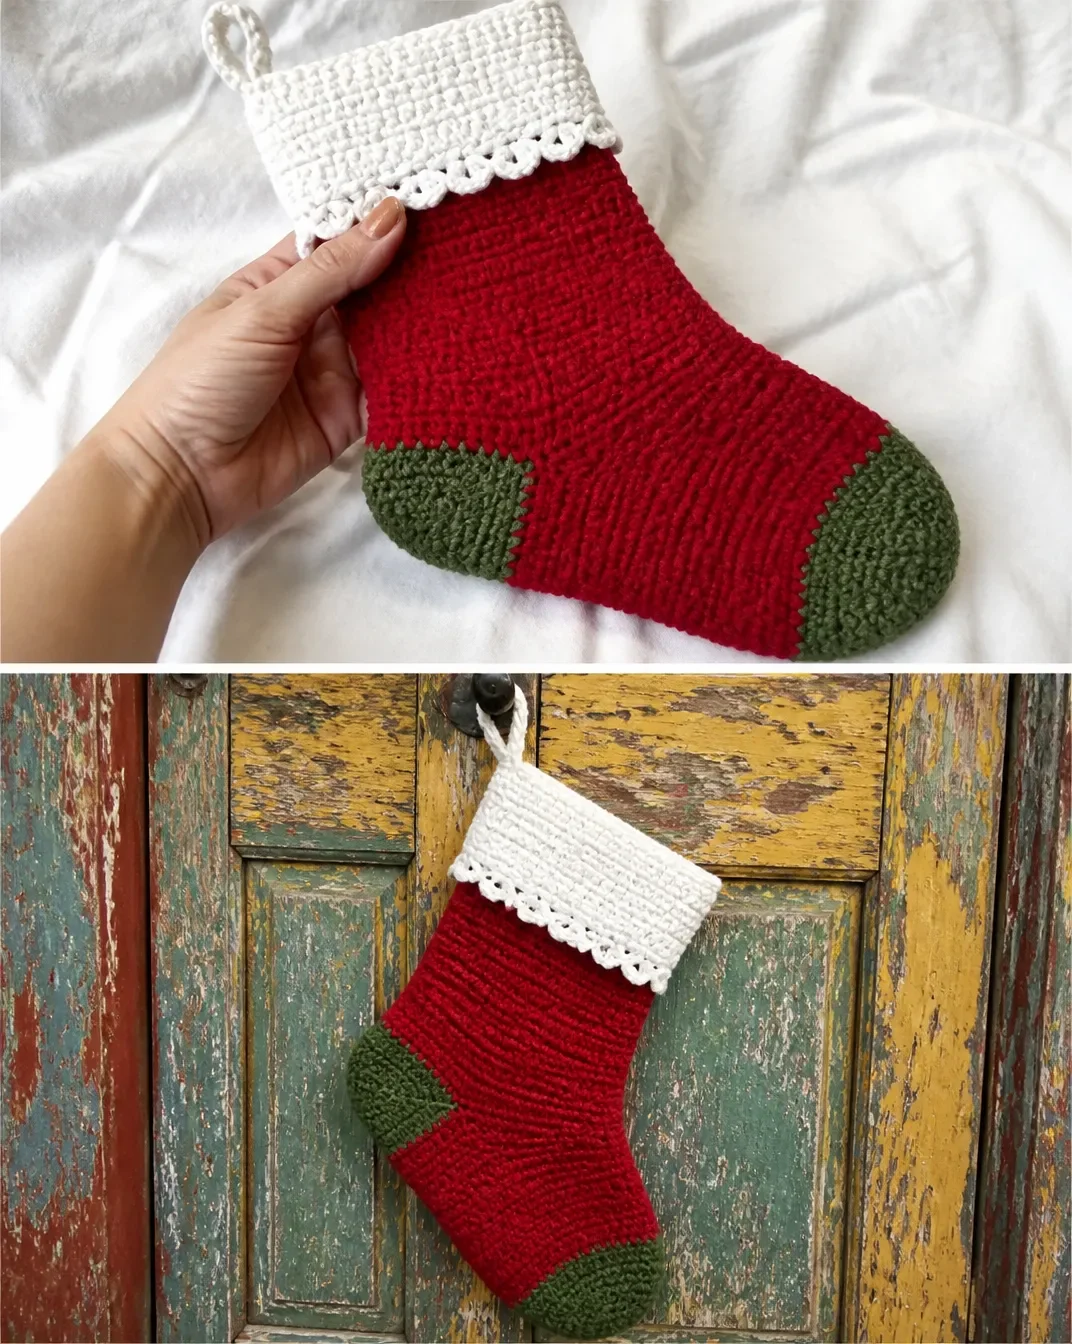
- The color plan is festive. Ranch Red forms the main body, Dark Sage adds contrast at the heel and toe, and Soft White creates the cuff and edging.
- It makes a useful handmade gift. The finished stocking can hold small presents, cards, treats, or seasonal keepsakes.
- It includes decorative finishing. The scalloped-style edging and hanging loop give the stocking a polished holiday appearance.
My Crochet Flower Tip: Keep the color changes tidy by placing each new color at the specified joining point and weaving in ends as you finish each section.
Before You Start Crocheting
The stocking is worked in several connected components: a long stocking body, a shaped heel, a foot, a two-part toe, a separate cuff, and decorative edgings. The body begins with a foundation chain and alternating rows of double crochet and single crochet. The heel is shaped with short rows, while the toe is formed with decreases worked from two halves.
Use the 5 mm [US H-8] hook as the larger hook and the 4 mm [US G-6] hook as the smaller hook. The stocking body is worked until it measures 10” from the beginning, ending with Row 2.
The most important construction sequence is:
- Crochet the stocking body in Color A.
- Add and shape the heel in Color B.
- Work the foot in Color A.
- Shape both toe halves in Color B.
- Sew the toe, foot, back, and heel-corner openings.
- Crochet and seam the cuff in Color C.
- Add the lower edging, attach the cuff, and finish with the top edging and hanging loop.
Abbreviations
- A, B, C: Color A, Color B, Color C
- ch: Chain
- dc: Double crochet
- mm: Millimeters
- sc: Single crochet
- st(s): Stitch(es)
- tog: Together
- yo: Yarn over
Special abbreviation:
Sc2tog: [Draw up a loop in next st] twice, yo and draw through all 3 loops on hook.
An asterisk, double asterisk, or triple asterisk means to repeat whatever follows as indicated. Brackets mean to work the directions inside them the number of times specified.
Materials You’ll Need
Yarn
- RED HEART® Super Saver®: 1 skein each
- 332 Ranch Red (A)
- 633 Dark Sage (B)
- 316 Soft White (C)
Crochet Hooks
- 4 mm [US G-6]
- 5 mm [US H-8]
Notions
- Yarn needle
The larger hook is used for the stocking, heel, foot, toe, and cuff. The smaller hook is used for the lower cuff edging, attaching the cuff, and the top edging.
Step-by-Step Crochet Instructions
Stocking Body
With larger hook and A, ch 43.
Row 1 (Right Side):
Sc in 2nd ch from hook and in each ch across; turn.
Stitch count: 42 sc
Row 2:
Ch 3, which counts as dc, skip first sc, dc in next sc and in each sc across; turn.
Row 3:
Ch 1, sc in each dc across, sc in top of ch-3; turn.
Repeat Rows 2 and 3 for pattern until 10” from beginning, end by working Row 2. Fasten off.
Heel
With right side facing and larger hook, skip first 32 sts of last row, join B in next st;
Ch 1, sc in same st and in next 9 sts, bring other side of stocking around and sc in first 11 sts; turn 21 sts.
Shape Heel
Work the following short rows, continuing until all 21 heel sts are worked:
- Next Row: Ch 1, sc in first 14 sc; turn.
- Next Row: Ch 1, sc in first 7 sc; turn.
- Next Row: Ch 1, sc in first 7 sc, sc in next st of long row below; turn 8 sc.
- Next Row: Ch 1, sc in first 8 sc, sc in next st of long row below; turn 9 sc.
Continue in this manner until all 21 heel sts are worked. Fasten off.
When working into the long row below, keep the fabric positioned so the added stitch is easy to identify. This helps the short-row shaping stay even.
Foot
With right side facing and larger hook, skip first 10 sc of heel, join A in next sc;
Ch 1, sc in same sc and in next 10 sc of heel, skip next 2 sts of stocking, sc in next 17 sts of stocking, skip next 2 sts, sc in next 10 sts of heel; turn 38 sc.
Repeat pattern Rows 2 and 3 five more times, then Row 2 once more. Fasten off.
Toe
First Half of Toe
With right side facing and larger hook, join B in first st of foot.
** Ch 1, sc2tog, sc in next 15 dc, sc2tog, turn 17 sc.
Continue in sc only and decrease 1 st each end of every row until 3 sts remain. Fasten off. **
Second Half of Toe
With right side facing, join B in next st of last long row.
Work same as first half of toe from ** to **.
Finishing the Stocking Seams
Sew toe, foot, and back seams.
Sew openings closed at corners of heel.
Use the yarn needle to make small, secure stitches that match the surrounding fabric. Take care not to pull the seams so tightly that the stocking loses its shape.
Cuff
With larger hook and C, ch 47.
Work 11 rows of sc over 46 sts. Fasten off.
Sew cuff seam.
Lower Cuff Edging
With right side facing and smaller hook, join C at back seam;
Ch 1, sc in first 2 sc,
- skip next sc, (dc, [ch 1, dc] twice) all in next sc, skip next sc, sc in next sc;
repeat from * around;
join with a slip st in first sc. ***
Fasten off.
Attach Cuff
With right side facing and smaller hook, join C at upper edge of back seam of cuff;
Ch 1, sc in first sc,
place cuff over right side of stocking and beginning at first st after back seam of stocking, work 21 sc through both layers at same time, sc in next sc of cuff only, sc in next 21 sc through both layers, sc in last sc of cuff only;
join.
Fasten off.
Work slowly through both layers so the cuff attaches evenly around the stocking opening. The two single crochet sections through both layers help secure the cuff on either side of the back seam.
Top Edging and Hanging Loop
Work same as Lower Edging from *** to **,
ch 12 for hanging loop,
slip st in first sc again.
Fasten off.
Weave in all ends.
Ways to Display Your Finished Crochet
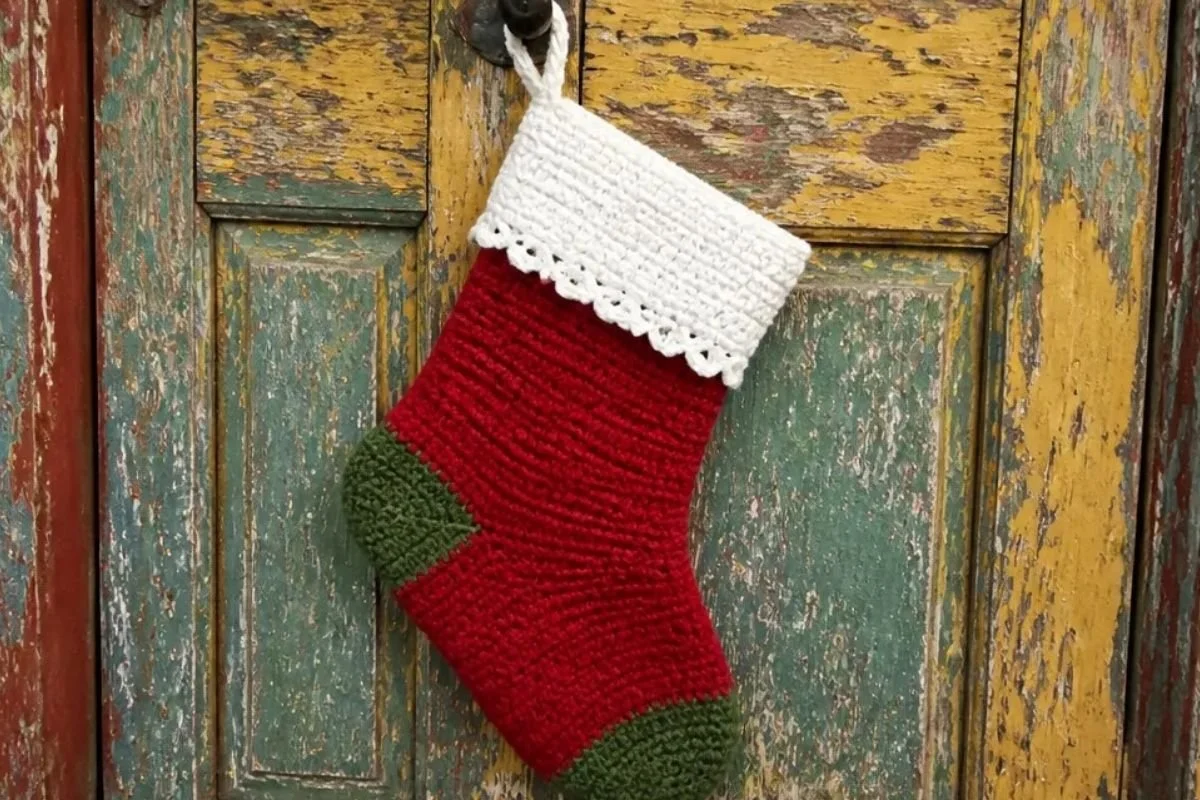
- Hang it on a mantel: Use the crocheted loop to display the stocking alongside other holiday decorations.
- Create a family stocking arrangement: Make coordinating versions with different accent colors while keeping the same construction.
- Use it as a gift container: Fill it with small treats, ornaments, accessories, or handwritten notes.
- Decorate a staircase: Hang several stockings at different heights for a festive seasonal display.
- Add it to a holiday gift basket: The stocking can become part of the wrapping and remain useful after the gift is opened.
- Coordinate it with handmade décor: Pair it with crocheted ornaments, garlands, or floral-inspired accents such as a three-dimensional flower granny square design.
Caring for and Storing Your Crochet Stocking
Follow the yarn manufacturer’s care instructions for the RED HEART® Super Saver® yarn. Because the stocking includes sewn seams and decorative edging, handle it gently when cleaning.
- Dust the surface carefully with a soft, dry cloth or a gentle fabric brush.
- Spot-clean small marks rather than rubbing the entire stocking.
- Avoid excessive heat, which can affect the yarn’s shape and finished texture.
- Reshape the stocking gently while it is clean and damp only if the yarn-care instructions support that method.
- Store the stocking completely dry in a cool, dry place.
- Keep it folded or loosely supported rather than compressed under heavy items.
- Protect the hanging loop and decorative edging from snagging during storage.
Tips for Better Results
- Count the foundation chain carefully. The starting chain is 43, but Row 1 produces 42 sc. This difference is intentional.
- Watch the turning chain in Row 2. The ch-3 counts as a dc, and the first sc is skipped before working into the next sc.
- Check the Row 3 ending. In addition to working sc in each dc, work sc in the top of the ch-3.
- Mark the heel joining point. After skipping the first 32 sts, join B in the next stitch so the heel begins in the correct location.
- Keep the heel short rows organized. The short-row instructions move from 14 sc to 7 sc and then build back out by working into the long row below.
- Verify the foot count. The foot setup should finish with 38 sc before the pattern rows are repeated.
- Decrease evenly at the toe. Each toe row begins and ends with sc2tog, and the decreases continue until 3 sts remain.
- Sew before attaching the cuff. Complete the toe, foot, back, and heel-corner seams before joining the cuff.
- Use the smaller hook for the edging. This helps keep the decorative stitches controlled and prevents the edging from becoming overly loose.
- Weave in all ends securely. Since the stocking will be handled and filled, secure the ends on the wrong side before trimming them.
For another seasonal handmade project to compare with this stocking, you can also review this crochet bouquet wrap pattern for ideas about clean finishing and decorative presentation.
Creative Ways to Customize Your Project
The approved pattern uses Ranch Red, Dark Sage, and Soft White, but the color placement can inspire several optional variations.
- Change the main color: Use a different shade for Color A while keeping Soft White for the cuff and edging.
- Reverse the contrast colors: Try Dark Sage for the stocking body and Ranch Red for the heel and toe.
- Create a coordinated set: Keep the same color plan but vary which accent color is used for each family member’s stocking.
- Use a seasonal palette: Soft White paired with deep green, burgundy, or another compatible holiday shade can create a different look.
- Emphasize the edging: A contrasting Color C makes the decorative border more noticeable, while a matching shade creates a subtler finish.
- Change the yarn or hook size carefully: Substituting yarn or altering hook size can affect gauge, dimensions, texture, and yarn requirements. Treat such changes as optional and check the fabric throughout the project.
Do not change the approved stitch counts or construction sequence unless you are intentionally developing a separate version of the pattern.
Frequently Asked Questions
Is this stocking suitable for beginners?
Yes. The pattern uses single crochet, double crochet, chains, slip stitches, seaming, short-row shaping, and decreases. Beginners should be comfortable counting stitches and reading row instructions, especially during the heel and toe.
Which hook is the larger hook?
The 5 mm [US H-8] hook is the larger hook. Use it for the stocking body, heel, foot, toe, and cuff.
When is the smaller hook used?
The 4 mm [US G-6] hook is used for the lower cuff edging, attaching the cuff, and the top edging.
What colors are used?
Color A is 332 Ranch Red, Color B is 633 Dark Sage, and Color C is 316 Soft White. The body and foot use A, the heel and toe use B, and the cuff and edgings use C.
How is the heel shaped?
The heel begins with 21 sts and is shaped using short rows. The instructions first work across 14 sc, then 7 sc, and gradually work into the long row below until all 21 heel sts are worked.
How is the toe formed?
The toe is made in two halves. Each half begins with sc2tog at both ends, followed by single crochet and continued decreases at both ends until 3 sts remain.
When should the seams be sewn?
Sew the toe, foot, and back seams after completing the toe. Also sew the openings closed at the corners of the heel. The cuff is seamed separately before it is attached to the stocking.
Can the colors be changed?
Yes, changing colors is an optional styling choice. Keep the color roles organized as A, B, and C so the construction instructions remain easy to follow.
How should the stocking be stored?
Store it clean and completely dry in a cool, dry place. Fold or support it loosely, and protect the hanging loop and decorative edging from snags.
Conclusion
This easy crochet Christmas stocking pattern combines classic holiday colors with beginner-friendly stitches and useful shaping practice. Its contrasting heel, toe, Soft White cuff, decorative edging, and hanging loop make it ready for mantel displays or thoughtful gifts. For another stocking design to explore, compare it with this basic crochet stocking pattern, then customize your finished project with colors that suit your holiday style.