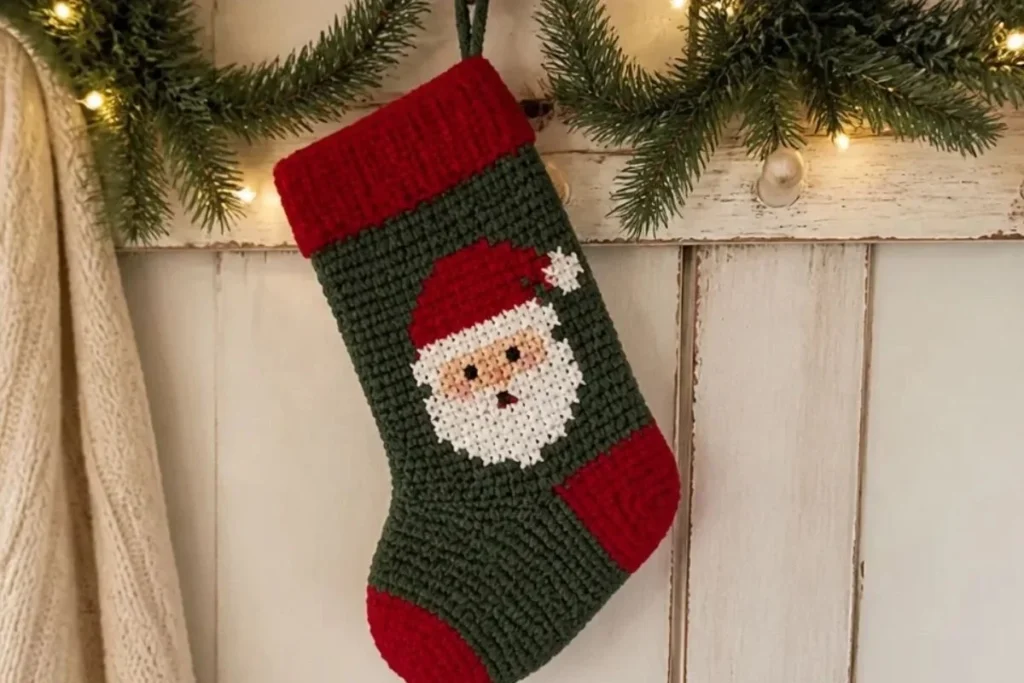
A handmade stocking adds warmth and personality to a Christmas mantel, tree, or gift display. This Crochet Christmas Stocking Pattern with Cross Stitch combines a classic stocking shape with a textured ribbed cuff and colorful cross-stitch embroidery. Choose the snowman, Santa, or tree version, then personalize the finished piece with your preferred seasonal display. Crocheters who enjoy decorative, color-focused projects may also like this 3D flower granny square pattern for another festive handmade project.
Why You’ll Love This Crochet Project
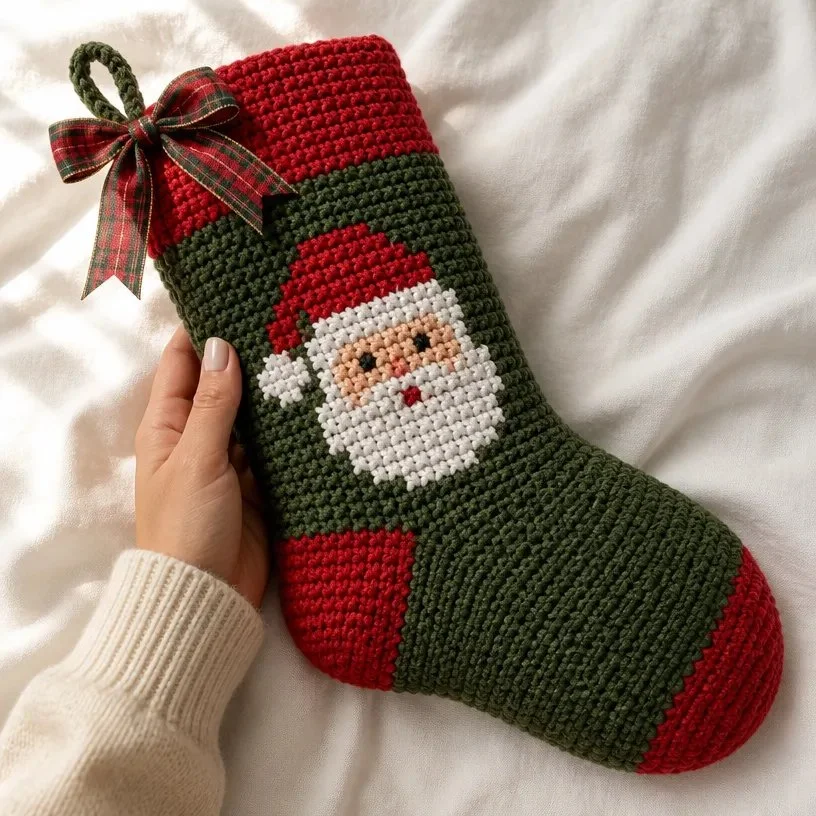
- It combines crochet and embroidery. The stocking is crocheted in single crochet, then decorated with cross stitch worked over the stitches.
- The cuff has a stretchy ribbed texture. Working slip stitches through back loops creates a neat, flexible band.
- There are three seasonal color versions. Make a snowman, Santa, or Christmas tree design using the corresponding yarn palette and chart.
- It makes a useful handmade decoration. Add it to a mantel, staircase, bedroom door, or holiday tree.
- It offers practice with shaping. The heel and toe provide experience with short rows, decreases, joining rounds, and color changes.
My Crochet Flower Tip: Place a piece of cardboard inside the stocking before embroidering. It helps keep the front and back layers separate while you work the cross stitches.
Before You Start Crocheting
This pattern creates one crocheted Christmas stocking with five main stages: the ribbed cuff, leg, heel, foot, and toe. A hanging loop is added after the stocking is shaped, and cross-stitch embroidery completes the design.
The cuff begins as a narrow strip worked in rows. After it is joined into a ring, 46 single crochet stitches are worked evenly around its side edge to create the leg. The heel is worked separately across part of the leg stitches, shaped with decreases, and then joined back into the stocking. The foot continues in joined rounds before the toe is decreased.
The stocking uses US crochet terminology. The approved instructions include these common abbreviations:
- ch: chain
- sl st: slip stitch
- sc: single crochet
- sc2tog: single crochet two together
- RS: right side
- WS: wrong side
- MC: main color
- rem: remaining
- rnd: round
- beg: beginning
- pm: place marker
Each square of the cross-stitch chart represents one single crochet stitch. The stocking leg measures 9 inches [23 cm] from the bottom of the cuff before the heel is made, the heel section measures 2 inches [5 cm], and the foot measures 5½ inches [14 cm] from the joining round before the toe.
Materials You’ll Need
Yarn: Bernat® Super Value™
Choose the color set for the version you want to make. Each listed color requires 1 ball.
Version I Snowman
- Main Color (MC): Forest Green (53243) 1 ball
- Contrast A: Cherry Red (53436) 1 ball
- Contrast B: Winter White (07407) 1 ball
- Contrast C: Black (07421) 1 ball
Version II Santa
- Main Color (MC): Teal Heather (53203) 1 ball
- Contrast A: Oatmeal (53010) 1 ball
- Contrast B: Cherry Red (53436) 1 ball
- Contrast C: Winter White (07407) 1 ball
- Contrast D: Black (07421) 1 ball
Version III Tree
- Main Color (MC): Oatmeal (53010) 1 ball
- Contrast A: Taupe (53012) 1 ball
- Contrast B: Forest Green (53243) 1 ball
- Contrast C: Cherry Red (53436) 1 ball
Tools
- Size U.S. H/8 (5 mm) crochet hook, or size needed to obtain gauge
- Stitch marker
- Embroidery needle
The embroidery needle is used to apply the cross-stitch design after the crochet is complete. Keep the yarn colors separated and labeled, especially if making more than one version.
Step-by-Step Crochet Instructions
Cuff
With A, ch 6.
- 1st row: (RS). 1 sl st in 2nd ch from hook. 1 sl st in each ch to end of chain. Turn. 5 sl sts.
- 2nd row: Working in back loops only, 1 sl st in each sl st across. Turn.
- Repeat the 2nd row until work from beg measures 14″ [35.5 cm], ending on a WS row.
Join Cuff
Working in back loops only, sl st last row and rem loops of foundation ch tog.
Fasten off.
Leg
Join MC with sl st to side edge of Cuff.
- 1st rnd: Ch 1. Work 46 sc evenly around side edge of Cuff. Join with sl st to first sc. Turn.
- 2nd rnd: Ch 1. 1 sc in each sc around. Join with sl st to first sc. Turn.
- Repeat the 2nd rnd until work from bottom of Cuff measures 9″ [23 cm].
Fasten off.
Heel
With the RS facing, join A with sl st to first sc.
- 1st row: Ch 1. 1 sc in same sp as last sl st. 1 sc in each of next 22 sc. Turn. Leave rem sts unworked.
- 2nd row: Ch 1. 1 sc in each sc to end of row. Turn.
- Repeat the 2nd row for 2″ [5 cm], ending on a WS row.
Shape Heel
- 1st row: (RS). Ch 1. 1 sc in each of next 15 sc. Sc2tog. 1 sc in next sc. Turn. Leave rem sts unworked.
- 2nd row: Ch 1. 1 sc in each of first 9 sts. Sc2tog. 1 sc in next sc. Turn.
- 3rd row: Ch 1. 1 sc in each of first 10 sts. Sc2tog. 1 sc in next sc. Turn.
- 4th row: Ch 1. 1 sc in each of first 11 sts. Sc2tog. 1 sc in next sc. Turn.
- 5th row: Ch 1. 1 sc in each of first 12 sts. Sc2tog. 1 sc in next sc. Turn.
- 6th row: Ch 1. 1 sc in each of first 13 sts. Sc2tog. 1 sc in next sc. Turn.
- 7th and 8th rows: Ch 1. 1 sc in each of first 14 sts. Sc2tog. Turn. 15 sts.
Fasten off at end of 8th row.
Join the Heel
With RS facing, join MC with sl st at left side of Heel Base.
Ch 1. 1 sc in each of next 23 sc of instep. Pm. Work 7 sc up right side of Heel, 1 sc in each of next 15 sc across end of Heel, and 7 sc down left side of Heel. Join with sl st to first sc. Turn. 52 sc.
- 2nd rnd: Ch 1. 1 sc in each sc to marker. Sc2tog. 1 sc in each sc to last 2 sc. Sc2tog. Join with sl st to first sc. Turn.
- Repeat the 2nd rnd until 44 sts rem.
Continue the Foot
Next rnd: Ch 1. 1 sc in each sc around. Join with sl st to first sc. Turn.
Repeat the last rnd until work from joining rnd measures 5½” [14 cm].
Join A at end of last row.
Break MC.
Shape Toe
- 1st rnd: With A: Ch 1. (1 sc in each of next 9 sc. Sc2tog) x 4 times. Join with sl st to first sc. Turn.
- 2nd rnd: Ch 1. (1 sc in each of next 8 sc. Sc2tog) x 4 times. Join with sl st to first sc. Turn.
Continue in the same manner, decreasing 4 sts on every row until 12 sts rem.
Break yarn, leaving a long end.
Draw end tightly through rem sts and fasten securely.
Hanging Loop
With MC, ch 25.
Sl st in 2nd ch from hook and each ch to end of chain.
Fasten off.
Fold in half and sew in position.
Cross-Stitch Finishing
Place a piece of cardboard into the stocking to help prevent catching stitches as you embroider.
Measure approximately 2″ [5 cm] down from beg of Leg and mark the center sc of Stocking Front.
Line up the marked stitch with the center stitch of the chart and work the cross-stitch embroidery.
Each square of the chart represents 1 sc.
Use the corresponding chart for the selected version:
- Version I: Cross stitch Chart I to stocking as shown in picture.
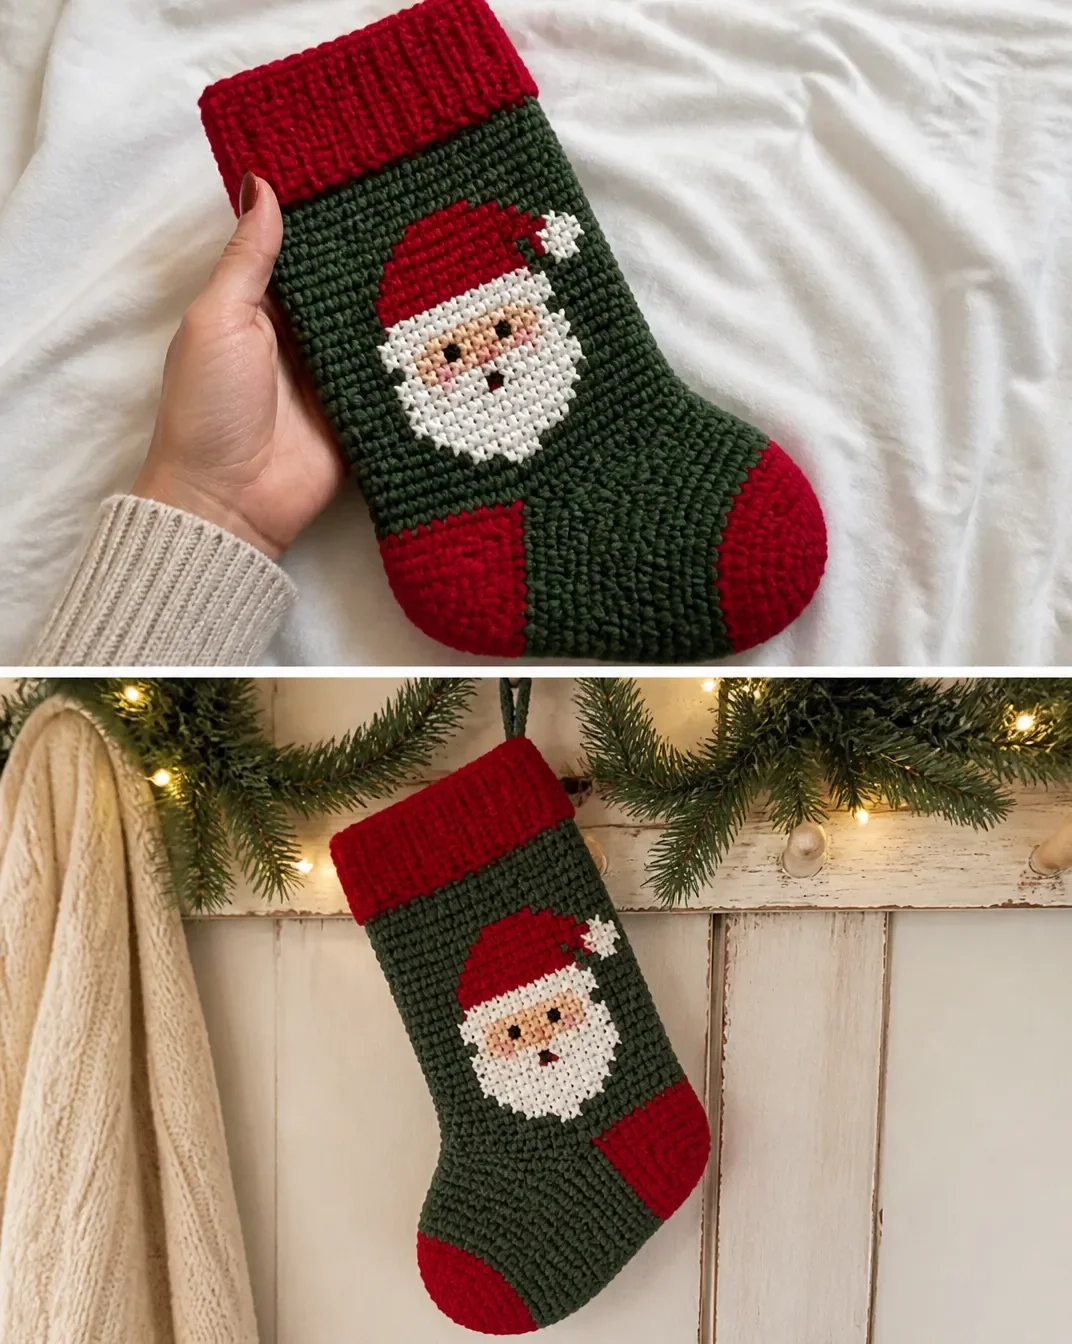
- Version II: Cross stitch Chart II to stocking as shown in picture.
- Version III: Cross stitch Chart III to stocking as shown in picture.
Keep your cross stitches consistent in direction and tension. The embroidery should sit neatly over the single crochet fabric without pulling the stocking out of shape.
Handmade Gift and Decoration Ideas
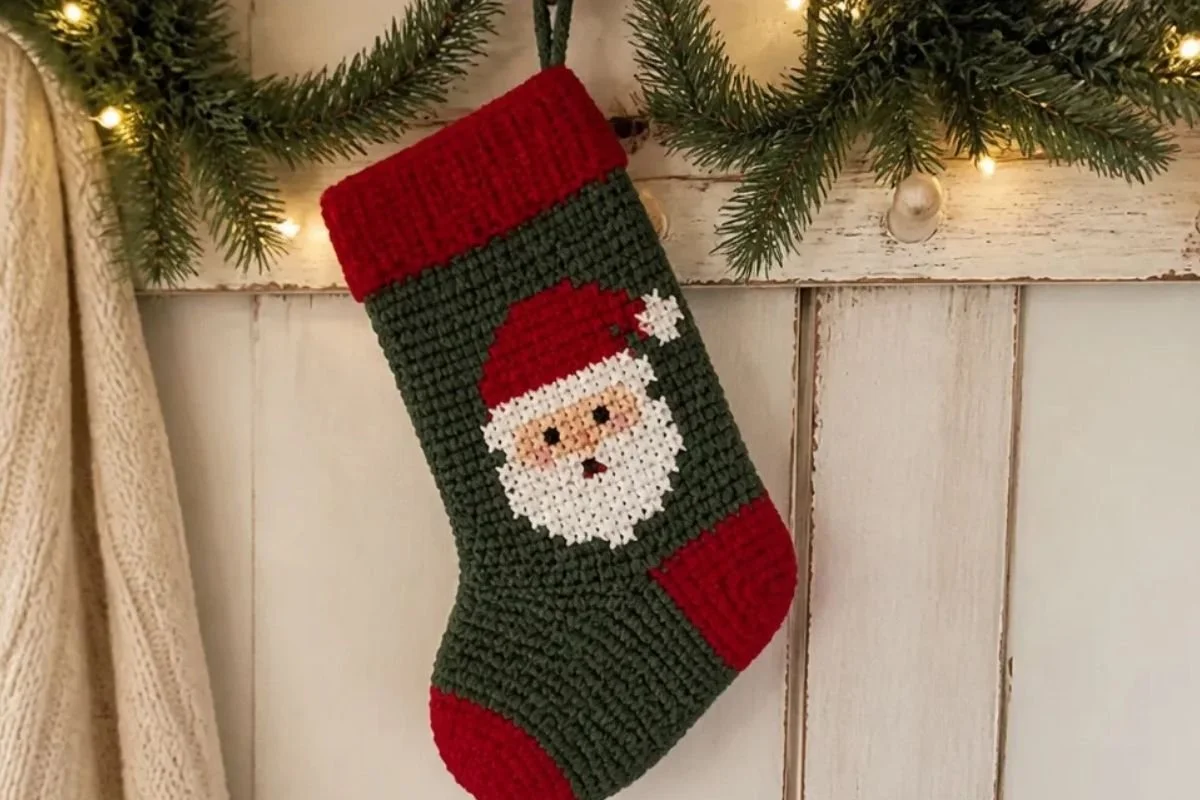
- Hang the stocking from a mantel, shelf, staircase railing, or sturdy tree branch using its crocheted loop.
- Make one version for each family member, using the snowman, Santa, and tree designs as a coordinated set.
- Add the stocking to a holiday gift basket filled with small wrapped treats or useful seasonal gifts.
- Display several stockings together with evergreen branches, pinecones, or other non-moisture-bearing decorations.
- Use the stocking as a festive bedroom or office decoration during December.
- Pair the finished piece with another handmade seasonal project, such as this crochet flower wreath pattern, for a broader handmade holiday display.
Caring for Your Crochet Project
Keep the finished stocking clean by dusting it gently with a soft, dry cloth or a low-suction vacuum attachment. Pay particular attention to the cross-stitch embroidery, since rough handling can catch the embroidered yarn.
For a small mark, use careful spot cleaning rather than soaking the entire stocking. Avoid excessive water, heat, and vigorous rubbing, which may affect the shape of the crocheted fabric and the embroidered design. Follow the yarn manufacturer’s care instructions when washing is necessary.
Store the stocking completely dry in a cool, dry place. Fold it loosely or fill it lightly with acid-free tissue paper to help preserve its shape. Keep it away from direct sunlight for long periods so the colors remain bright, and avoid storing it under heavy items that could flatten the cuff or distort the toe.
Tips for Better Results
- Measure the cuff as you work. Stop after the ribbed strip measures 14″ [35.5 cm], ending on a WS row. The cuff length determines how the stocking leg begins.
- Work the cuff stitches in back loops only. This detail creates the ribbed texture and should be maintained both while crocheting the cuff and joining its edges.
- Distribute the 46 leg stitches evenly. Since the stitches are worked around the side edge of the cuff, space them consistently to avoid a wavy or tight opening.
- Use a stitch marker at the heel join. The marker identifies the decrease area during the joining rounds and makes it easier to track the 52-stitch round.
- Count after every heel decrease row. The heel shape uses different stitch counts across rows, so counting helps prevent the heel from drifting off center.
- Keep the toe decreases balanced. Each toe round decreases 4 stitches. Work the repeated sections evenly around the round so the toe closes symmetrically.
- Secure the toe firmly. Draw the yarn tightly through the remaining 12 stitches and fasten it securely, then weave in the end so the opening stays closed.
- Center the embroidery before stitching. Mark the center single crochet approximately 2″ [5 cm] down from the beginning of the leg, then align it with the chart’s center stitch.
- Use cardboard during cross stitch. This prevents the needle from accidentally catching the back layer of the stocking.
- Check the front before sewing the hanging loop. Position the loop so the stocking hangs with the embroidered side facing forward.
Color and Styling Variations
The three approved colorways provide the simplest way to customize this stocking while preserving the original construction. Make the snowman in Forest Green, Cherry Red, Winter White, and Black; the Santa version in Teal Heather, Oatmeal, Cherry Red, Winter White, and Black; or the tree version in Oatmeal, Taupe, Forest Green, and Cherry Red.
For a coordinated family set, use one chart design for each person while keeping the stocking construction identical. You can also make several stockings in the same colorway for a unified mantel display.
Optional yarn substitutions are possible, but changing the yarn may affect gauge, dimensions, texture, and yarn requirements. If you substitute, use the 5 mm hook only if it produces the intended fabric and dimensions; otherwise, use the hook size needed to obtain gauge. Do not change the stitch counts or shaping instructions without recalculating the pattern.
For an especially colorful handmade display, combine the stockings with floral-inspired seasonal accents or small crochet accessories, such as the crochet bear and bunny crossbody bag designs for gift-giving inspiration.
Frequently Asked Questions
Is this stocking suitable for a beginner?
The stocking uses single crochet, slip stitch, chains, decreases, joined rounds, and cross stitch. Beginners who are comfortable reading row-by-row instructions can work through it carefully, while the heel and toe provide useful practice with shaping.
What yarn is recommended?
The pattern uses Bernat® Super Value™ yarn. Each version has its own listed Main Color and contrast colors, with 1 ball required for each listed color.
What hook size should I use?
Use a U.S. H/8 (5 mm) crochet hook or the size needed to obtain gauge.
How many stocking components are made?
The stocking is constructed from a cuff, leg, heel, foot, toe, and hanging loop. The cross-stitch design is added to the completed crocheted stocking.
Can I change the stocking colors?
Yes. The three listed versions already provide different color combinations. You may also choose your own palette, but keep the color roles clear so the embroidery chart can be followed accurately.
When is the cross stitch added?
Add the cross-stitch embroidery during finishing, after the stocking has been crocheted and the hanging loop has been sewn in position. Insert cardboard first to protect the back layer.
How do I know where to place the embroidery?
Measure approximately 2″ [5 cm] down from the beginning of the leg and mark the center single crochet of the stocking front. Line up that marked stitch with the center stitch of the selected chart.
Can I use another yarn?
A substitution may be possible, but it can change gauge, finished dimensions, fabric texture, and yarn requirements. Use the recommended hook size only when it produces the needed gauge and fabric.
How should I store the stocking after the holidays?
Store it clean and completely dry in a cool, dry location. Fold it loosely or support its shape with tissue paper, and keep it away from excessive heat, direct sunlight, and heavy objects.
Conclusion
This cross-stitch Christmas stocking combines a practical crocheted shape with colorful seasonal embroidery, making it a thoughtful handmade decoration or gift. Choose the snowman, Santa, or tree version, follow the shaping carefully, and personalize the display with your favorite holiday colors. For another related stocking reference, explore this Free Easy Bernat Cross Stitch Christmas Stockings crochet pattern.