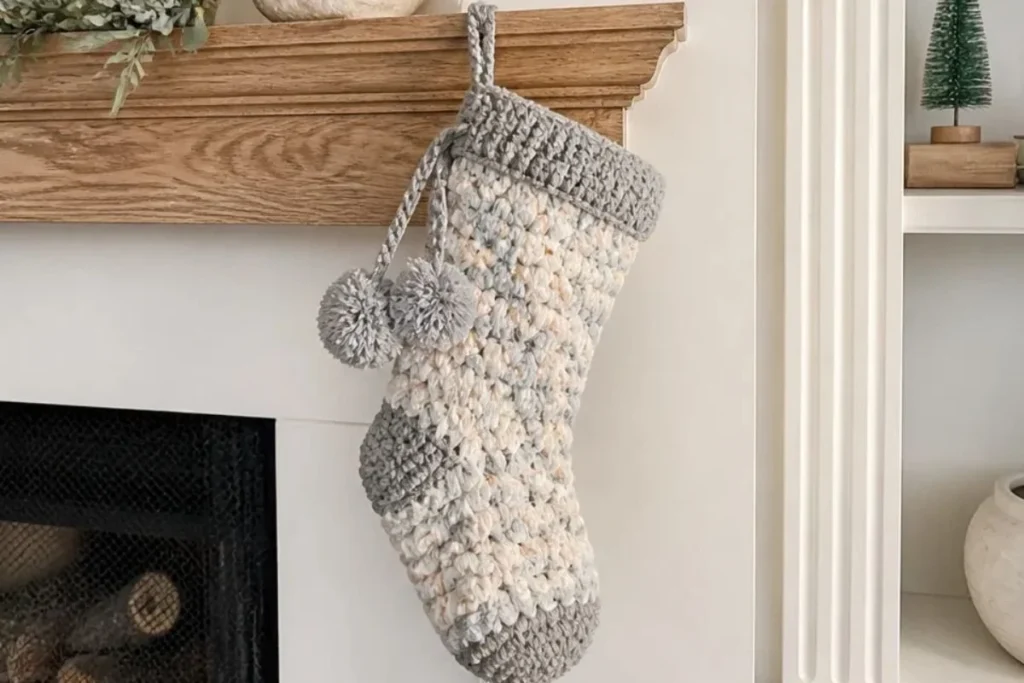
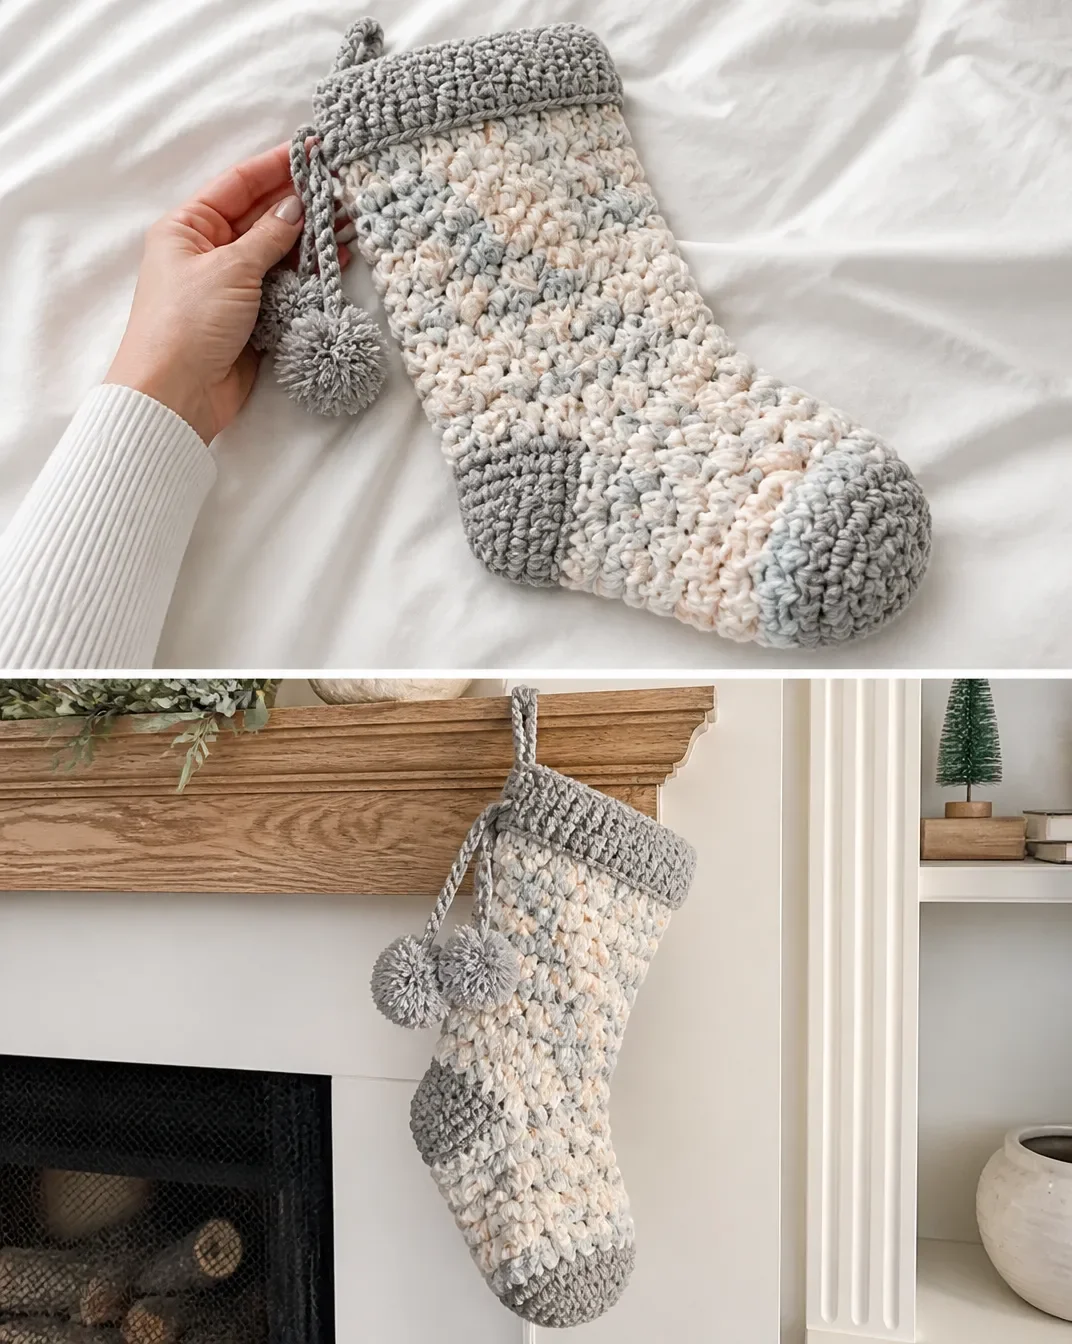
A cheerful handmade stocking adds instant warmth to a mantel, banister, or holiday gift display. This Pop Crochet Christmas Stocking Pattern uses Bernat® Pop!™ yarn to create a colorful, textured design with a rounded toe, shaped heel, folded cuff, and pompom hanger. The pattern is worked mostly in rounds, making it a satisfying project for crocheters who want to practice increases, grouped stitches, and heel shaping. For another colorful crochet idea, explore this 3D flower granny square color chart for coordinating handmade holiday décor.
Why You’ll Love This Crochet Project
- Colorful with minimal yarn changes: Bernat® Pop!™ creates shifting color effects while you work, so the stocking has visual interest without frequent color changes.
- A useful seasonal decoration: Hang it on a mantel, staircase, wall hook, or bedroom door for a handmade holiday accent.
- Great stitch practice: The pattern combines half double crochet, double crochet groups, increases, decreases, and joined rounds.
- Gift-friendly: A finished stocking can hold small presents, gift cards, candy, or ornaments.
- Customizable finishing: The folded top and pompom hanger give the design a classic holiday appearance while leaving room for optional color styling.
My Crochet Flower Tip: Place a removable marker in the first stitch or joining space as you work if you find it difficult to identify the beginning of each round.
Before You Start Crocheting
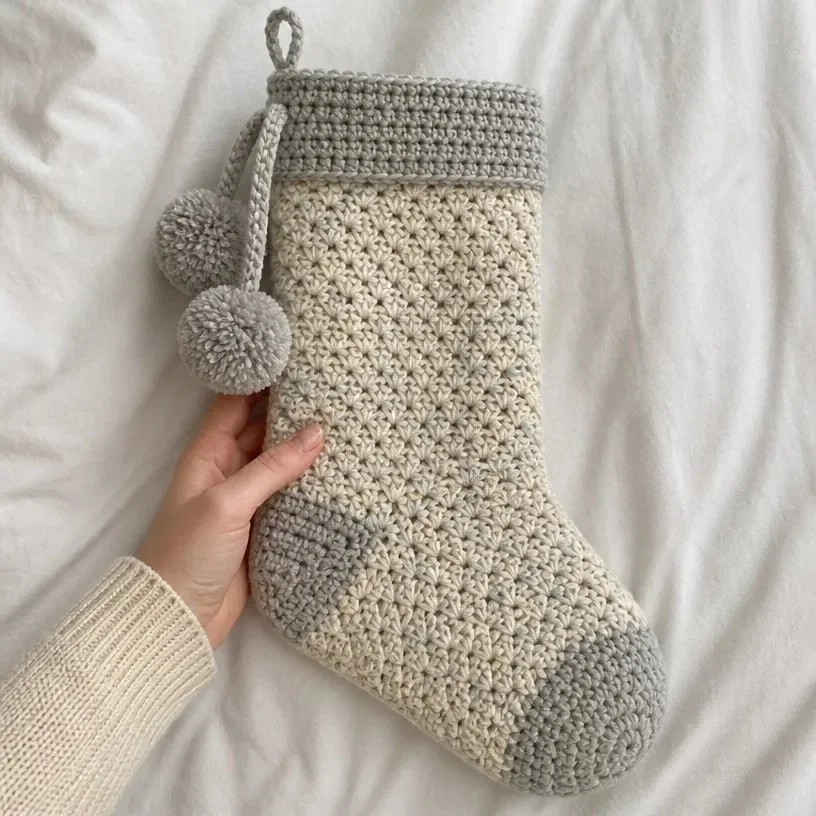
This project is made as one stocking, worked in rounds from the toe upward. The toe and body are crocheted first, followed by a separate heel worked once the body is complete. The top is finished with a folded cuff, a 15-chain hanging loop, and two handmade pompoms.
The body begins with increasing half double crochet rounds to shape the toe. It then changes to double crochet groups worked between stitch groups, creating an open textured pattern through the central portion. The final rounds return to half double crochet for the upper edge.
The heel is shaped with half double crochet decreases and two stitch markers. After the heel is seamed from the inside, the stocking is turned right side out for finishing.
Abbreviations
- ch: chain
- sc: single crochet
- hdc: half double crochet
- dc: double crochet
- sl st: slip stitch
- hdc2tog: half double crochet two together
- st/sts: stitch/stitches
- rep: repeat
- sk: skip
Materials You’ll Need
- Bernat® Pop!™ (5 oz / 140 g; 280 yds / 256 m) 1 ball
- Foggy Notion (84012) 1 ball
- Size U.S. K/10½ (6.5 mm) crochet hook, or size needed to obtain gauge
- 2 stitch markers
The stitch markers are used to identify marked stitches during heel shaping. Keep them close by before beginning the heel rounds.
Step-by-Step Crochet Instructions
The following instructions preserve the supplied pattern sequence and stitch counts.
Toe and Body
Worked in rounds.
Chain 3.
Round 1: Work 8 hdc in 3rd ch from hook. Join with sl st to 2nd chain. (8 sts)
Round 2: Ch 2. Make 2 hdc in every stitch. Join with sl st to 2nd chain. (16 sts)
Round 3: Ch 2. *2 hdc in next st. 1 hdc in next st. Repeat from * around. Join with sl st to 2nd chain. (24 sts)
Round 4: Ch 2. 1 hdc in each st. (24 sts)
Round 5: Ch 2. *2 hdc in next st. 1 hdc in each of next 2 sts. Repeat from * around. Join with sl st to 2nd chain. (32 sts)
Rounds 6–7: Ch 2. 1 hdc in each st. (32 sts)
Round 8: Ch 3. 1 dc in same st as ch. *Sk next st. 2 dc in next. Rep from * around. Join with sl st to space between ch 3 and first dc.
Rounds 9–14: Ch 3. 1 dc in same st as ch. *2 dc between next 2 dc group. Rep from * around. Join with sl st to space between ch 3 and first dc.
Round 15: Ch 1. 1 sc in same space as sl st. *2 dc between next 2 dc group. Rep from * 7 times more. 1 sc between next 2 dc group. Ch 18. Join with sl st to first sc.
Round 16: Ch 3. 1 dc in same st as ch. *2 dc between next 2 dc group. Rep from * 7 times. 2 dc in sc. Sk first ch. **2 dc in next ch. Sk 1 ch. Rep from ** to end of ch. Join with sl st to space between ch 3 and first dc.
Rounds 17–34: Ch 3. 1 dc in same st as ch. *2 dc between next 2 dc group. Rep from * around. Join with sl st in space between ch 3 and first dc.
Rounds 35–44: Ch 2. 1 hdc in each st. Join with sl st to 2nd ch.
Heel
Worked once the body of the stocking is complete.
Heel Round 1: Join yarn with sl st in middle v-stitch of chain with toe facing upward. Ch 2. 1 hdc in each of next 11 ch. 1 hdc in next 15 sts. 1 hdc in each of rem 7 ch. Join with sl st to 2nd ch.
Round 2: Ch 2. 1 hdc in each of next 8 sts. Hdc2tog. 1 hdc in next st and place marker. Hdc2tog. Hdc in next 10 sts. Hdc2tog. 1 hdc in next st and place marker. Hdc2tog. 1 hdc in each of last 5 sts. Join with sl st to 2nd ch.
Round 3: Ch 2. *1 hdc in each st until 2 sts before marker. Hdc2tog. 1 hdc in marked st. Hdc2tog. Rep from * once more. 1 hdc in each st to end of round. Join with sl st to 2nd ch.
Rounds 4–5: Rep round 3. Fasten off.
Assembly and Finishing
Turn stocking inside out and seam heel using a whip stitch. Weave in ends.
Fold top down 3″ [7.5 cm].
Make 15 ch, fasten off and secure just inside top of Stocking to hang.
Attach pompoms to each end of chain, securing with a knot just below the fold.
Pompoms
Make 1 each.
Wind yarn around 3 (4) fingers approx 60 times.
Remove from fingers and tie tightly in center.
Cut through each side of loops.
Trim to smooth round shape.
Finished Project Inspiration
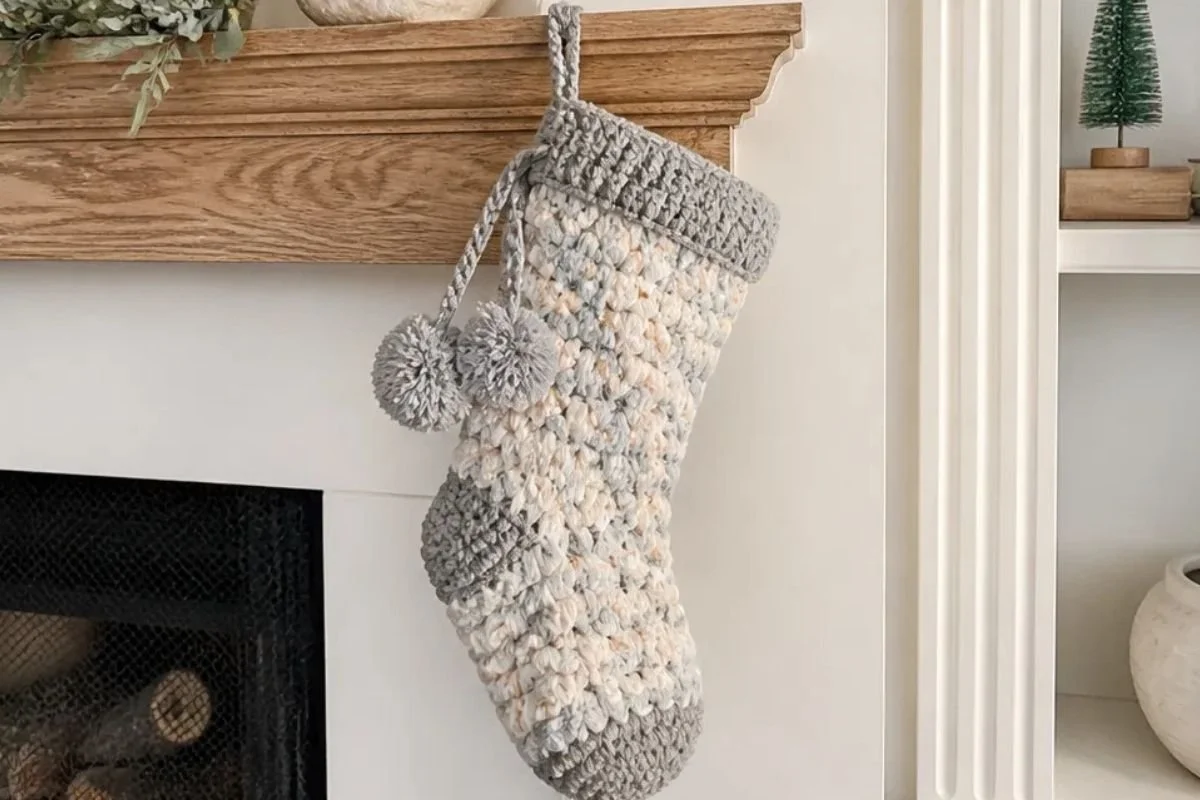
- Mantel display: Hang the stocking beside other family stockings or place it near greenery, candles, and wrapped gifts.
- Small-gift holder: Use it for candy, ornaments, gift cards, or other lightweight surprises.
- Personalized holiday décor: Add a name tag or a small decorative label to distinguish stockings for different family members.
- Coordinated handmade display: Pair the stocking with other crochet decorations, such as a seasonal wreath or floral-inspired accents. A crochet flower wreath pattern can provide inspiration for building a larger handmade display.
- Gift presentation: Fill the stocking with small treats and give it as a reusable gift bag.
- Yearly tradition: Make one stocking at a time in different colorways to create a growing handmade collection.
Caring for Your Crochet Project
Keep the finished stocking away from excessive heat, open flames, and rough surfaces that could catch or pull the textured stitches. The folded cuff and pompoms should be handled gently, especially when removing the stocking from a hook or storage box.
For routine maintenance, gently dust the stocking with a soft cloth or use a low-suction vacuum attachment held slightly away from the fabric. If spot cleaning is needed, follow the yarn manufacturer’s care instructions and avoid aggressive rubbing that could distort the double crochet groups.
Store the stocking clean and completely dry. Lay it flat or place it loosely in a breathable container rather than compressing the pompoms for long periods. Before displaying it again, reshape the toe, body, heel, and folded cuff with your hands.
Helpful Crochet Tips
Check the toe count carefully. The stitch totals progress from 8 to 16, 24, and 32 stitches. Counting at the end of these early rounds helps catch missed increases before the body grows taller.
Join in the specified location. The pattern uses a slip stitch to the second chain in the half double crochet rounds and joins in the space between the beginning chain and first double crochet in the grouped double crochet rounds.
Work between the double crochet groups. In Rounds 9–34, the instruction places 2 dc between the next 2 dc group. Inserting the hook into the spaces rather than the tops of individual stitches preserves the open texture.
Keep the chain section accessible. Round 15 creates the 18-chain section used for the heel. Avoid pulling this chain too tightly, since the heel instructions work into its stitches.
Use both stitch markers in the heel. Round 2 places one marker after a hdc and another after a later hdc. These marked stitches guide the decreases in Round 3 and the repeated rounds that follow.
Seam from the inside. Turning the stocking inside out before whip stitching the heel keeps the seam positioned neatly when the stocking is turned right side out.
Secure the hanging loop firmly. Fasten the 15-chain loop just inside the top edge, then knot the pompoms below the fold so the loop remains stable during hanging.
Trim pompoms gradually. Cut the loops first, then shape the pompom a little at a time. This makes it easier to keep both pompoms close in size.
Color and Styling Variations
The approved pattern uses Bernat® Pop!™ in Foggy Notion (84012), but the finished stocking can be styled in several optional ways without changing the construction instructions.
- Choose a different self-striping colorway: A contrasting color sequence can make the toe and body look more traditional, bright, or winter-inspired. Changing yarn may affect gauge, texture, dimensions, and yarn requirements.
- Use a classic holiday palette: Red, green, cream, or white can create a familiar Christmas look if the replacement yarn provides suitable yardage and works with the specified hook.
- Coordinate the pompoms: Make the pompoms in a contrasting shade for a stronger cuff accent, or use a matching color for a more blended finish.
- Create a family set: Keep the same pattern but select a different colorway for each person’s stocking.
- Add removable personalization: Attach a lightweight name tag or ribbon after crocheting so the approved pattern remains unchanged.
- Pair with floral-inspired décor: A handmade stocking can sit beside crochet appliqués or other botanical accents; crochet flower appliqué ideas can inspire small decorative details for a broader handmade holiday theme.
When substituting yarn or changing hook size, make a gauge check before committing to the full stocking. Differences in yarn thickness and tension can change the fit, stitch definition, height, and amount of yarn needed.
Frequently Asked Questions
Is this stocking suitable for a beginner?
It can be a useful learning project for a crocheter comfortable with basic stitches and joined rounds. The heel introduces hdc2tog decreases and marked stitches, so beginners should read that section carefully and count their work.
What yarn is recommended?
The supplied materials specify Bernat® Pop!™ (5 oz / 140 g; 280 yds / 256 m) in Foggy Notion (84012), with 1 ball required. Use the listed yarn when you want to follow the approved materials exactly.
What crochet hook should I use?
Use a size U.S. K/10½ (6.5 mm) crochet hook, or the size needed to obtain gauge.
How many stockings does the pattern make?
The instructions make one stocking. The heel is worked once the body is complete, and the finishing section includes one hanging loop with a pompom attached to each end.
Can I change the colors?
Yes, color changes are an optional styling choice. However, replacing the yarn can affect gauge, texture, dimensions, and yarn requirements, so check your tension before making the complete stocking.
When is the heel made?
The heel is worked after Rounds 35–44 of the body are complete. The toe should face upward when joining yarn in the middle v-stitch of the chain.
Why are stitch markers needed?
Two stitch markers identify specific stitches placed during Heel Round 2. They provide reference points for the decreases in Round 3 and Rounds 4–5.
How should I finish the heel?
Turn the stocking inside out and seam the heel using a whip stitch. Weave in the ends, then turn the stocking right side out before completing the folded cuff and hanging loop.
How do I keep the pompoms neat?
Tie the center tightly, cut through both sides of the loops, and trim gradually into smooth round shapes. Securing each pompom with a knot just below the fold helps keep it in place.
Conclusion
This Pop Crochet Christmas Stocking Pattern combines colorful yarn, textured rounds, a shaped heel, and playful pompoms in one useful seasonal project. Make it as a handmade gift holder, add it to a festive display, or create a coordinated set in different colorways. For more holiday inspiration, browse these free crochet Christmas stocking patterns.