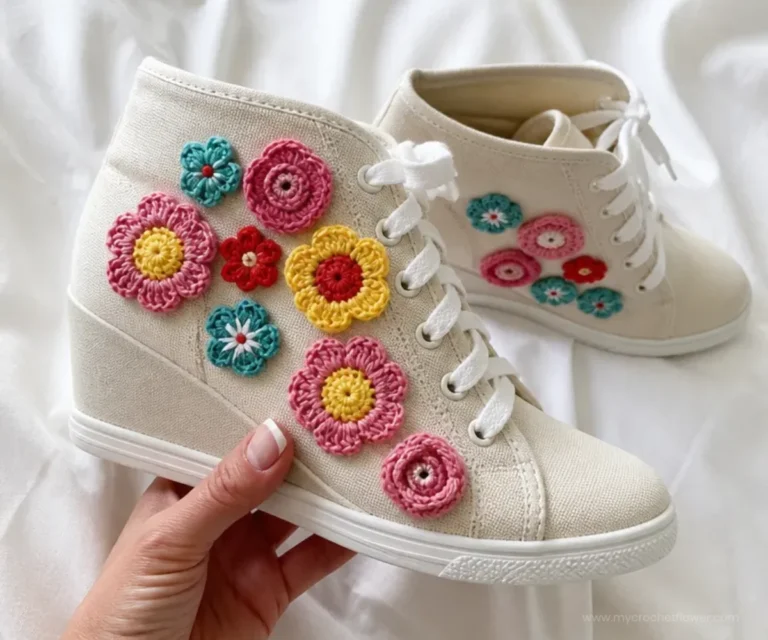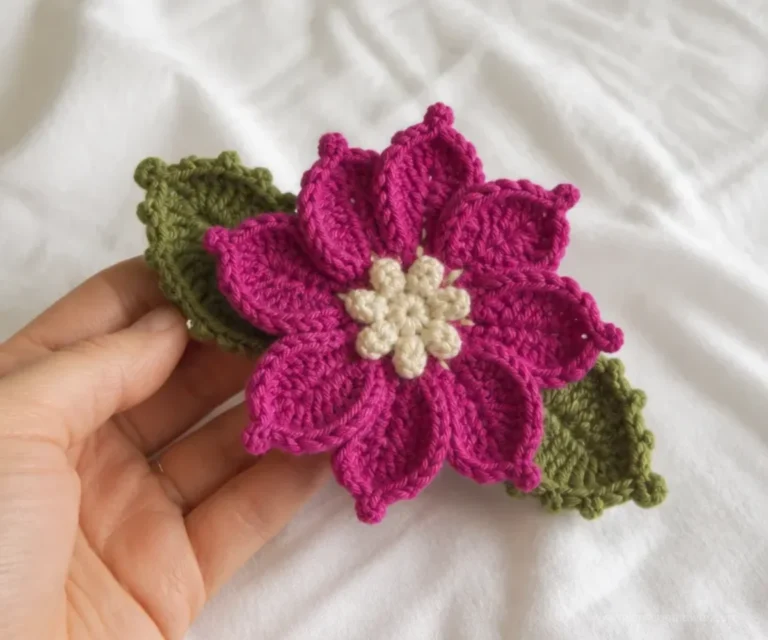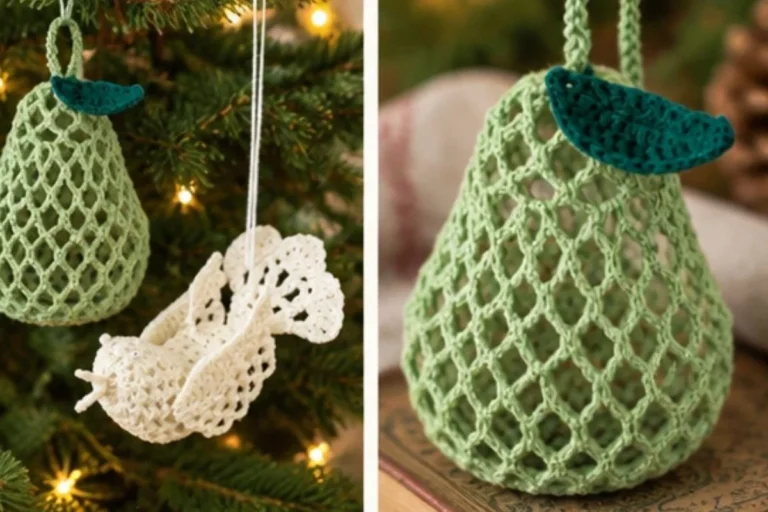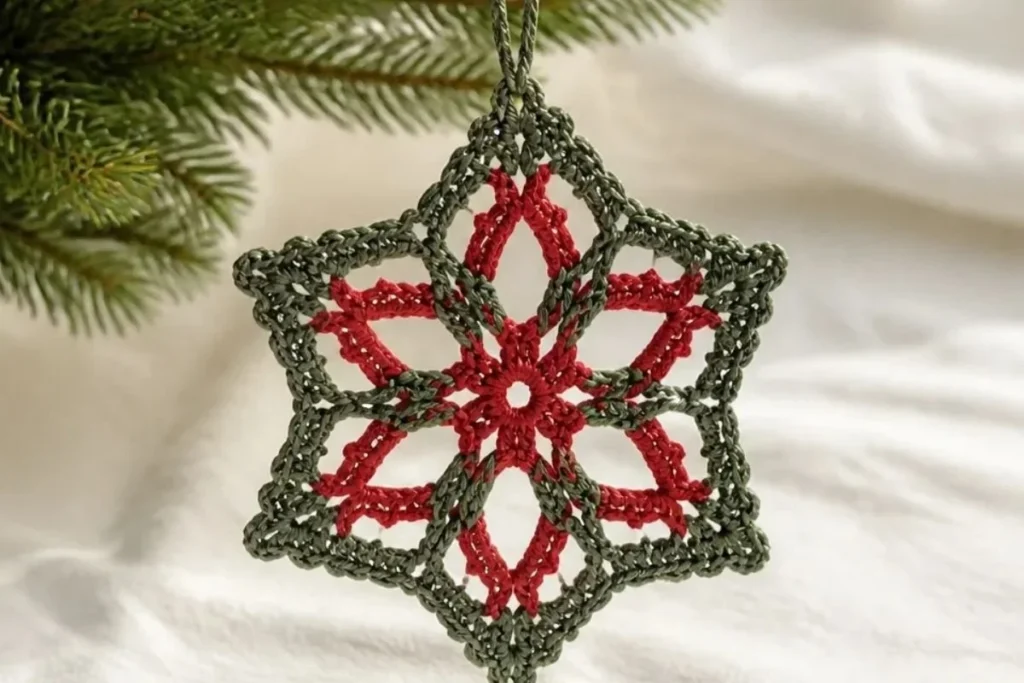
An easy crochet Christmas star ornament adds handmade color and texture to a tree, wreath, gift package, or seasonal centerpiece. This beginner-friendly design uses five-point star shaping, two contrasting colors, and simple single crochet stitches. The finished ornament can also inspire a larger handmade display alongside crochet flower ball ornaments. With a clear four-round construction and minimal supplies, it is a practical project for holiday crafting and thoughtful gifts.
Why You’ll Love This Crochet Project
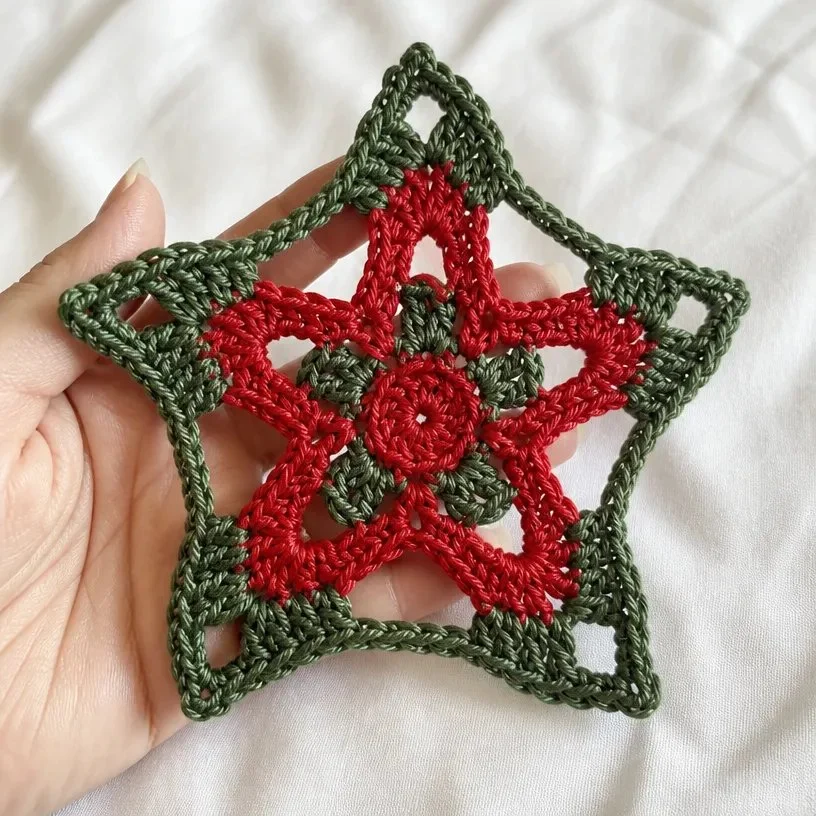
- It uses approachable stitches. The pattern relies mainly on chains, single crochet, and slip stitches, making it suitable for crocheters building confidence with rounds and chain spaces.
- The star shape develops gradually. The first rounds establish the center and five points, while the final color creates a defined outer edge.
- The two-color design looks festive. Autumn Red provides a rich holiday base, and Dark Sage adds a natural, slightly vintage contrast.
- It works for more than one decoration. Use the finished star on a Christmas tree, a wrapped present, a mantel arrangement, or a seasonal table display.
- It is easy to personalize visually. Although the approved pattern uses two colors, the same design can be styled with other color combinations as an optional variation.
My Crochet Flower Tip: Place a small marker in the first stitch of each round if you find it difficult to identify the joining point, especially when working the center ring.
Before You Start Crocheting
This project makes one crocheted five-point star ornament. It is worked in the round, beginning with Autumn Red, then changing to Dark Sage for the final shaping round. The completed piece consists of one star, followed by weaving in the yarn ends.
The construction is straightforward:
- Form a five-chain ring.
- Work 10 single crochet stitches into the ring.
- Build five chain-6 spaces.
- Shape the five corners with chain-5 spaces.
- Change colors and complete the final round.
- Weave in all ends with a yarn needle.
The pattern includes an important placement instruction in Round 4: “sc in center of ring (see photo).” Because this wording is part of the supplied pattern, retain it exactly while working that round and use the referenced photo when available.
Useful Abbreviations
- ch: chain
- sc: single crochet
- sl st: slip stitch
Brackets indicate a group of stitches worked in the same space or location. An asterisk indicates a repeat.
Materials You’ll Need
- Simply Soft (170 g/6. oz; 288 m/315 yds)
- Contrast A Autumn Red (9730): 1
- Contrast B Dark Sage (9707): 1
- Yarn needle
The yarn needle is used during finishing to weave in all ends. Keep both colors nearby before beginning so the transition after Round 3 is easy to manage.
Step-by-Step Crochet Instructions
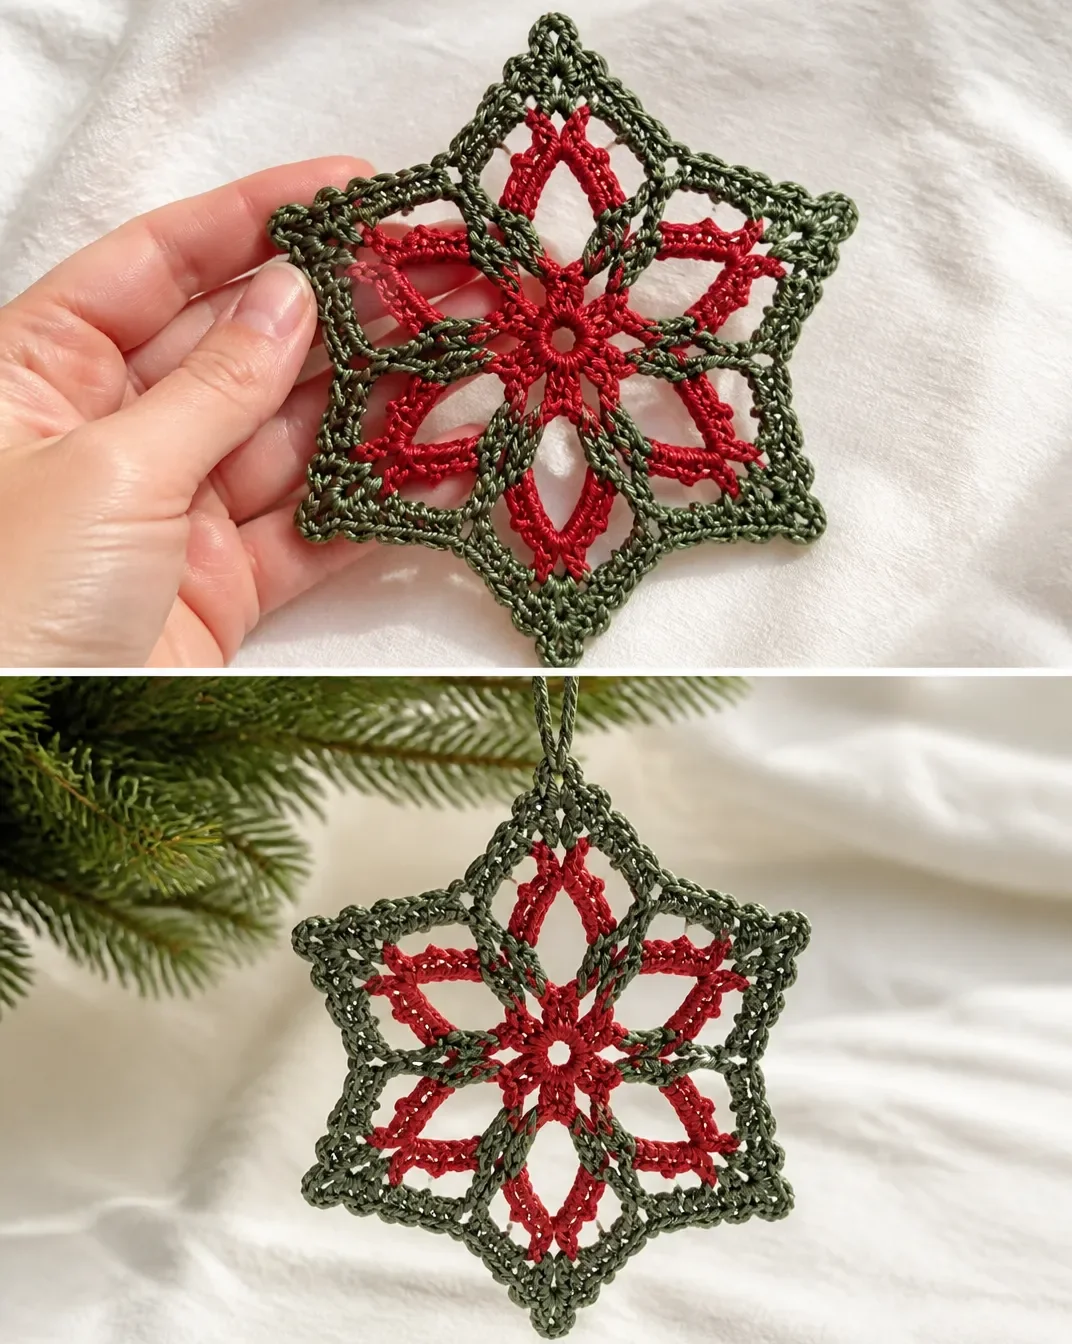
Work the star in the order given below. Keep your tension consistent, but prioritize clear stitch and space placement over making the fabric extremely tight.
Setup
Using A, chain 5; join with slip stitch to form ring.
Round 1
- Ch 1.
- Work 10 sc in ring.
- Join with slip stitch to first sc.
Stitch count: 10 sc
At the end of this round, check that the stitches are distributed around the ring rather than gathered tightly in one area.
Round 2
- *Ch 6, skip next sc, slip st in next sc; repeat from * 4 times.
- Join with a slip stitch in the base of beginning ch-6.
Stitch/space result: five ch-6 spaces
Each chain-6 section will become a foundation space for one point of the star. Count the spaces before continuing; there should be five.
Round 3
- Ch 1.
- Work [3 sc, ch 5, 3 sc] in each ch-6 space.
- Join with slip stitch to first sc.
Stitch/space result: five ch-5 corner spaces
The corner sequence [3 sc, ch 5, 3 sc] is worked in each of the five ch-6 spaces. These chain-5 spaces form the corners that will be shaped into the star points in the final round.
Color Change / Transition to B
- Fasten off A.
- Join B with a sc in any ch-5 corner space; this counts as the first sc.
Make the color change neatly so the new yarn begins securely in a corner space. Avoid pulling the joining stitch too tightly, since the next group of stitches must fit comfortably into the same space.
Round 4
- Work [2 sc ch 3, 3 sc] in same space as joining.
- *sc in next 2 sc, sc in center of ring (see photo), skip 2 sc, + sc in next 2 sc, work [3 sc, ch 3, 3 sc) in next corner space; repeat from * 4 times, end last repeat at +, sc in last two sc, join with a slip st to first sc.
- Fasten off.
Note: Round 4 includes the bracketed and symbol instructions exactly as written, including the reference “see photo,” the symbol +, and “skip 2 sc.”
Read this round carefully before beginning. The opening group in the joining corner establishes one star point, and the repeated section moves across the stitches and into the next corner space. Maintain the original stitch placement and wording rather than substituting a different interpretation.
Finishing
Using yarn needle, weave in all ends.
Work the yarn tails back and forth through nearby stitches without pulling the star out of shape. Once the ends are secure, trim the excess yarn. Gently arrange the five points so the ornament lies evenly.
Ways to Display Your Finished Crochet
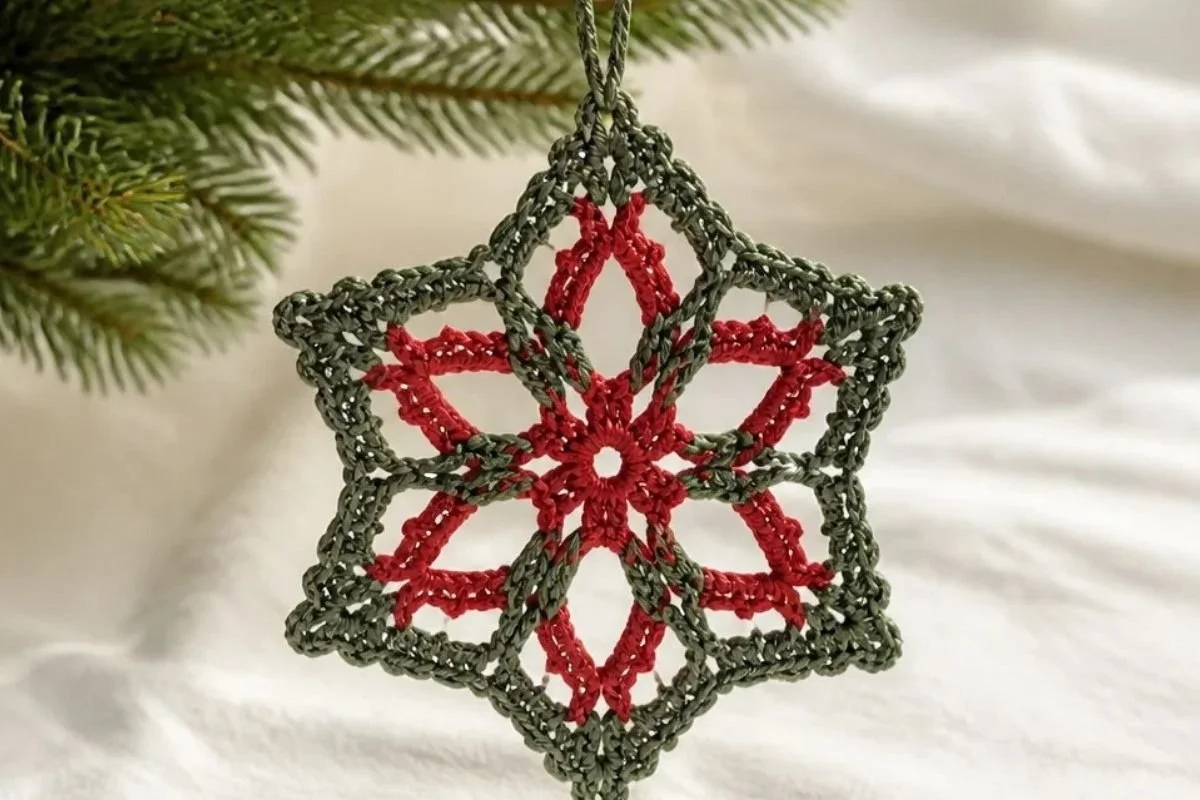
- Christmas tree ornament: Add a hanging loop through one point or a convenient upper edge after finishing. Coordinate several stars in red, green, cream, or gold-inspired palettes.
- Gift decoration: Tie the star to ribbon or twine on a wrapped present. It can become a reusable embellishment for future holidays.
- Table centerpiece: Arrange several finished stars around candles, greenery, or a seasonal bowl. Keep the crochet away from open flames and excessive heat.
- Wreath accent: Attach the star to a fabric, yarn, or artificial greenery wreath using a discreet piece of coordinating yarn.
- Seasonal garland: Make multiple stars and string them along a mantel, shelf, or wall display. Vary the color order if you choose to make more than one.
- Handmade holiday gift: Pair the ornament with other small crochet decorations, such as a floral hair accessory from this collection’s crochet blooms for hair pattern, for a coordinated handmade present.
Caring for Your Crochet Project
Keep the finished star dry and dust-free between uses. For routine cleaning, gently shake it outdoors or use a soft, dry brush to lift away surface dust. A cool-air vacuum setting may also work if the ornament is held securely away from the nozzle.
If a spot needs attention, use a barely damp cloth and dab carefully rather than soaking the ornament. Avoid wringing, twisting, or placing the star near direct heat, since excessive heat can affect the yarn’s shape and finish.
Store the ornament flat or loosely wrapped in acid-free tissue in a dry container. Avoid compressing it under heavy decorations. If the points become slightly bent, reshape them gently with your fingers and allow the piece to rest flat.
Tips for Better Results
- Count the first round carefully. Round 1 must contain 10 sc. An incorrect count will affect the number and placement of the five spaces in later rounds.
- Identify every chain space before moving on. Round 2 should produce five ch-6 spaces, and Round 3 should produce five ch-5 corner spaces.
- Keep the chain loops open. Do not make the ch-5 and ch-6 spaces so tight that the grouped stitches cannot fit comfortably.
- Join rounds neatly. Insert the slip stitch into the specified stitch or location and check that the work is not twisting before beginning the next round.
- Secure the color transition. Fasten off A and join B in any ch-5 corner space as directed. Leave enough yarn to weave in securely later.
- Read Round 4 slowly. This round includes the “sc in center of ring (see photo)” instruction, “skip 2 sc,” the symbol +, and the repeated corner group. Follow each part in order.
- Check the shape before weaving ends. Lay the star flat and gently spread the five points. This makes it easier to spot an uneven corner before the yarn tails are secured.
- Finish without over-tightening. Weave in the ends firmly, but do not pull so hard that the center puckers or the points curl.
Color and Styling Variations
The approved pattern uses Contrast A Autumn Red and Contrast B Dark Sage, but the color choices can be changed optionally without altering the construction.
- Try cream with deep green for a traditional winter palette.
- Use white and silver-gray for a snowy appearance.
- Pair burgundy with soft blush for a warmer decorative style.
- Make several stars with the same first color but rotate the second color among evergreen, gold, and cream.
- Combine the stars with a seasonal greenery display or a crochet bouquet. A coordinated wrap can also complement a holiday arrangement; the crochet bouquet wrap pattern offers another way to think about presentation and handmade botanical styling.
If you substitute the yarn, remember that fiber, yarn thickness, and hook choice can affect the star’s size, stiffness, point definition, and yarn requirements. Make any substitution intentionally and treat it as an optional adaptation rather than part of the approved instructions.
Frequently Asked Questions
Is this crochet star ornament suitable for beginners?
Yes. The project uses a small number of basic techniques: chains, single crochet, slip stitches, working into a ring, and joining rounds. Beginners should take extra care with stitch counts and the placement wording in Round 4.
How many stars does the pattern make?
The instructions make one star ornament. To create a garland, wreath, or larger display, repeat the complete pattern for each additional star.
Which color is used first?
Contrast A, Autumn Red (9730), is used for the setup and Rounds 1–3. Contrast B, Dark Sage (9707), is joined for Round 4.
When does the color change happen?
Fasten off A after Round 3. Then join B with a sc in any ch-5 corner space; this sc counts as the first sc.
Can the colors be changed?
Yes, color changes are an optional styling choice. Keep the approved construction the same while substituting colors that coordinate with your holiday display.
How do I keep the star points even?
Maintain consistent tension, count the five spaces after Rounds 2 and 3, and check that each corner group is worked in the correct space. After Round 4, gently arrange the points before weaving in the ends.
How should I clean the ornament?
Use gentle dusting or careful spot cleaning with a barely damp cloth. Avoid soaking, twisting, excessive heat, and heavy pressure during storage.
Can I use the star in a bouquet or centerpiece?
Yes. It can be arranged as a seasonal accent in a dry centerpiece or decorative display. Keep it away from open flames, moisture, and high heat.
Conclusion
This easy crochet Christmas star ornament pattern creates a colorful five-point decoration with a simple four-round construction. Autumn Red and Dark Sage give the design a festive, botanical feel, while the compact shape makes it useful for trees, gifts, garlands, and centerpieces. For another seasonal idea, compare it with this free crochet star ornament pattern, then customize your own display with colors you enjoy.